FlowBoard Manual · Reference

The Nodes

Every node in FlowBoard, grouped the way the palette groups them. Each entry: what it is, when to reach for it, and what it works with.

Assets

Assets nodes

The cast and dressing of your story — who and what appears, and in what style.

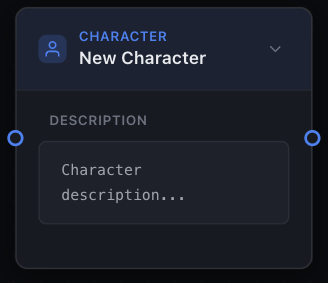
Character node

Character

Assets
Name who's in the shot and what they look like.

A name and a short description, rendered into the prompt as 'Name, description.' Wire a Reference into it to lock the face across shots, and an Outfit to dress them per scene. Keep the description minimal — the reference image does the heavy lifting.

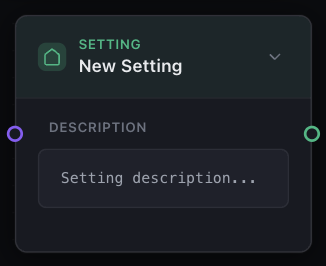
Setting node

Setting

Assets
Establish where the shot takes place.

A named location with a description, rendered as 'Setting: …' in the prompt. Wire a Reference plate to keep the same room or street consistent across a scene. Chain it into the Actions that happen there, or straight into the Output.

Prop node

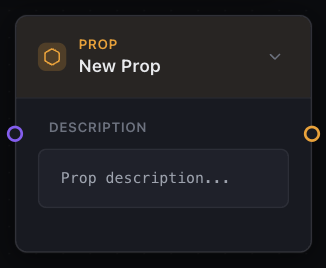
Prop

Assets
Put a specific object in the frame.

Describes one object — a red Ferrari, a revolver, a letter — and drops that description into the prompt. Accepts a Reference image when the exact object matters. Good for anything the story tracks from shot to shot.

Style node

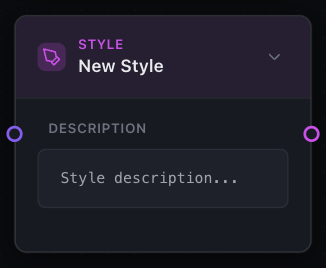
Style

Assets
Set the overall look of the render.

A described art style — ink wash, 70s film poster, flat comic color. Its text is appended last in the assembled prompt, so it gets the final word on the look; restate the medium here if renders drift toward photoreal. Attach a Reference sample when words aren't enough.

Extras node

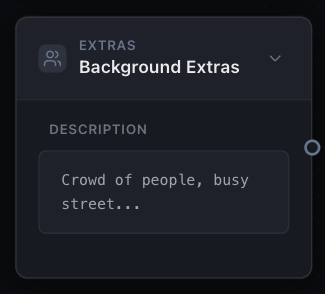
Extras

Assets
Fill the background with unnamed people.

Crowds, passersby, staff — anyone who needs to be in the frame but doesn't need a name or a reference. Its description drops into the prompt after the settings. One Extras node per flavor of crowd keeps shots easy to rewire.

Modifiers

Modifiers nodes

Per-shot shaping: framing, wardrobe, and the camera itself.

Shot node

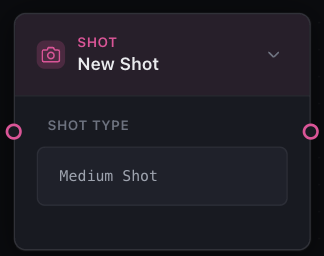
Shot

Modifiers
Pick the framing before anything else.

Thirteen presets from Establishing to Tracking, plus an optional note. The label lands at the front of the prompt (right after Time Period), which is where framing instructions work best. Pair with a Camera node for lens and film character.

Outfit node

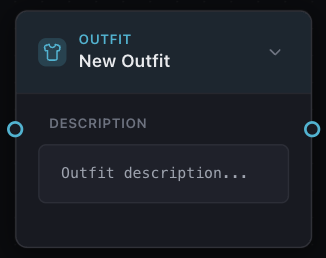
Outfit

Modifiers
Dress a character for this scene.

Wire it into a Character and the prompt reads 'Name, description, wearing …'. Left standalone it contributes 'Wearing …' on its own. Swap outfits per scene while the Character and its Reference stay untouched.

Camera node

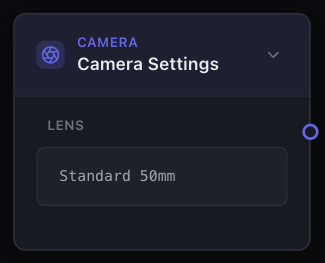
Camera

Modifiers
Choose the lens, film stock, and exposure.

Renders cinematography terms into the prompt: lens (ultra-wide to anamorphic), depth of field, handheld or locked feel, film stock ('35mm Film look'), exposure, vignette. Only non-default choices are written. A position control decides whether it lands after the shot, after the subject, or before the style.

Scene

Scene nodes

The working middle of the graph — actions, text, parameters, and the plumbing that shapes each shot's prompt.

Action node

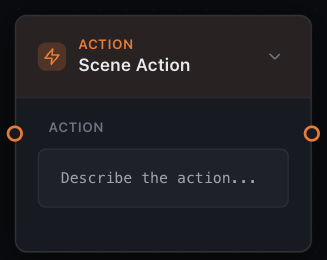
Action

Scene
Say what happens in the shot.

Free text, passed into the prompt as-is after characters and settings. This is the sentence that changes shot to shot while everything wired around it stays put. Keep one action per Output; chain the shared cast and setting into each.

Text node

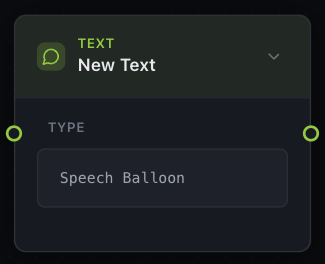
Text

Scene
Put words in the image — or hold space for them.

Nine types: speech and thought balloons, captions, titles, SFX, whispers, shouts, signs, subtitles. Render mode asks the model to draw the text; reserve-space mode leaves a clean area to letter later. A connected Character fills in the speaker.

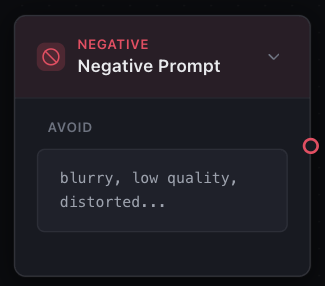
Negative node

Negative

Scene
Tell the model what to leave out.

Plain text of things to avoid, sent as the negative prompt. Wire it to the Output's config handle (or the Video node's neg handle). Recurring intruders — extra fingers, watermarks, modern cars in a period piece — live here, not in the main prompt.

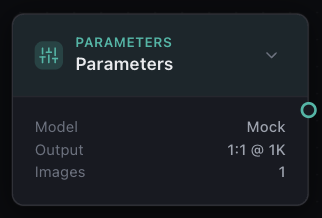
Parameters node

Parameters

Scene
Choose the model and how it renders.

Model (Gemini, Flux, SD3, GPT Image and more), aspect ratio, resolution, seed, temperature, and batch size up to four. Wire it to the Output's config handle; without one, the Output falls back to your settings defaults. Pin the seed to reproduce a shot.

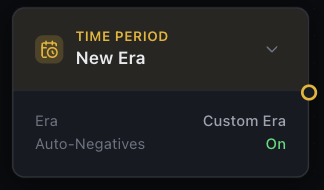
Time Period node

Time Period

Scene
Anchor the shot in an era.

Twenty-one era presets from Prehistoric to Far Future, plus custom, with a region qualifier. It opens the prompt to set temporal context and — the useful part — auto-injects era-appropriate negatives, so a medieval scene doesn't sprout glass windows or firearms.

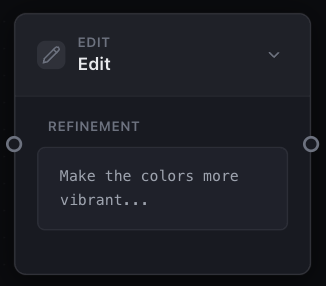
Edit node

Edit

Scene
Nudge a shot without rebuilding it.

A refinement instruction appended at the very end of the prompt, after style. Use it for second passes: wire the previous Output back in as a reference, describe what should change, and regenerate. The rest of the graph stays exactly as it was.

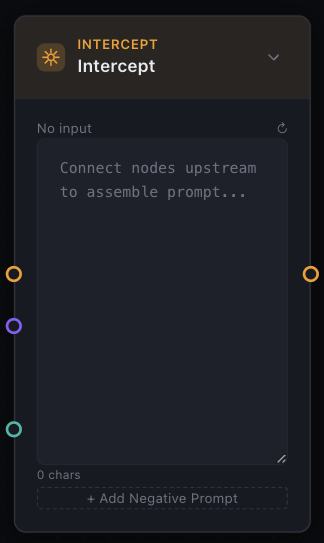
Intercept node

Intercept

Scene
Catch the assembled prompt before it generates.

Sits between the graph and the Output. It shows the fully assembled prompt and negative, lets you edit either by hand, and passes your version downstream — upstream changes won't overwrite your edits. The escape hatch when node wiring almost gets you there.

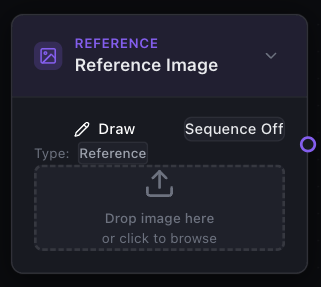
Reference node

Reference

Scene
Give the model an image to hold onto.

Carries a picture into the graph — a character portrait, a setting plate, a style sample. Wire it to a Character or Setting to lock their look across every shot, or route it through a Transform into a Page panel.
Output

Output nodes

Where prompts become pictures — and pictures become pages.

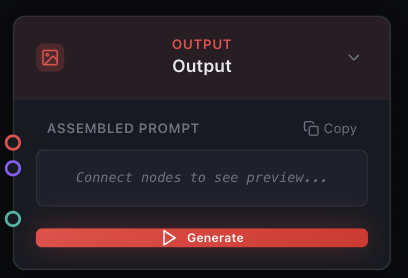
Output node

Output

Output
Assemble the prompt and generate the image.

The terminal node: everything wired in becomes one prompt, previewed here before you hit Generate. Batches up to four images with pick-one pagination, and the result can feed back into the graph — as a Page panel, a Video frame, or a reference for the next shot.

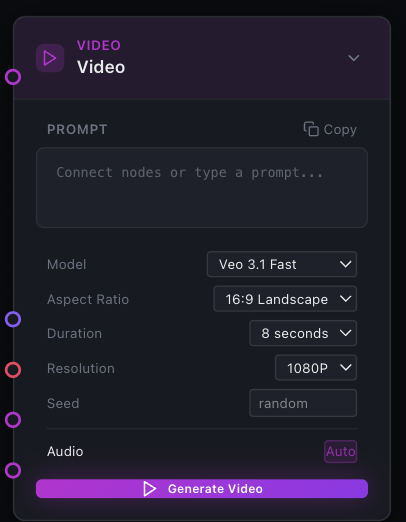
Video node

Video

Output
Turn the graph into a Veo video clip.

Generates 4–8 second clips via Veo 3.1 (Lite, Fast, or Standard up to 4K). Same prompt assembly as Output, plus dedicated inputs: reference images for consistency, a first frame for image-to-video, first plus last for interpolation. Gemini-hosted results expire after 48 hours — download what you keep.

Page node

Page

Output
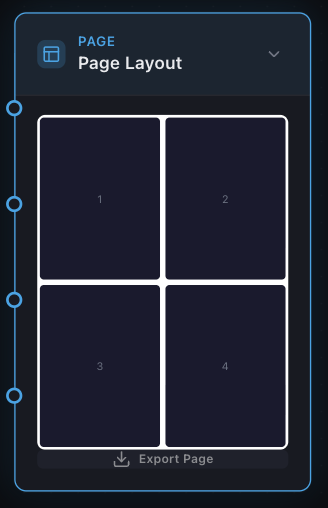
Compose finished frames into a comic page.

Twelve panel presets plus a dynamic grid. Feed panels from Outputs, References, or Transforms; set gutter, background, and export size; export the composed page as a single image.

Comp node

Comp

Output
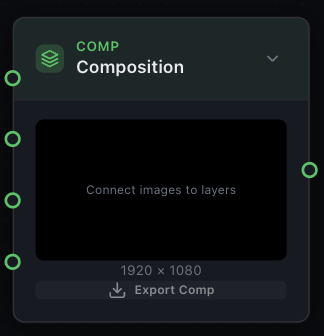
Stack images into a four-layer composite.

Four layers — back, mid, fore, ext — each fed by an Output, Reference, FX, or Scene, each with its own Transform for position and scale. Composites to a fixed canvas and hands the result to a Page panel. The multiplane way to build a shot from separate renders.
Animation

Animation nodes

Motion and framing over time — and the crop controls the layout tools build on.

Transform node

Transform

Animation
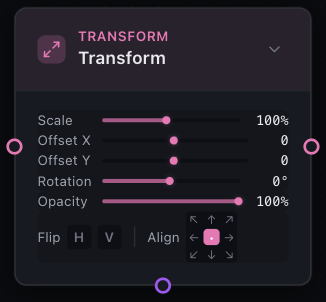
Crop, zoom, and position an image inside its frame.

Sits between an image source and a Page panel or Comp layer. Scale 1 shows the whole image; larger zooms in; offsets pan; alignment anchors the crop. Every per-panel crop the layout skill writes becomes one of these — live and adjustable after import.

Timeline node

Timeline

Animation
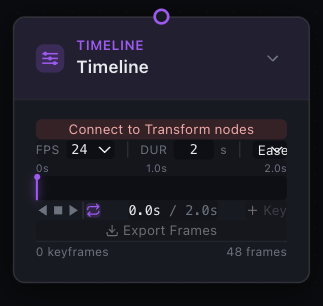
Keyframe Transforms and play them back.

Drives connected Transform nodes: scrub or play and it interpolates scale, offsets, rotation, and opacity between keyframes, one track per Transform. Set fps, duration, easing, and loop; export renders the animation through a connected Comp or Page.

3D / IDE

3D / IDE nodes

The bridge to three.js: block in a scene in 3D, or write shader effects, and feed the result back into the graph.

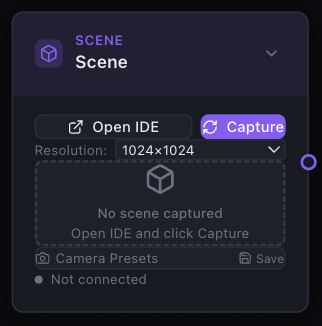
Scene node

Scene

3D / IDE
Block in a shot in 3D, capture it as a reference.

A bridge to the three.js IDE: arrange geometry, save named cameras, then Capture pulls back an image (plus depth and edge maps) with an auto-written description you can override. Wire it to an Output's ref handle so the model matches your composition.

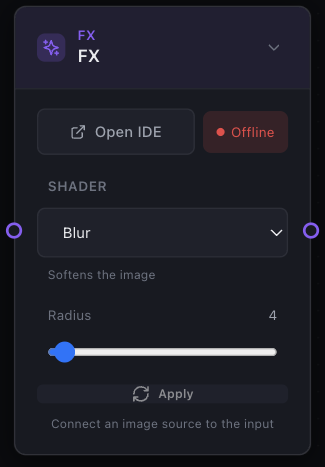
FX node

FX

3D / IDE
Run an image through a shader.

Nine GPU effects processed in the IDE — blur, sharpen, vignette, chromatic aberration, grain, posterize, color adjust, halftone, chroma key — each with its own controls. Takes an image from an Output, Reference, or Scene; the result feeds a Comp layer or chains into another FX.

Files

Managing project files

The toolbar above the project list handles every way a project moves in and out of FlowBoard. The core distinction: cloud projects live in your account and sync everywhere you sign in; file-linked projects live in a .flowboard.json on your own disk.

Save ⌘S

Saves the open project where it lives: cloud projects save to your account, file-linked projects write straight back to their file on disk. The amber dot on the project means unsaved changes.

Open file ⌘O

Opens a .flowboard.json from disk and links to it — from then on, Save writes back to that file. Your work stays on your machine, under your own backups and version control.

Save As ⌘⇧S

Writes the open project to a new file on disk and links to it — the way to take a cloud project local, or to fork a file-linked one.

Import

Loads a copy of a .flowboard.json into your workspace as a new project — no link back; the file on disk is never touched afterward. Use it to bring in a shared project or restore a backup.

Export

The download button on any project in the list writes it out as a .flowboard.json — the same file Import and Open read. Export before big experiments; it's your undo of last resort.

Delete

Reads the room before it acts: deleting a cloud project is permanent (it confirms first — and means it); deleting a file-linked project only removes it from the browser — the file on disk is not deleted.

One caveat: Open file and Save As use the browser's File System Access API, so they're available in Chrome and Edge — in browsers without it, work cloud-side and use Export/Import to move files.