FlowBoard does the work — the skills make it faster
FlowBoard is fully capable on its own. The skills are an optional automation layer you run inside your coding agent — Claude Code, Codex, Pi-coding-agent, or whatever harness you use — that takes the tedious and the creative-planning parts off your plate: turning prose into a structured screenplay, working out scene and shot structure, staging 3D block-ins for composition control, driving batch generation, and composing finished images into page layouts.
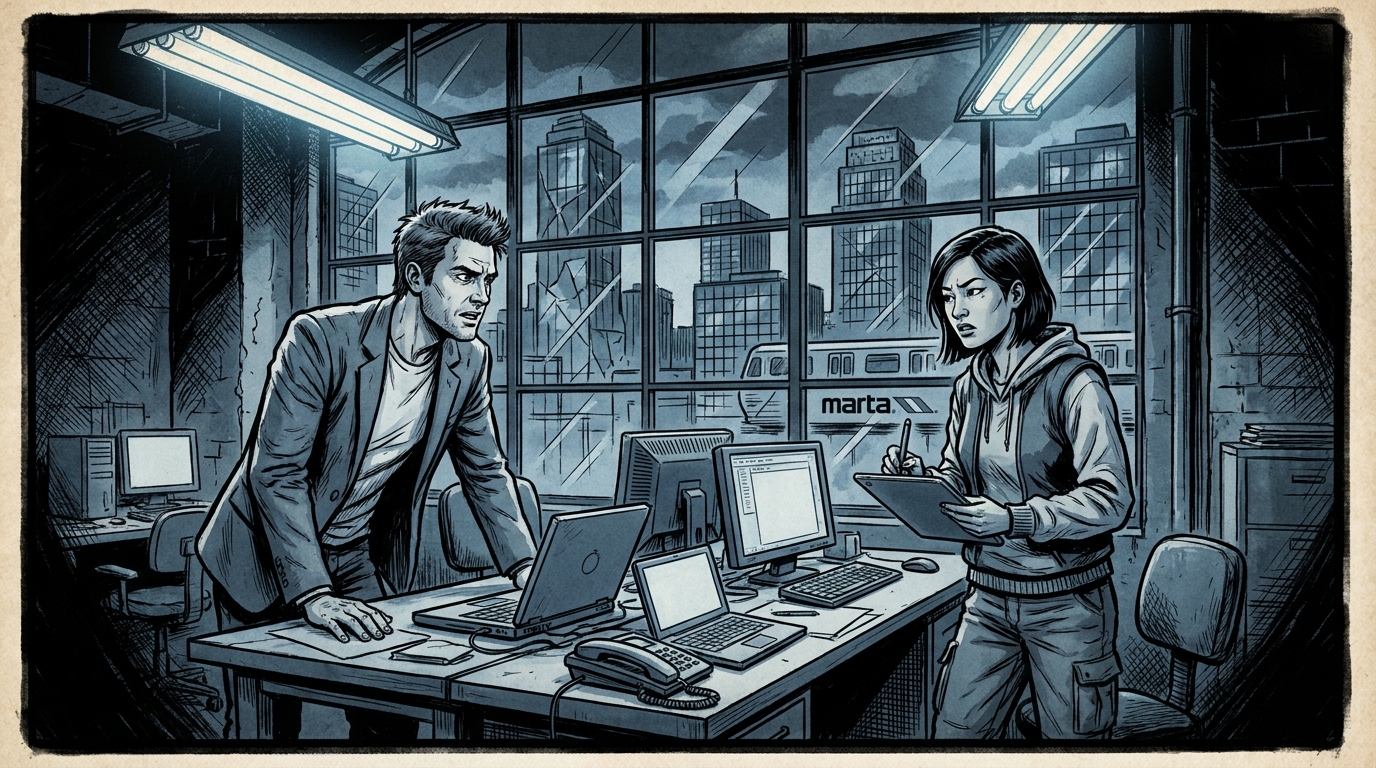
Four skills, four jobs:
- narrative-to-flowboard — the creative-direction assist. Plans the
adaptation — scenes, shot structure, characters, settings — and writes a
clean, FlowBoard-ready screenplay from any prose
(
.md / .txt / .docx / .pages / .rtf). - flowboard-3d-fx — the 3D-staging assist. Describes a shot — or reads one straight from your screenplay — and builds a greybox block-in for the Scene node: metric-scale stand-ins, cinematic camera, capture-ready out of the box. Paste it, frame it, Capture.
- flowboard-render — the throughput assist. Drives the
screen-playspipeline to build the graph, auto-wire your character and setting reference images, and batch-generate from the command line — handy when you want a whole act produced at once. - flowboard-layout — the page-flow assist. Takes your finished images plus the screenplay and plans the book: rhythm mode, beats, splash pages, per-panel crops — reviewed as an HTML preview, then materialized as FlowBoard page nodes you can hand-tweak.
Use FlowBoard on its own, reach for a skill when you want the speed, or run the whole chain end to end: prose → skills → screenplay → FlowBoard → images and pages.
1 · From prose to a screenplay
Point narrative-to-flowboard at a chapter. It interviews you for a style,
era, and place, then adapts the prose into a FlowBoard screenplay: a SCREENPLAY
section plus node-reference tables (style, camera, characters, settings, shots,
actions). The shot IDs and presets are what the app reads.
# input prose (Chapter 1 excerpt)
My father picked me up in a brand new Ferrari —
red and gleaming under the streetlights…

# → adapted screenplay
### SCENE A-1: GRANDPARENTS' PORCH — NIGHT
**WIDE SHOT** A modest Grant Park Victorian, warm
light in the windows, a single porch lamp…

| ID   | Preset       | Description              |
| A1-1 | establishing | Victorian house at night |
2 · Build the graph in FlowBoard
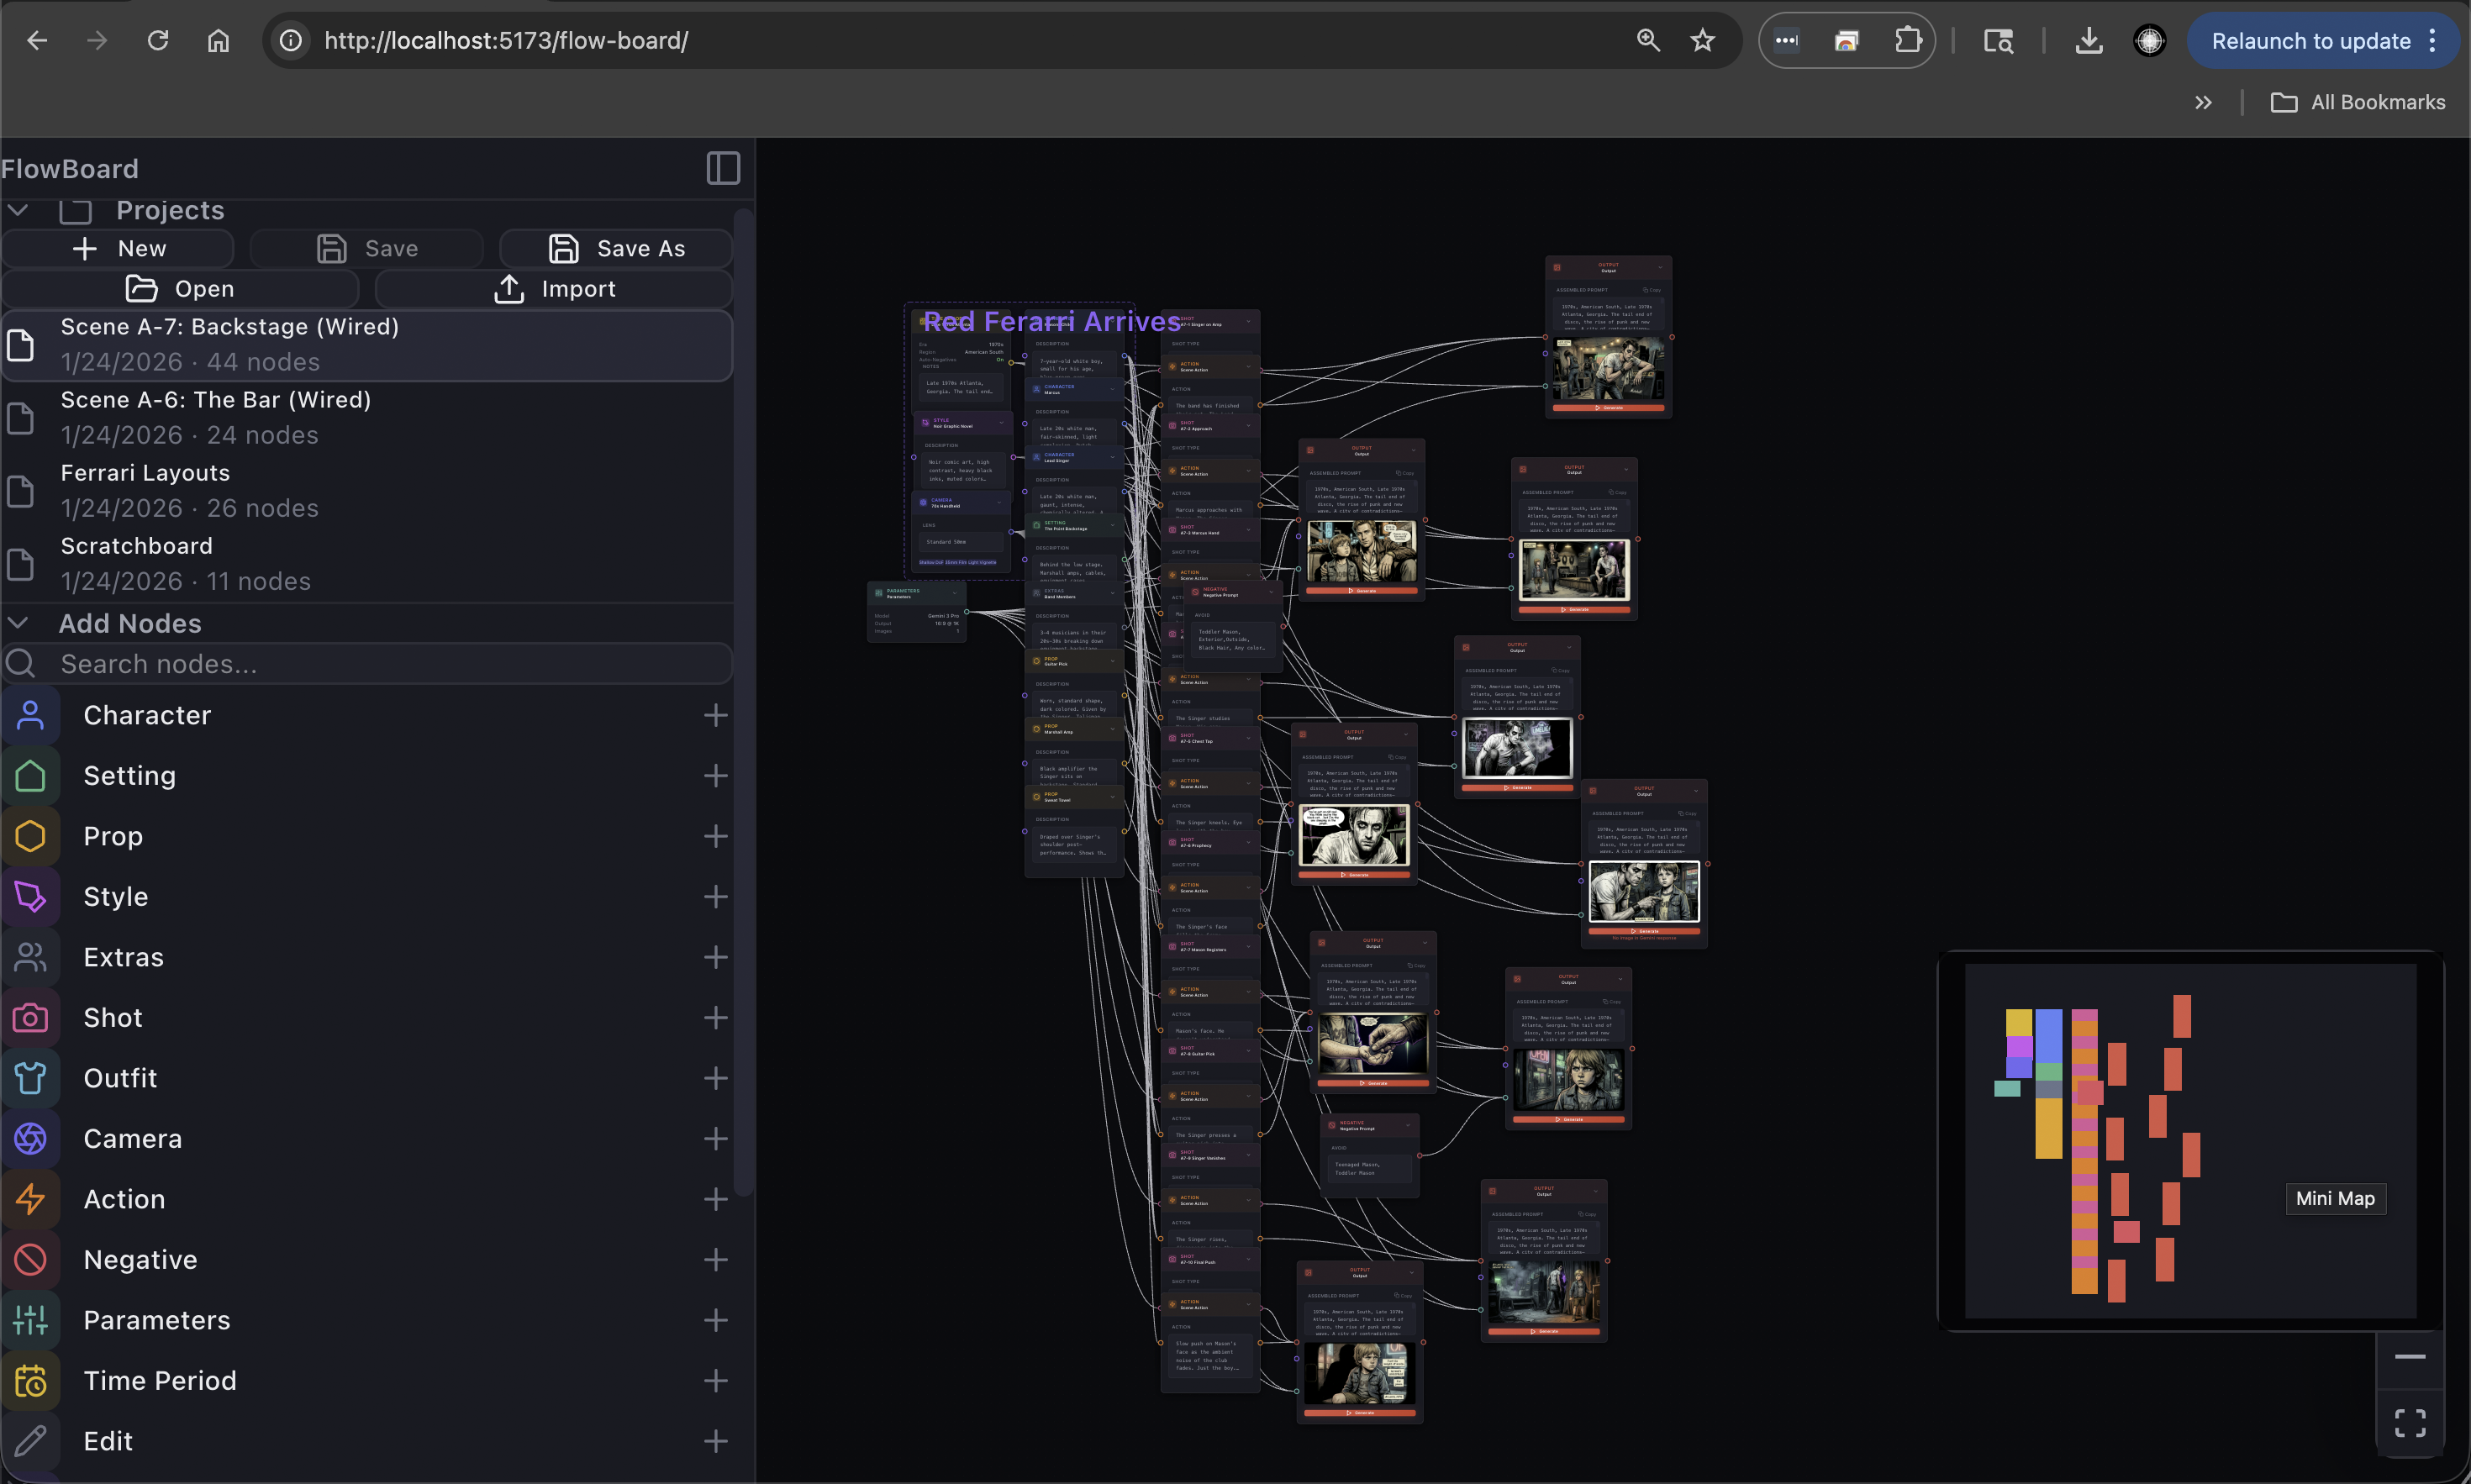
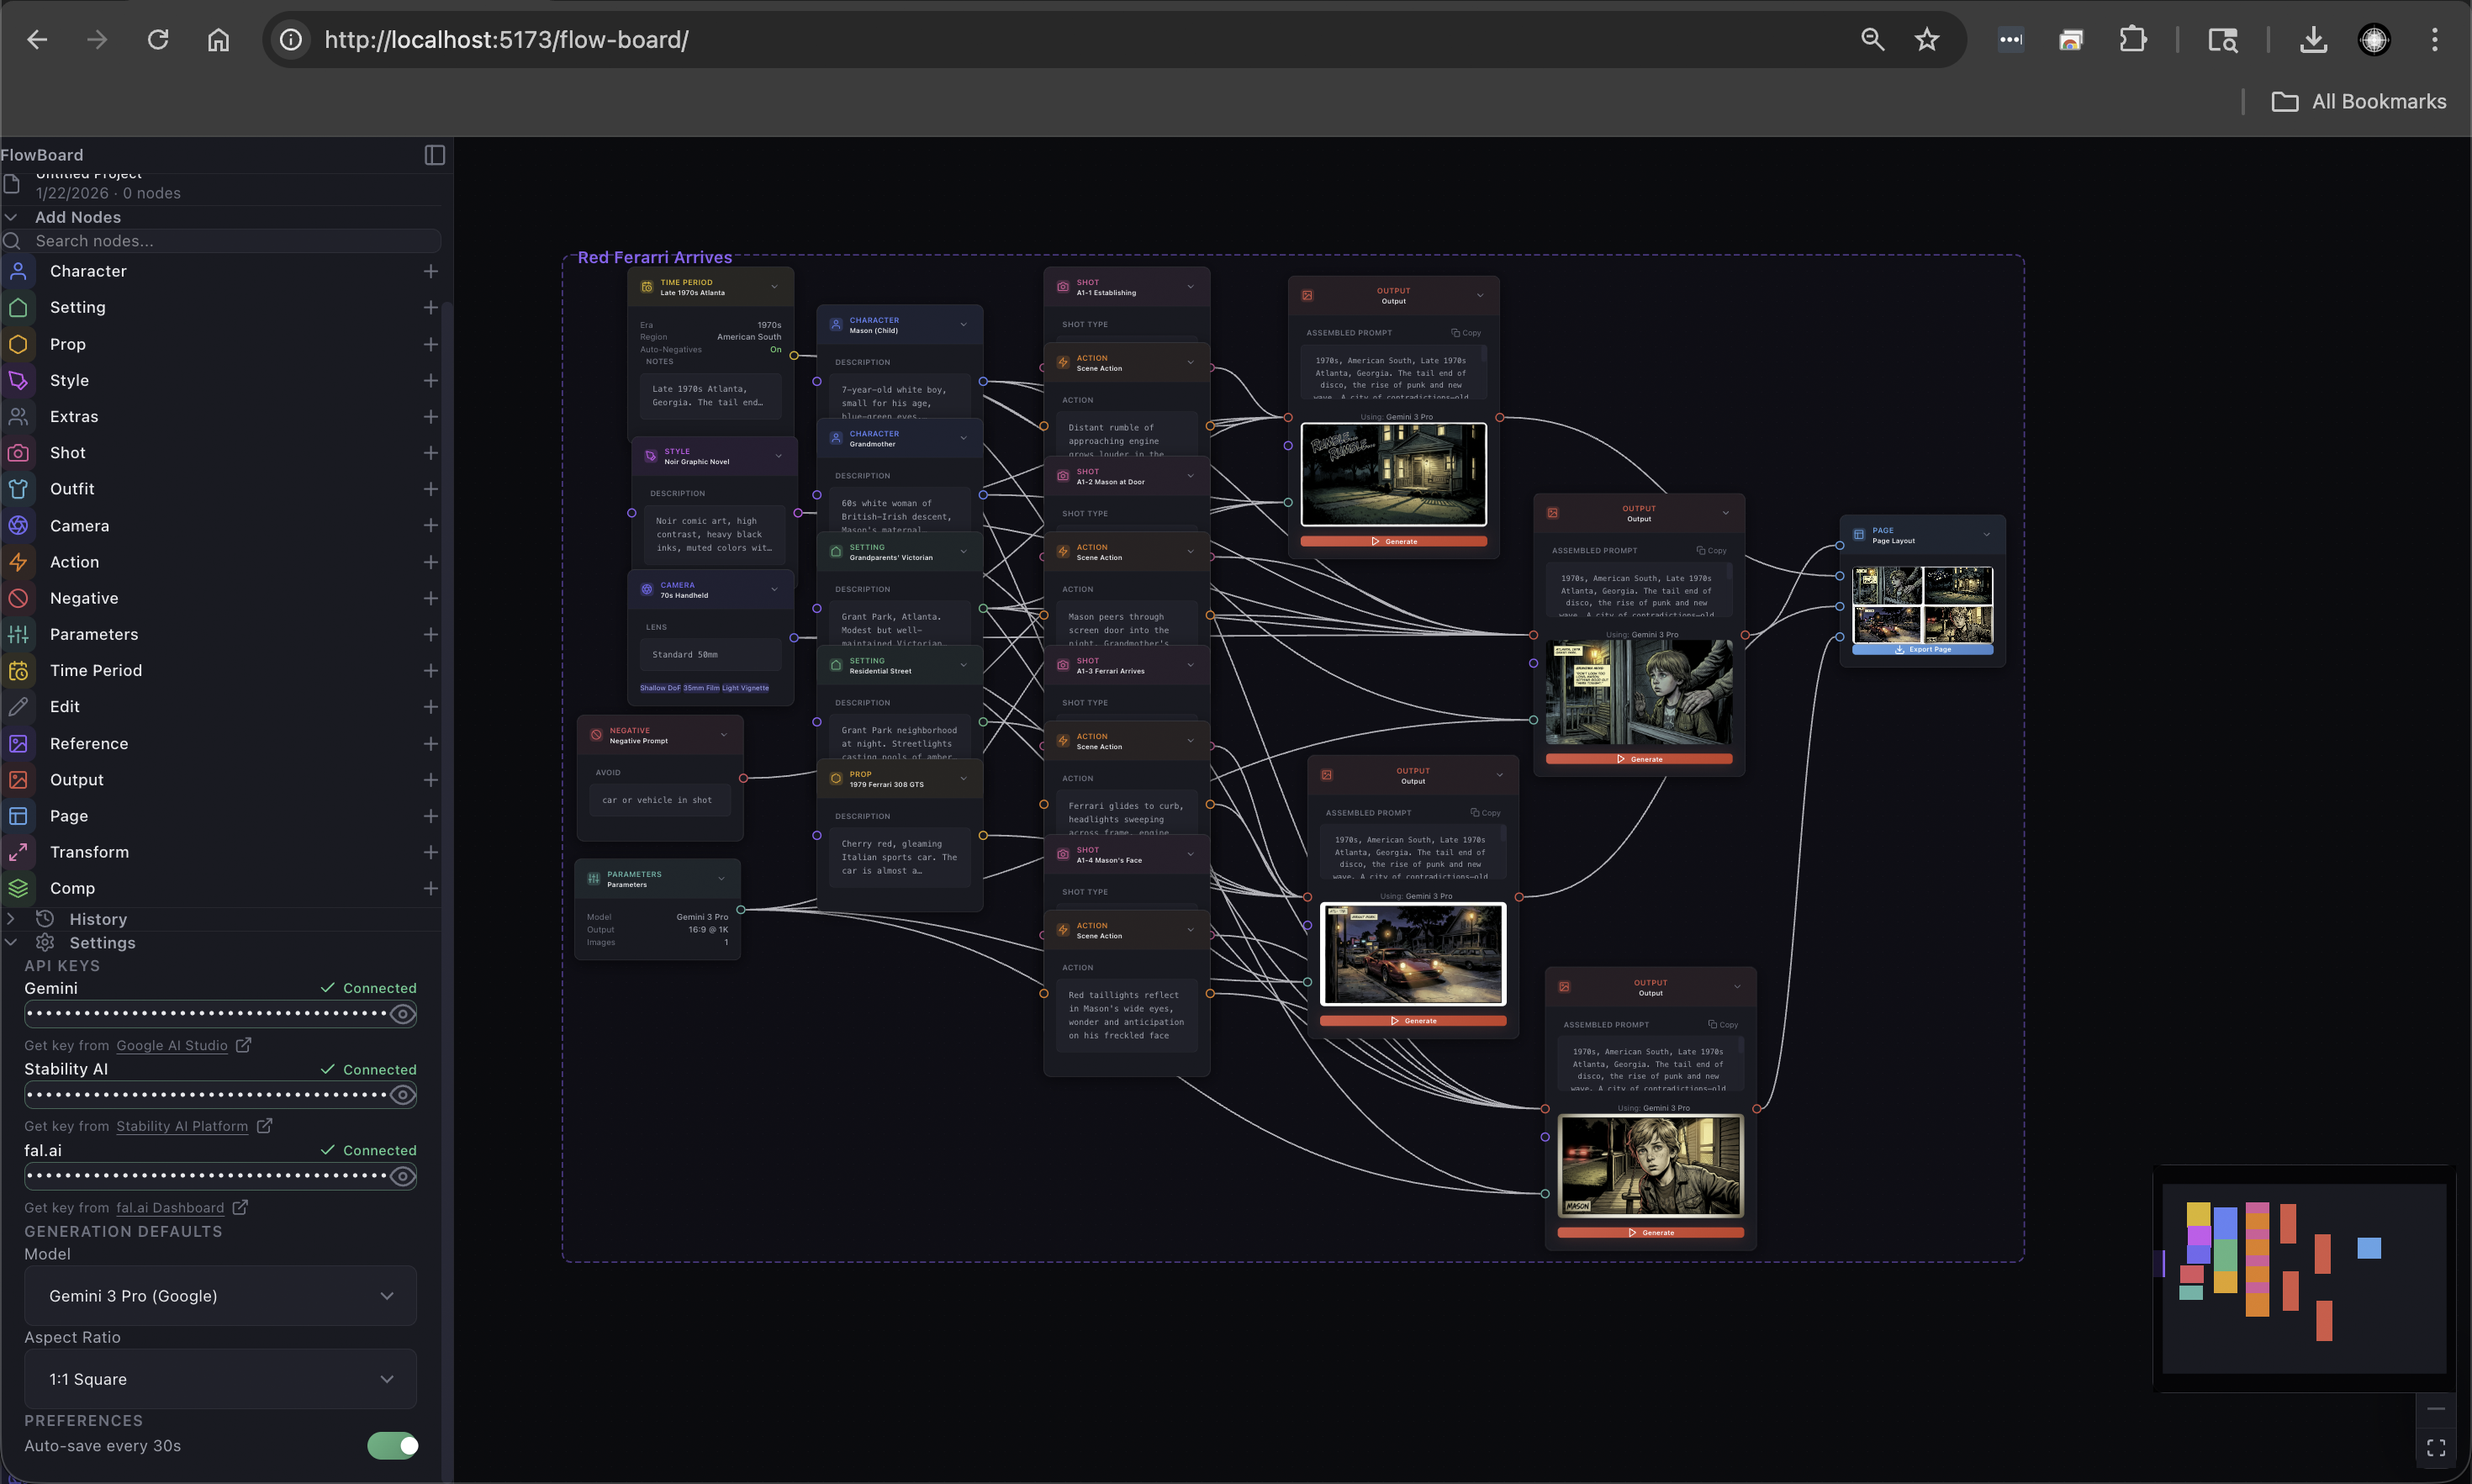
Open the screenplay in the Script Panel and hit Build Graph. Every table row becomes a node — characters, settings, props, a camera, a time-period — wired into one output per shot. From here it's visual: connect, tweak, and generate.
3 · Define your cast once
Generate a reference portrait per character, then wire it into every shot that character appears in. The model holds their face, hair, and wardrobe steady across the whole book — this is what stops AI storyboards from drifting frame to frame.
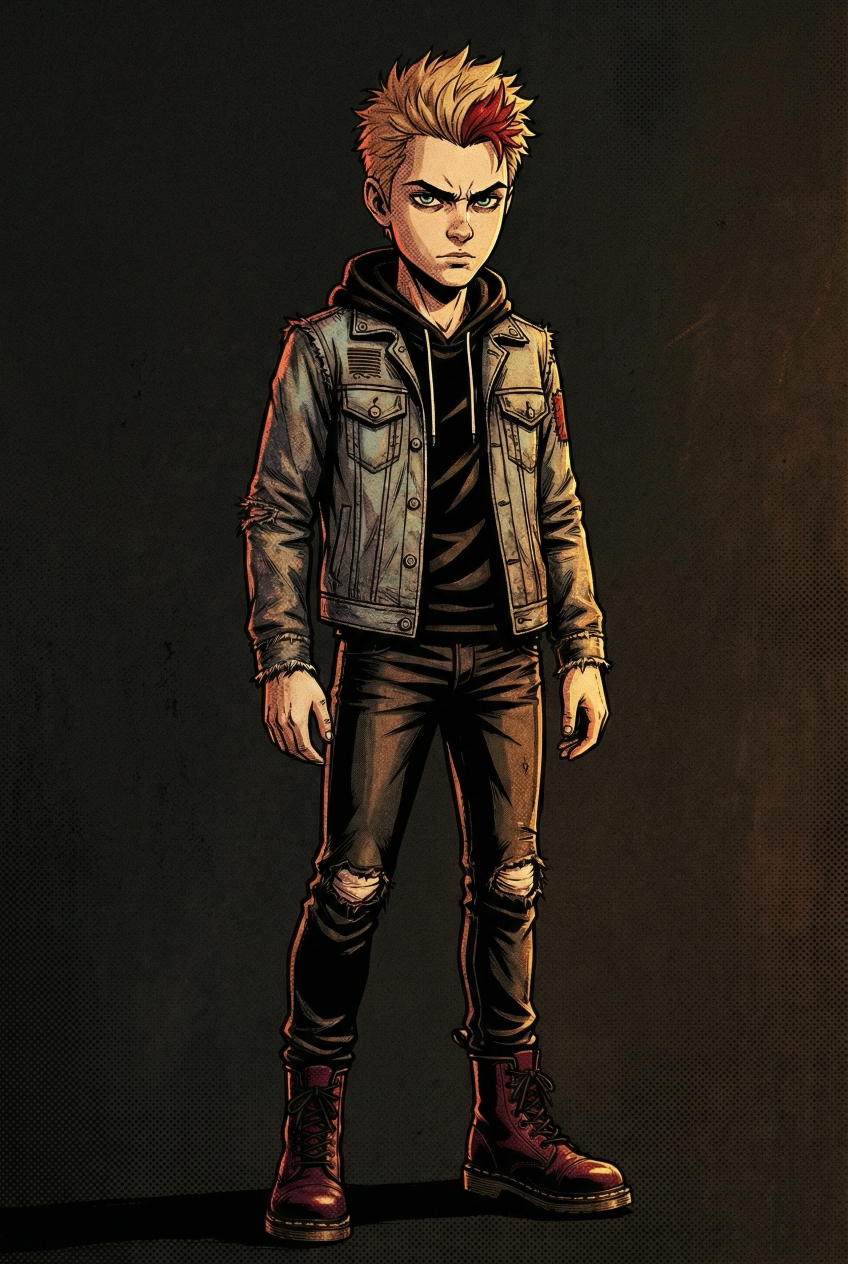
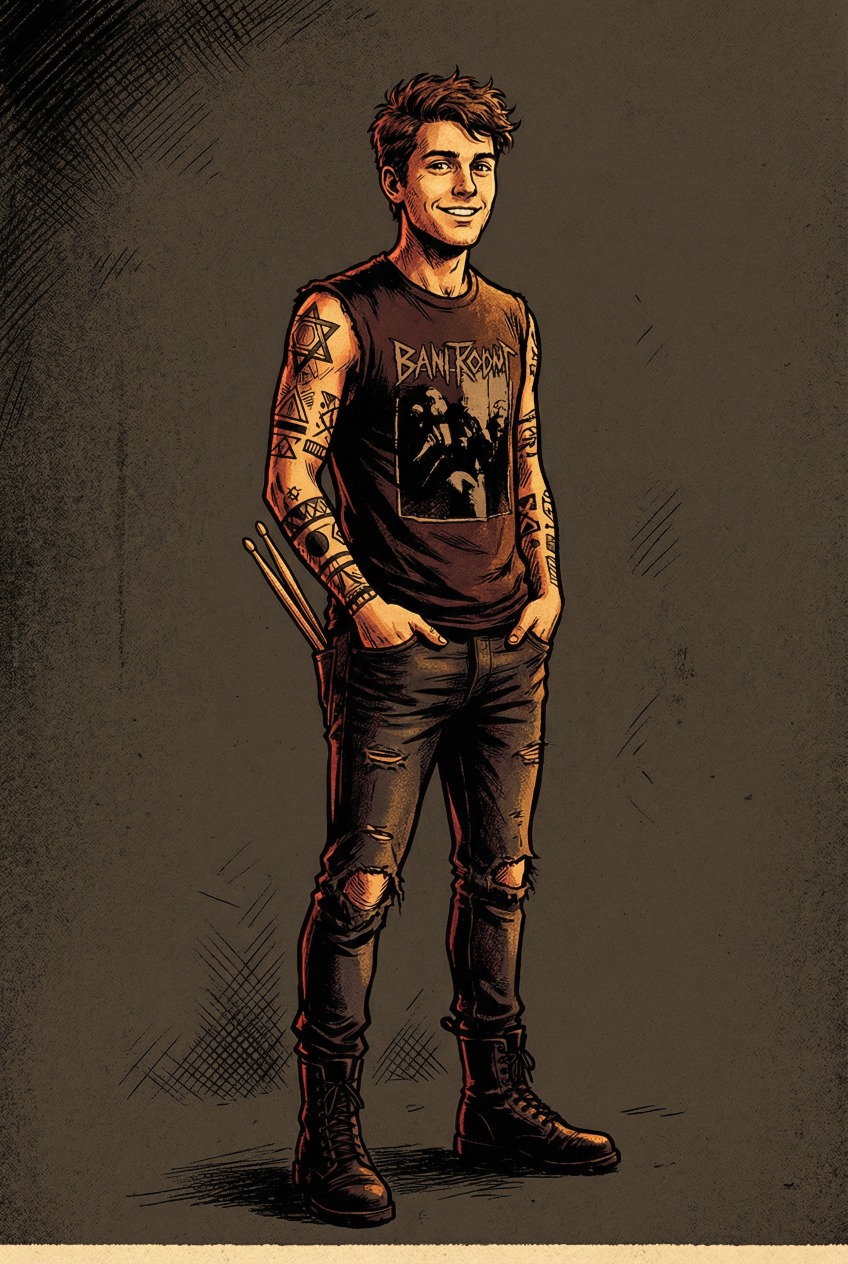
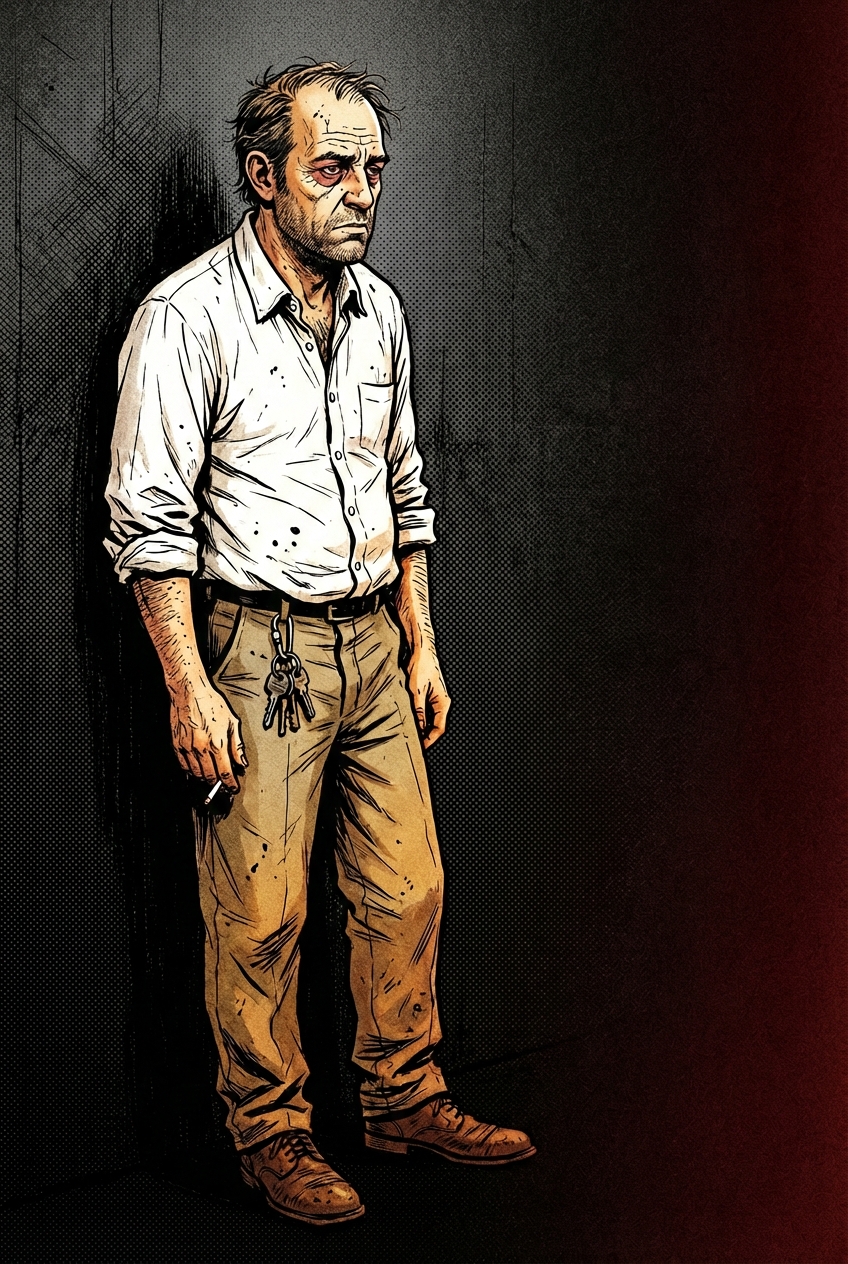
In the graph, a Reference Image node feeds the Character node; outfits and edits layer on top; an Intercept lets you tune the exact prompt before generating.
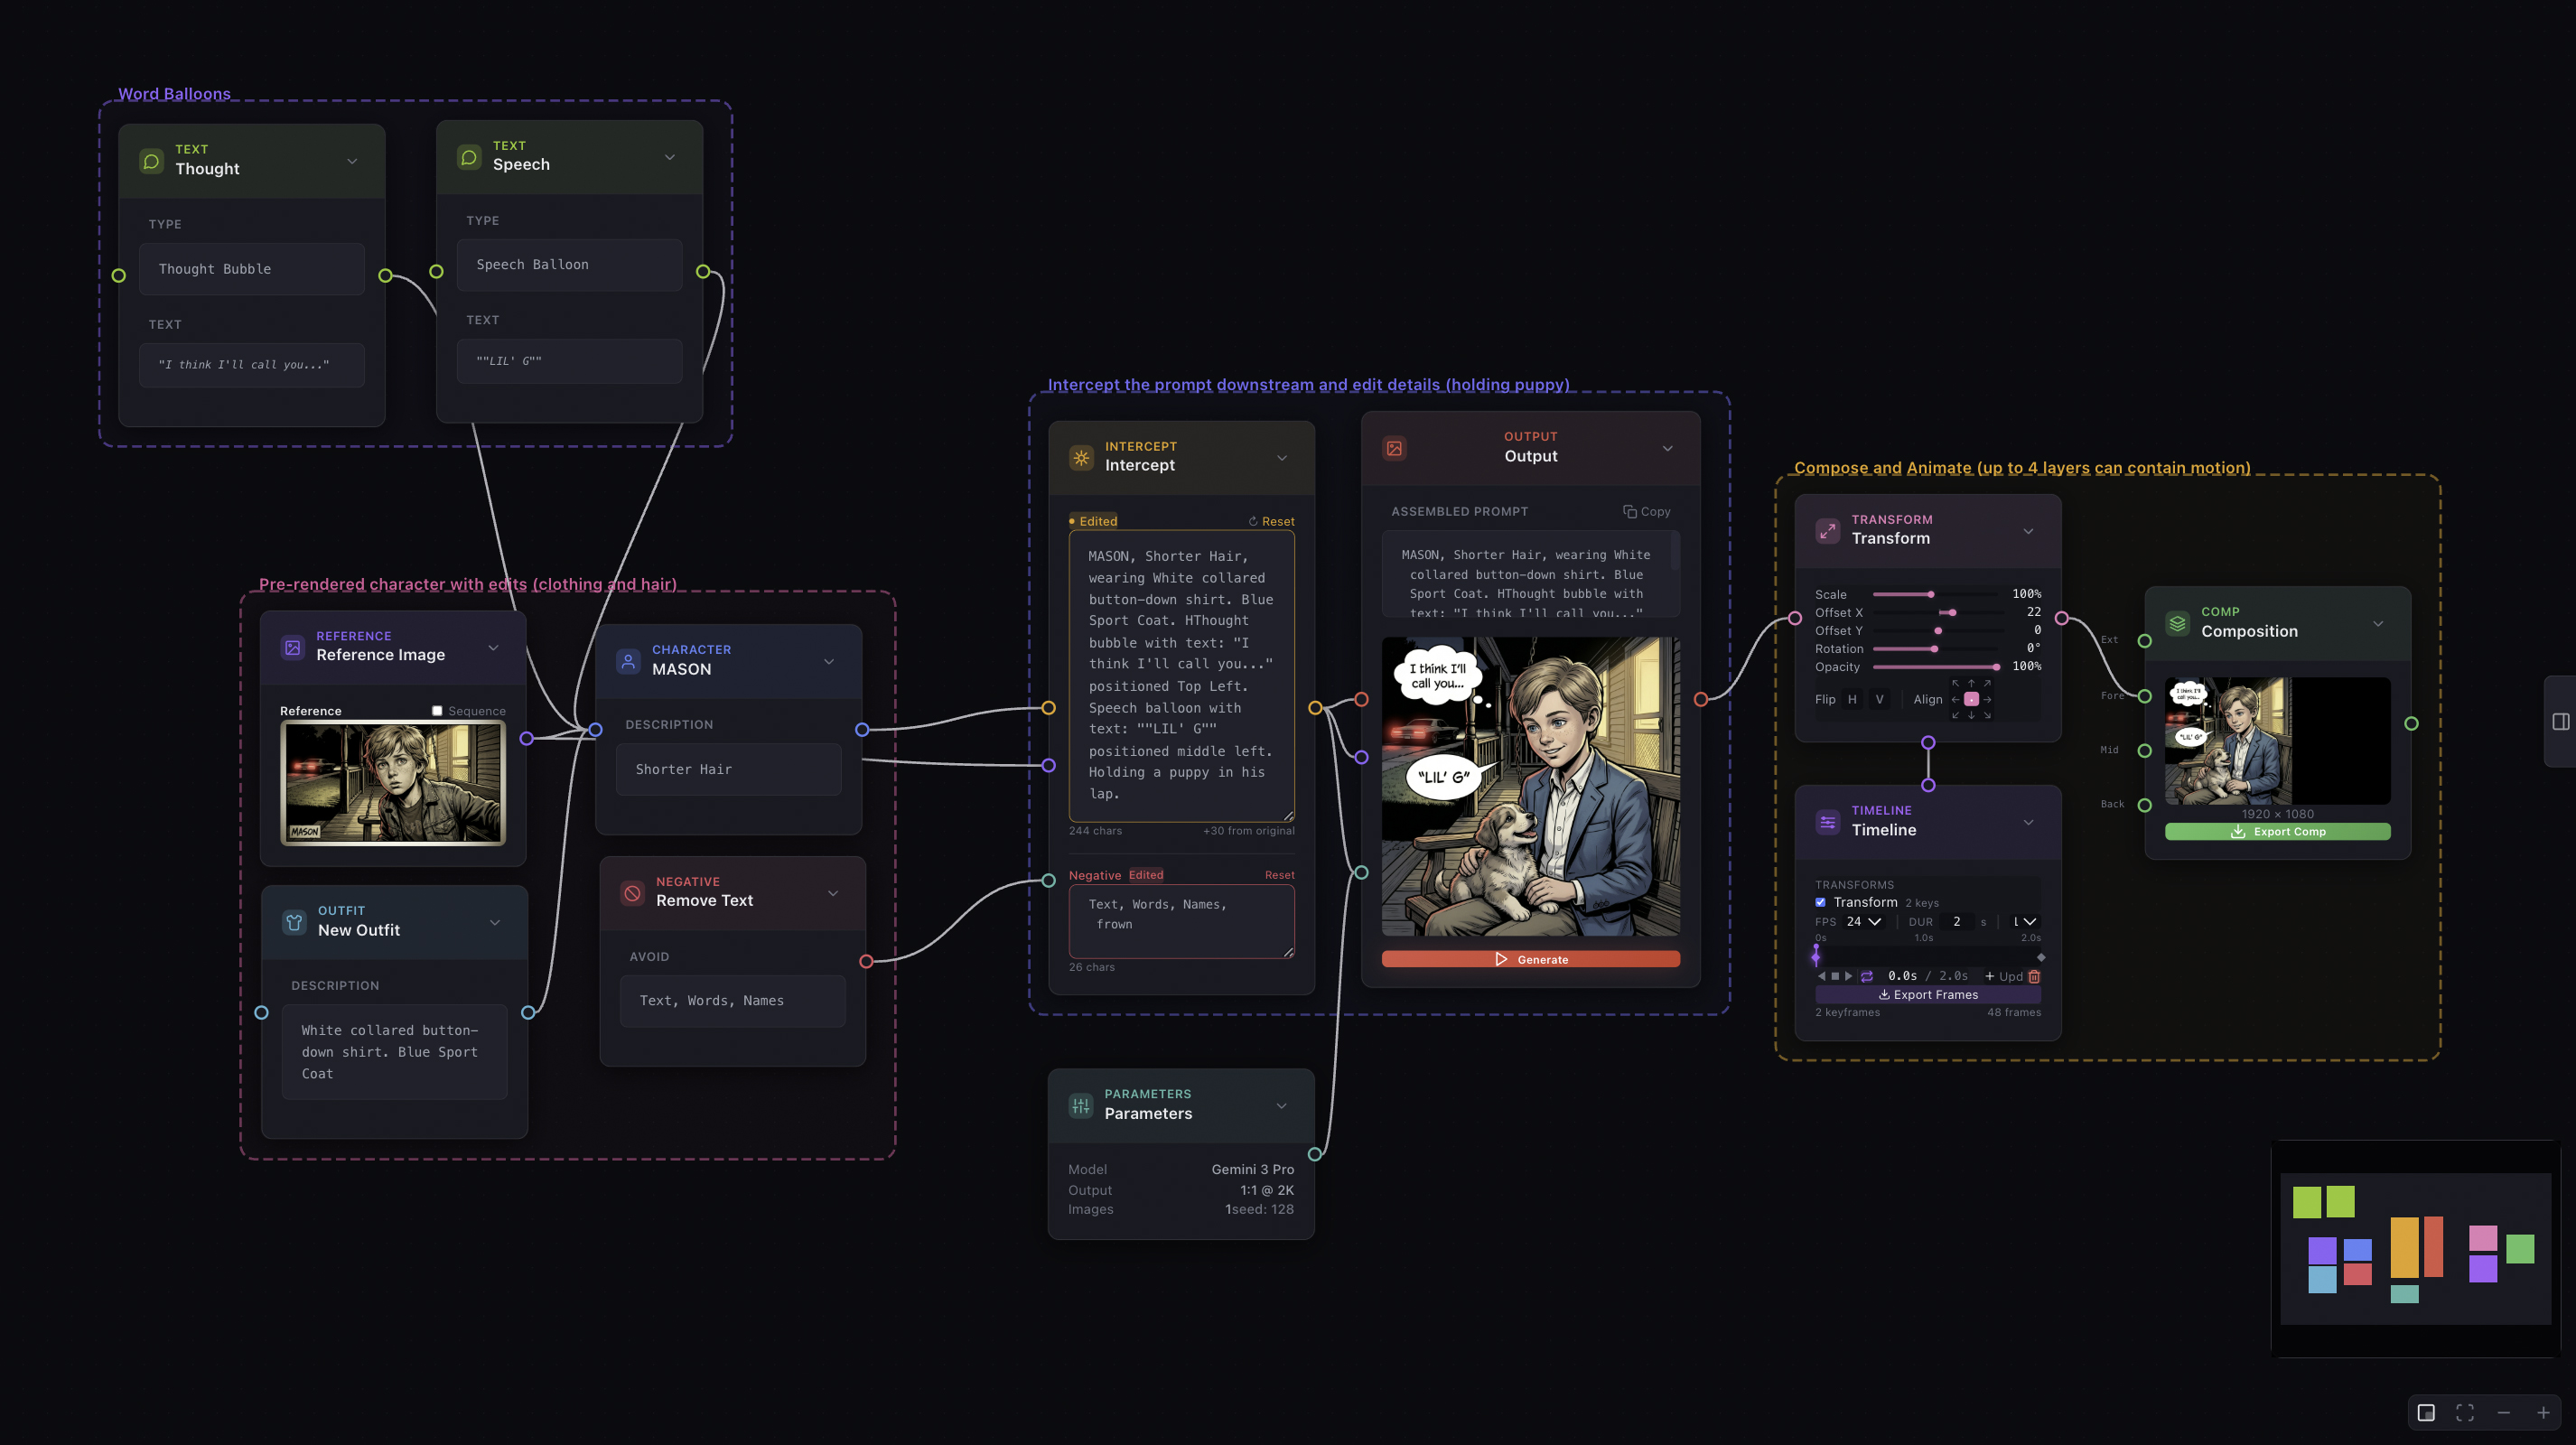
Skill assist — automatic reference wiring. In the app, wiring a reference
is drag-and-drop. Running the flowboard-render skill instead? Drop your
portraits and setting references into CharacterSheets/Output/ and
SettingSheets/Output/, and wire_portraits wires each image to its character
or setting node across every scene. Files match by name — Mason (Child) →
mason.png, extra setting angles as livingroom_angle2.png.
4 · Define your world
Locations get the same treatment. Generate a clean setting reference — an empty room, a street, a stage — and wire it into the shots set there, so the architecture and decor stay consistent while the action changes. You can even start from a rough 3D block-in: FlowBoard's Scene node lets you stage one right on the canvas and use it as the reference.
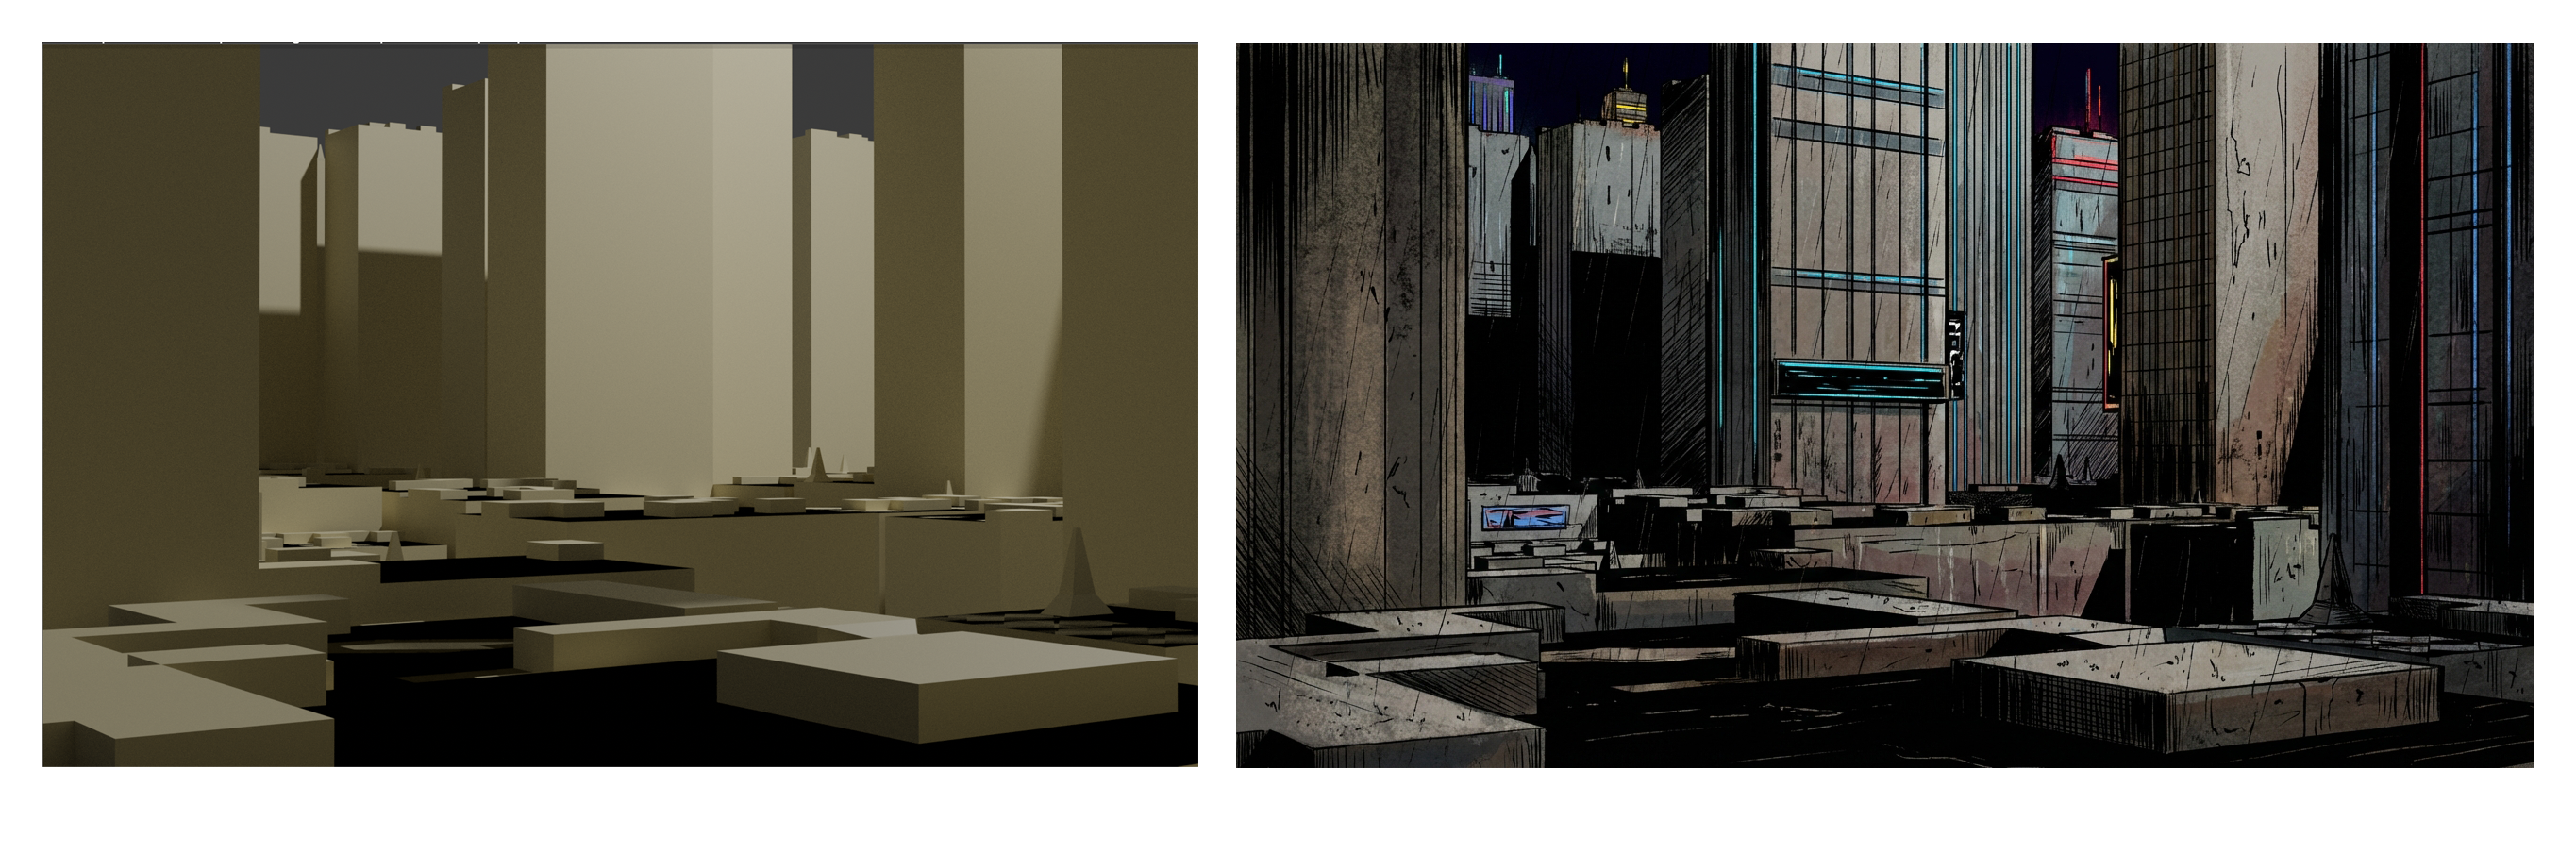
Skill assist — block-ins on demand. Writing that 3D scene yourself is the
part the flowboard-3d-fx skill takes over. Describe the shot — or point it
at a SHOT block in your screenplay, and it translates the shot preset, lens,
and era into camera and staging. It writes a greybox Three.js scene that runs
in the IDE and passes the Scene node's capture contract (the window.renderer
/ window.scene / window.camera / window.controls globals capture depends
on), validates it against a list of known IDE pitfalls before you ever see it,
and hands you a paste-ready file plus a one-click share URL that opens the
scene in the IDE. One rule survives: connect the bridge by opening the IDE
from the Scene node's button — the share URL loads the code, not the
connection. Scenes are built from primitives only (the deployed IDE takes no
model or texture uploads), and on request it stages for the FX chain — a
solid key-color backdrop for chroma-key cutouts, for instance.
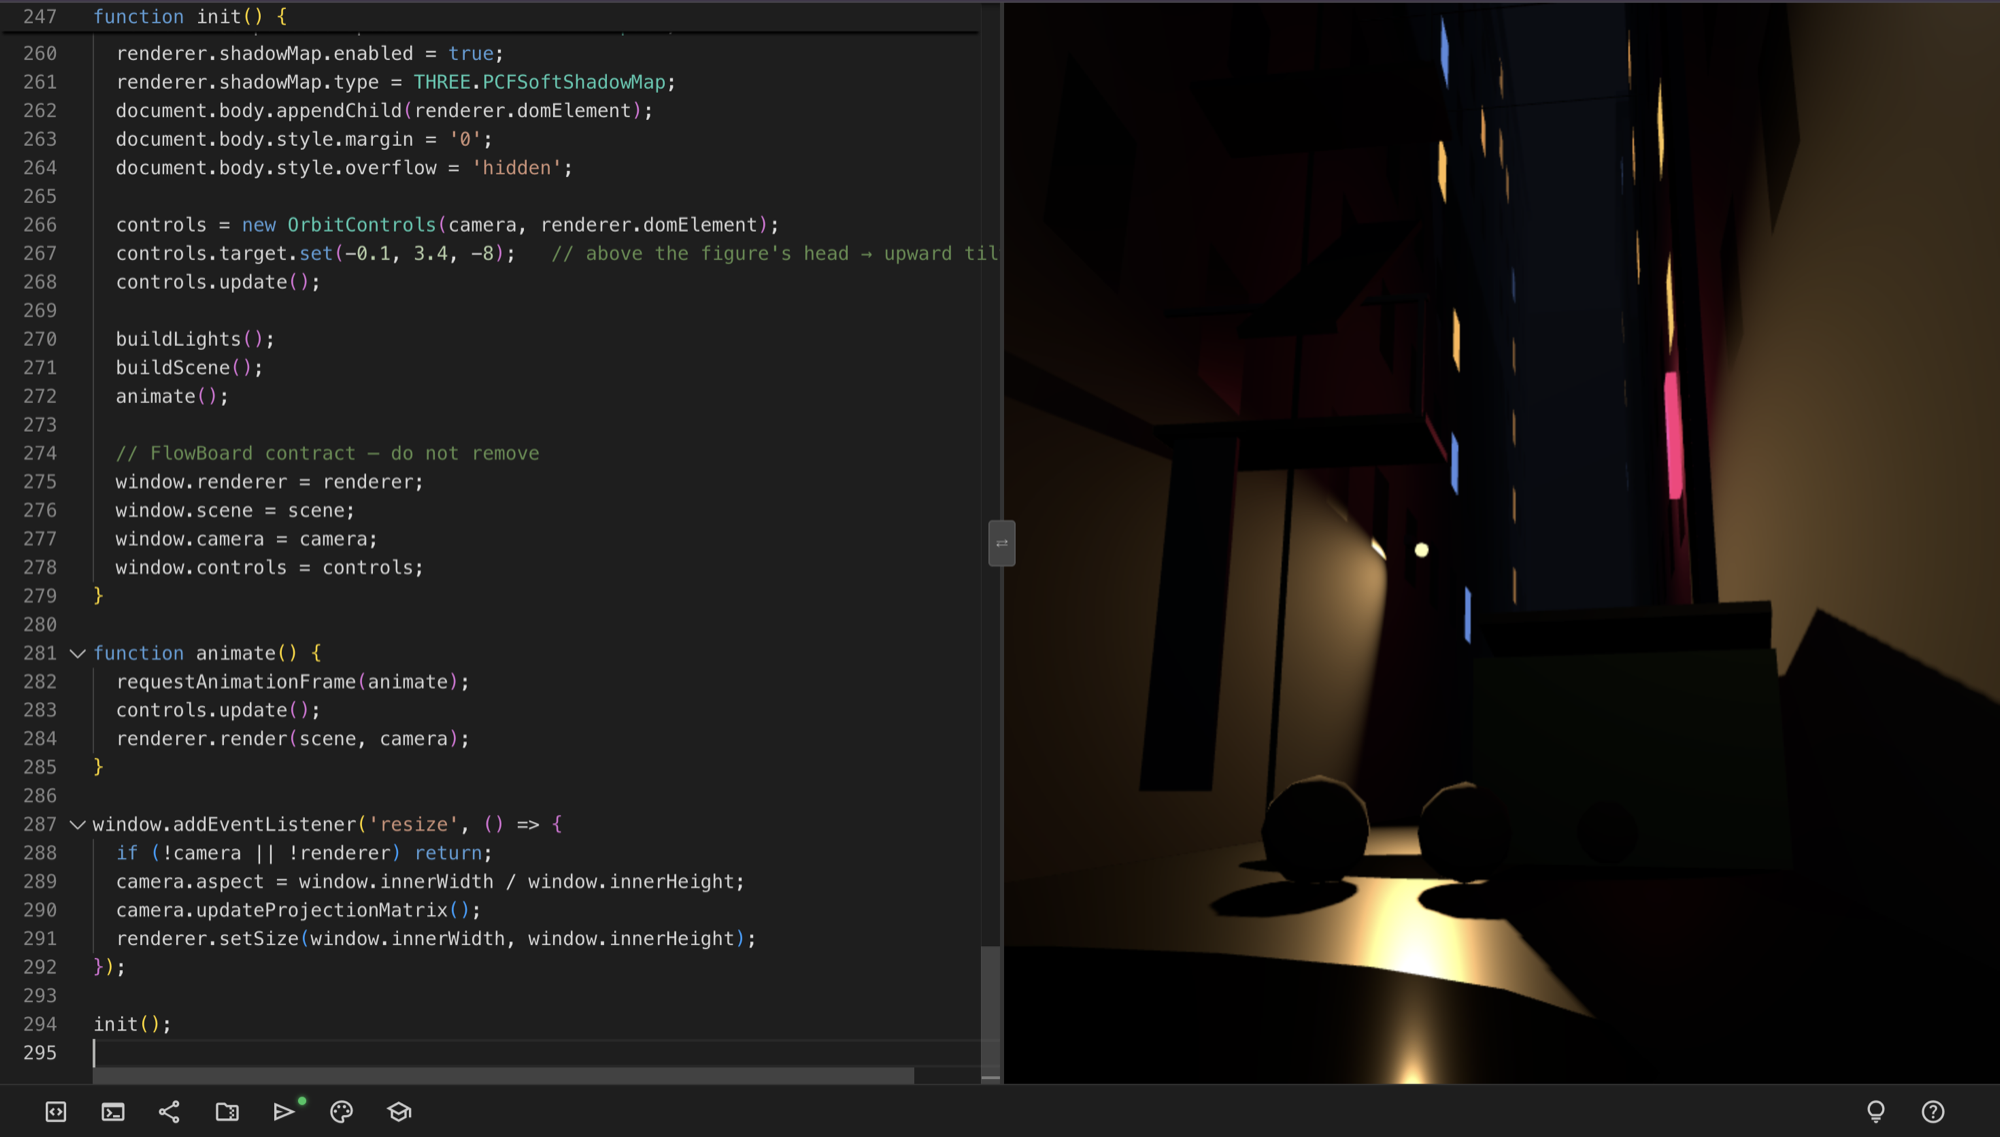
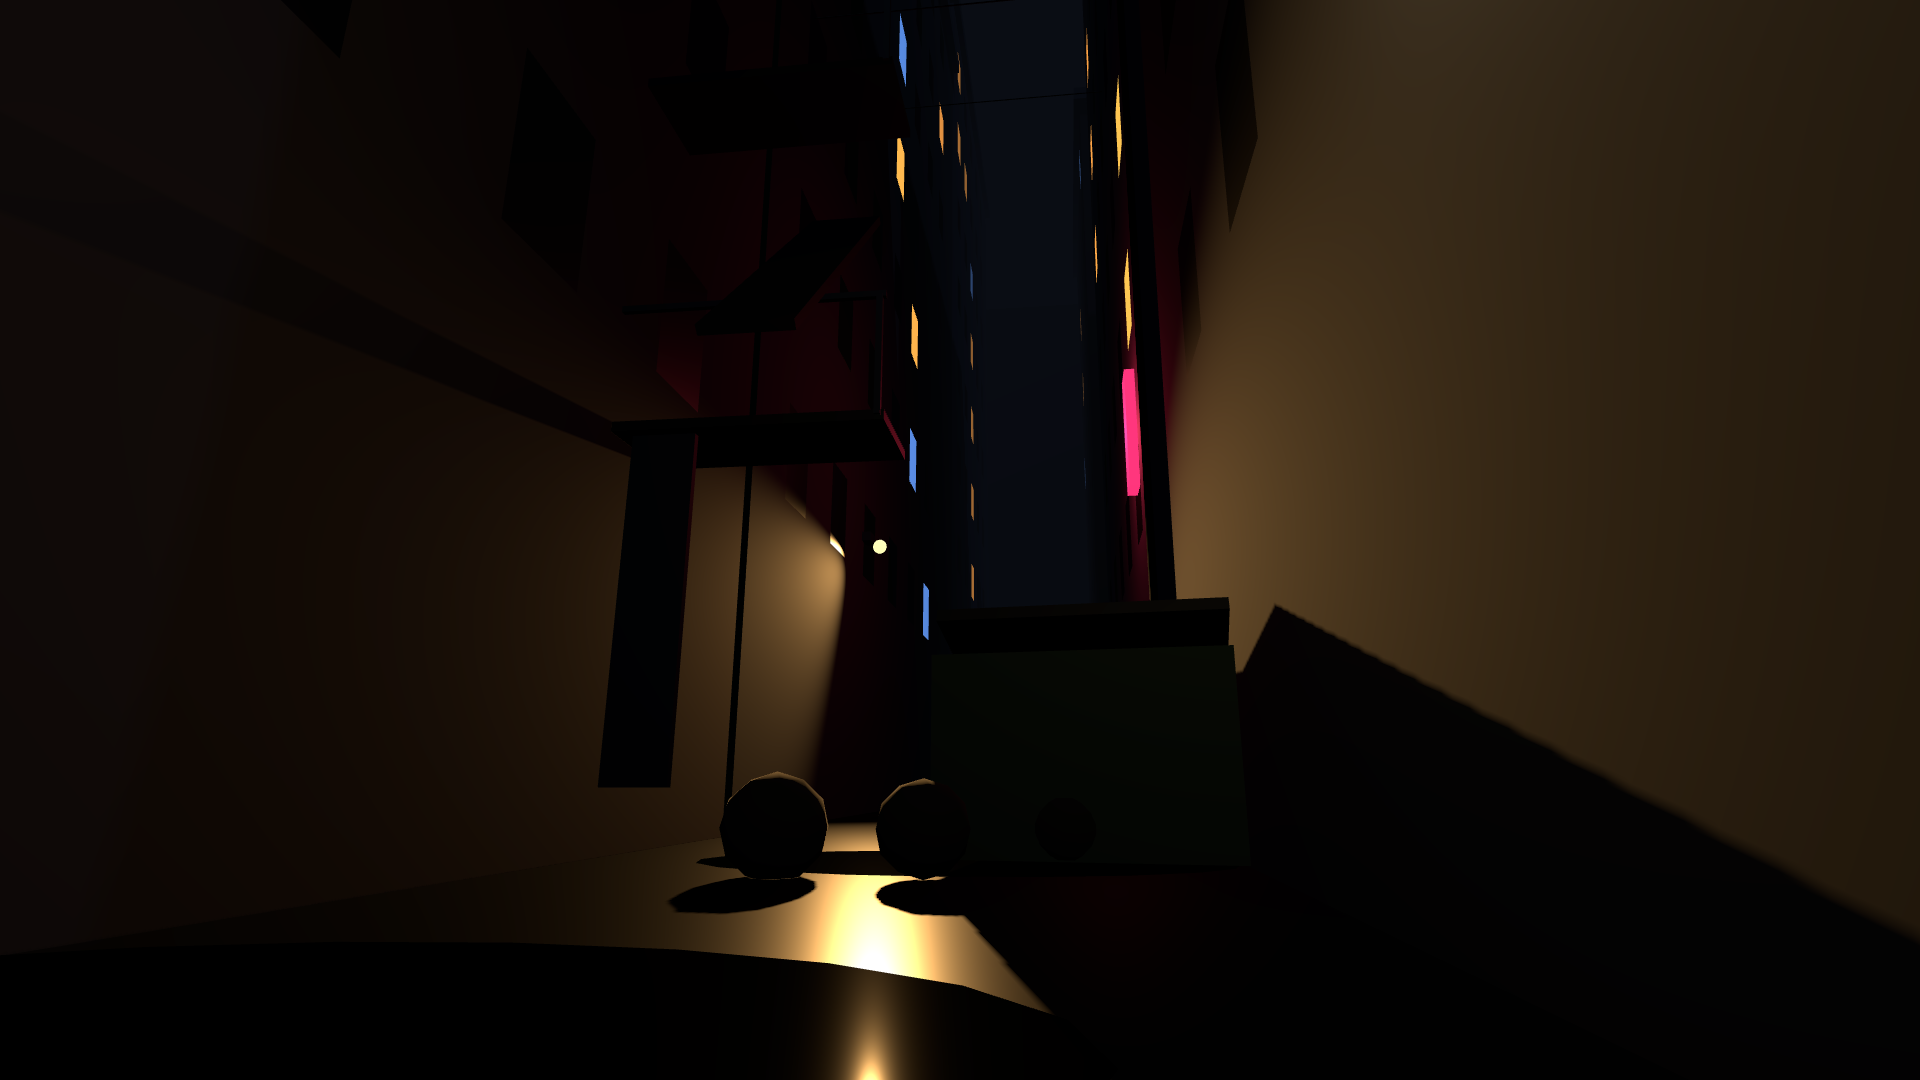
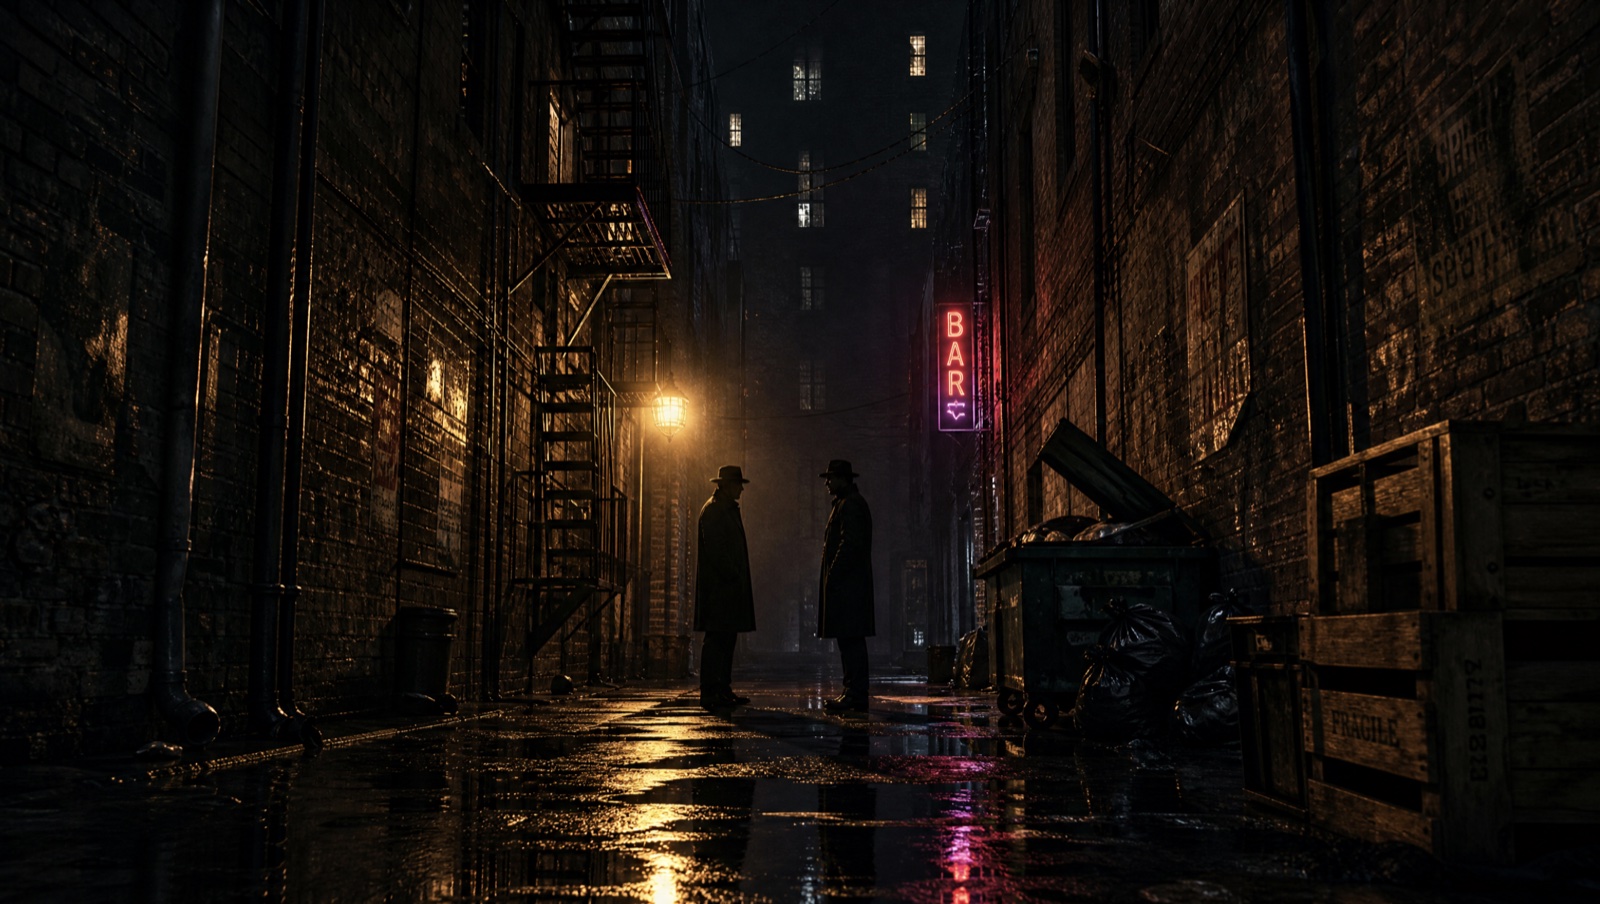
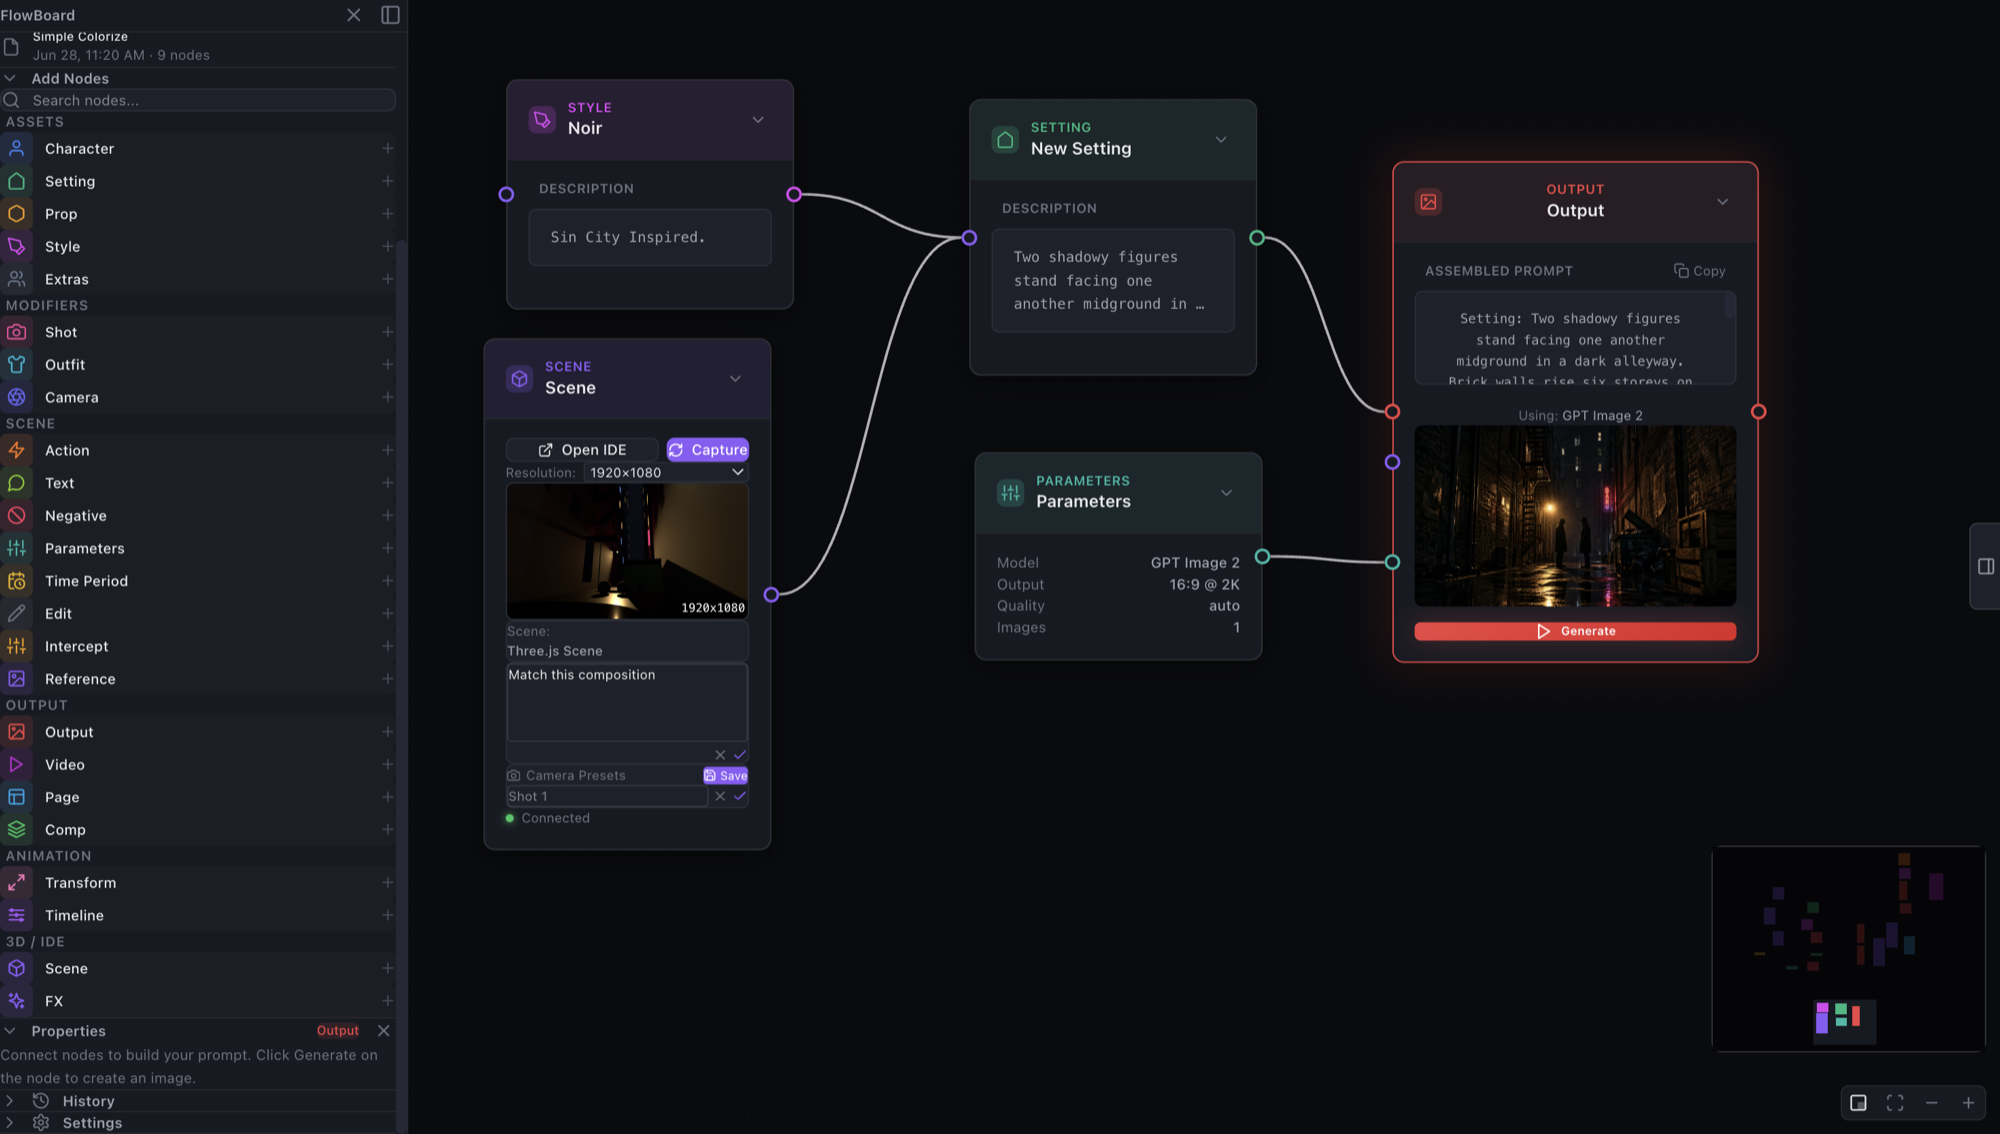
The wiring behind that pair is the standard Scene loop: the capture as composition reference, a Setting node describing the same staging in words, a Style on top — and the model obeys both:
No references yet? The pipeline can generate a portrait per character and an empty-room reference per setting before it wires them — the skill will consult you before choosing a path.
5 · Generate the shots
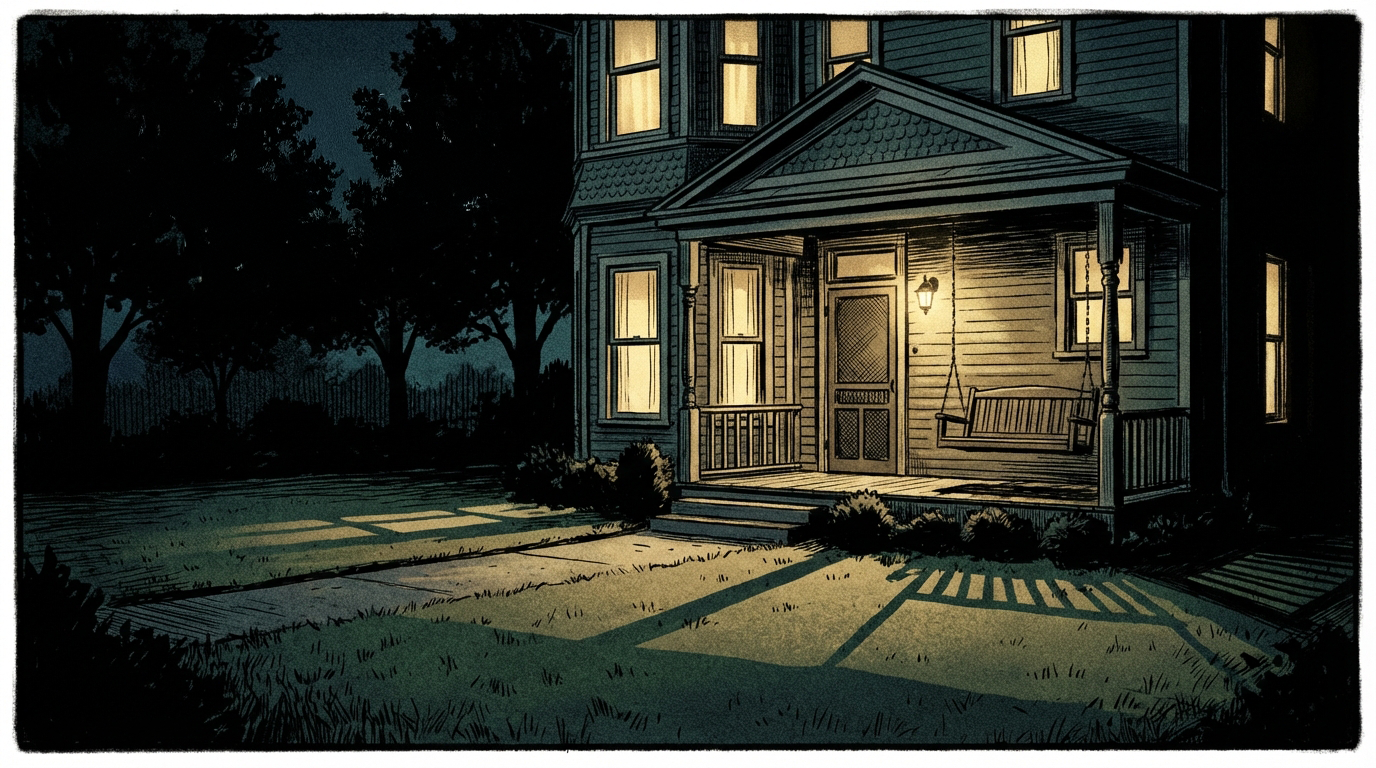
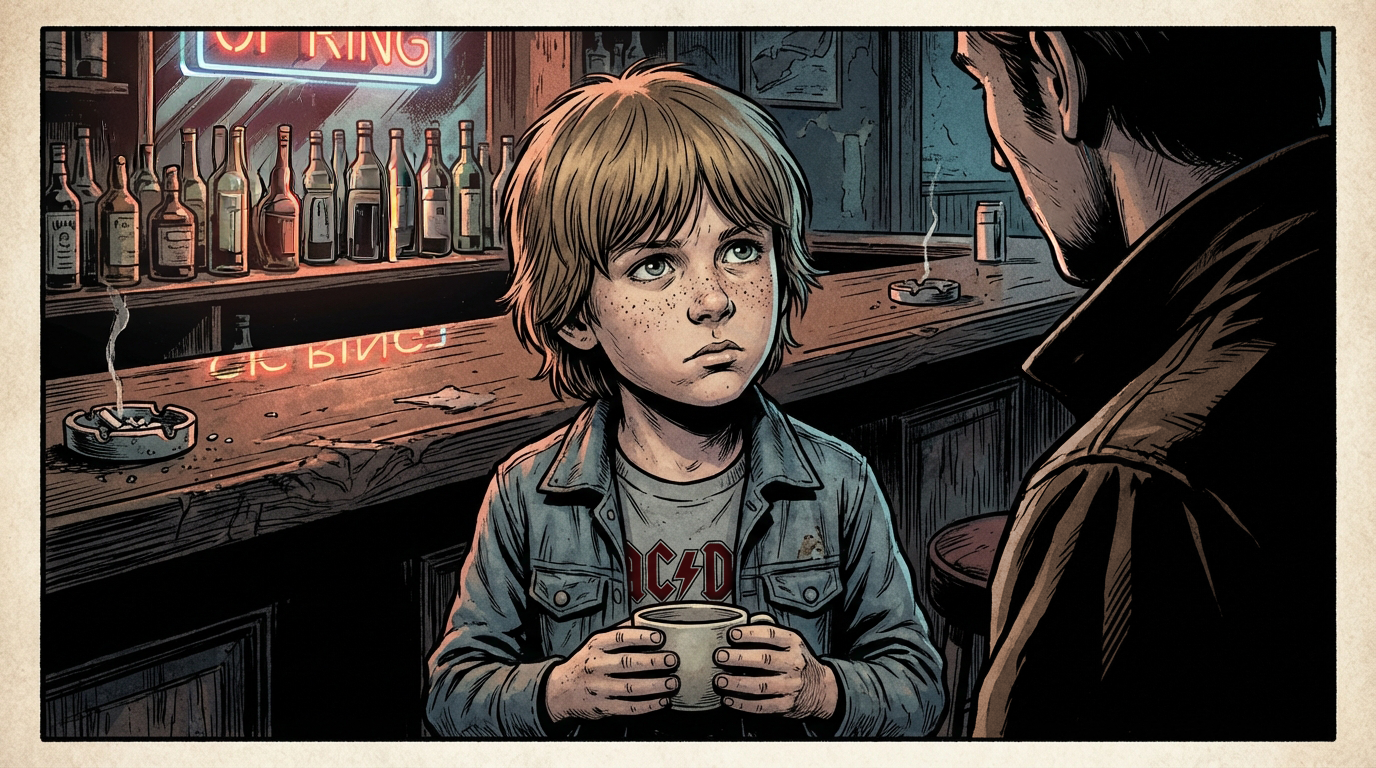
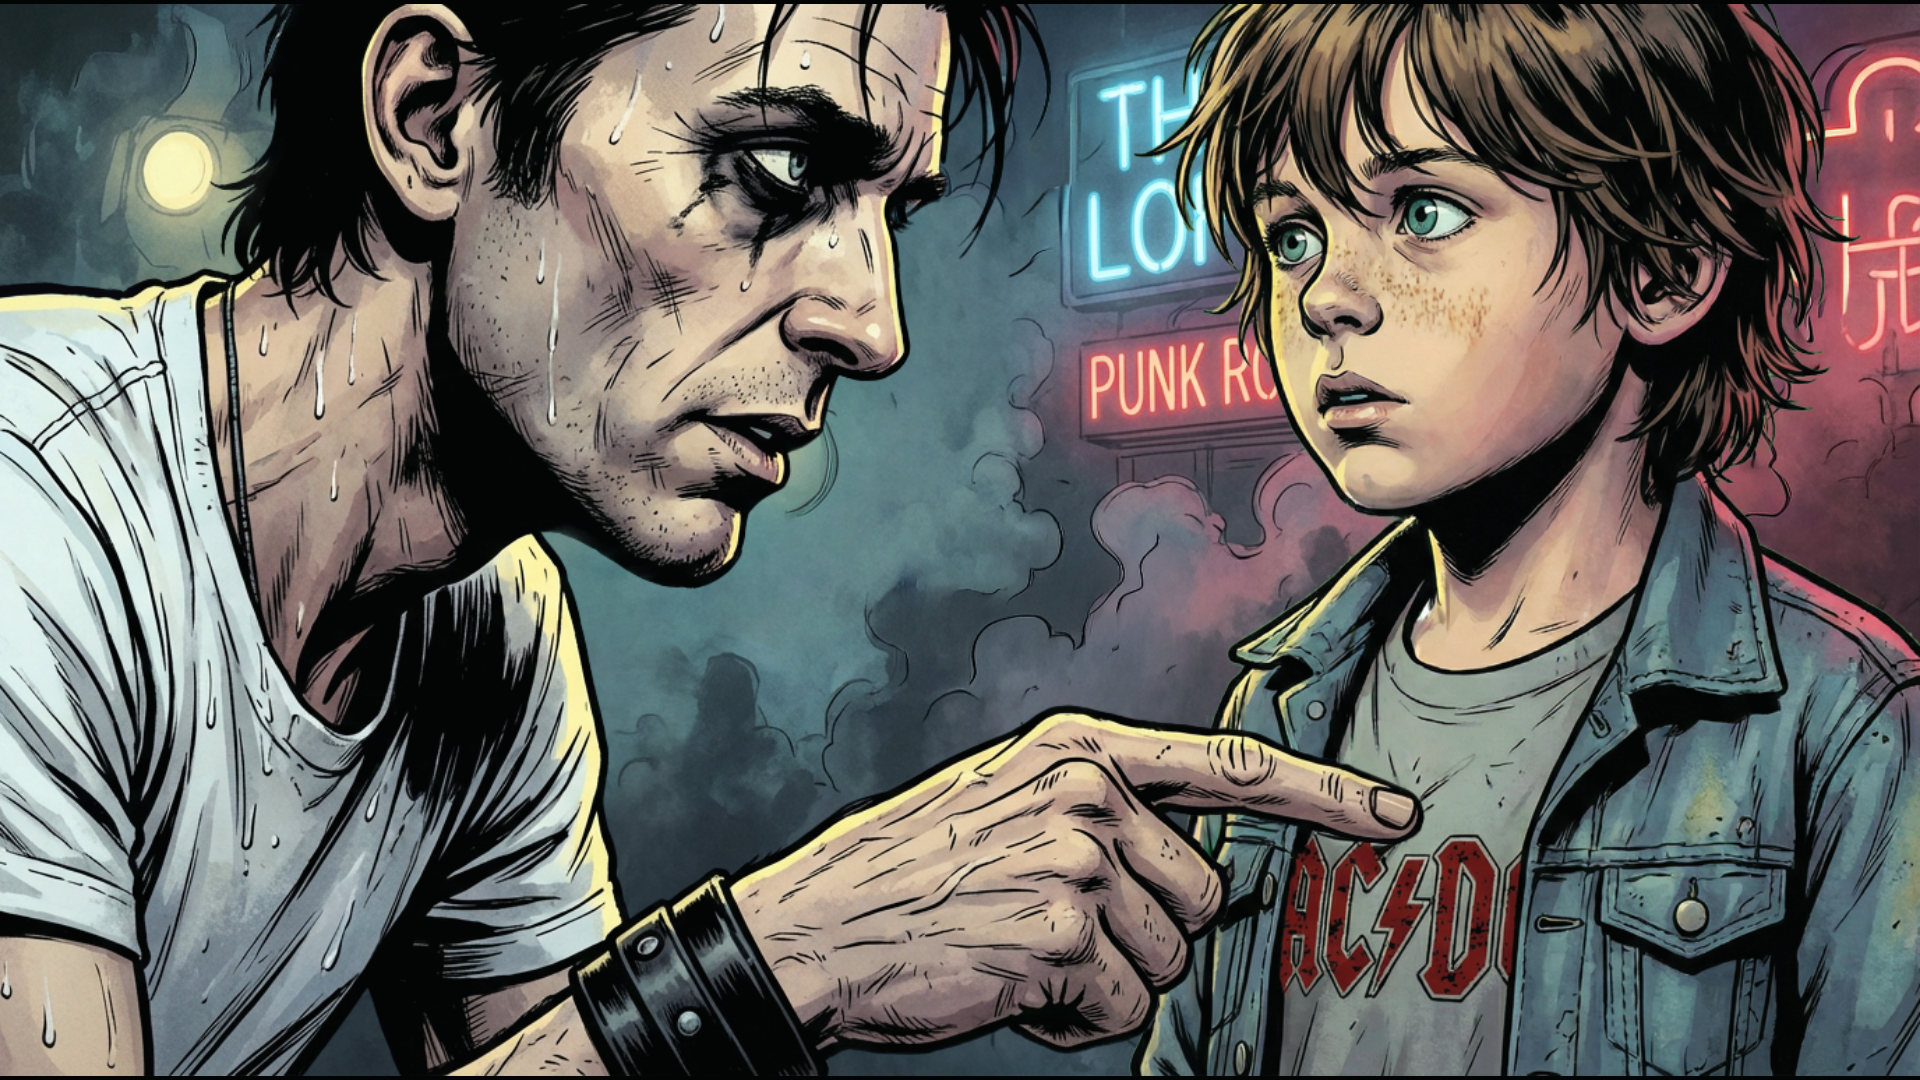
With references wired, generate a frame per shot. Because the cast and settings are pinned, a whole scene holds together — here, one night out across five shots, same boy, same club.


6 · Style is a prompt — front-load it
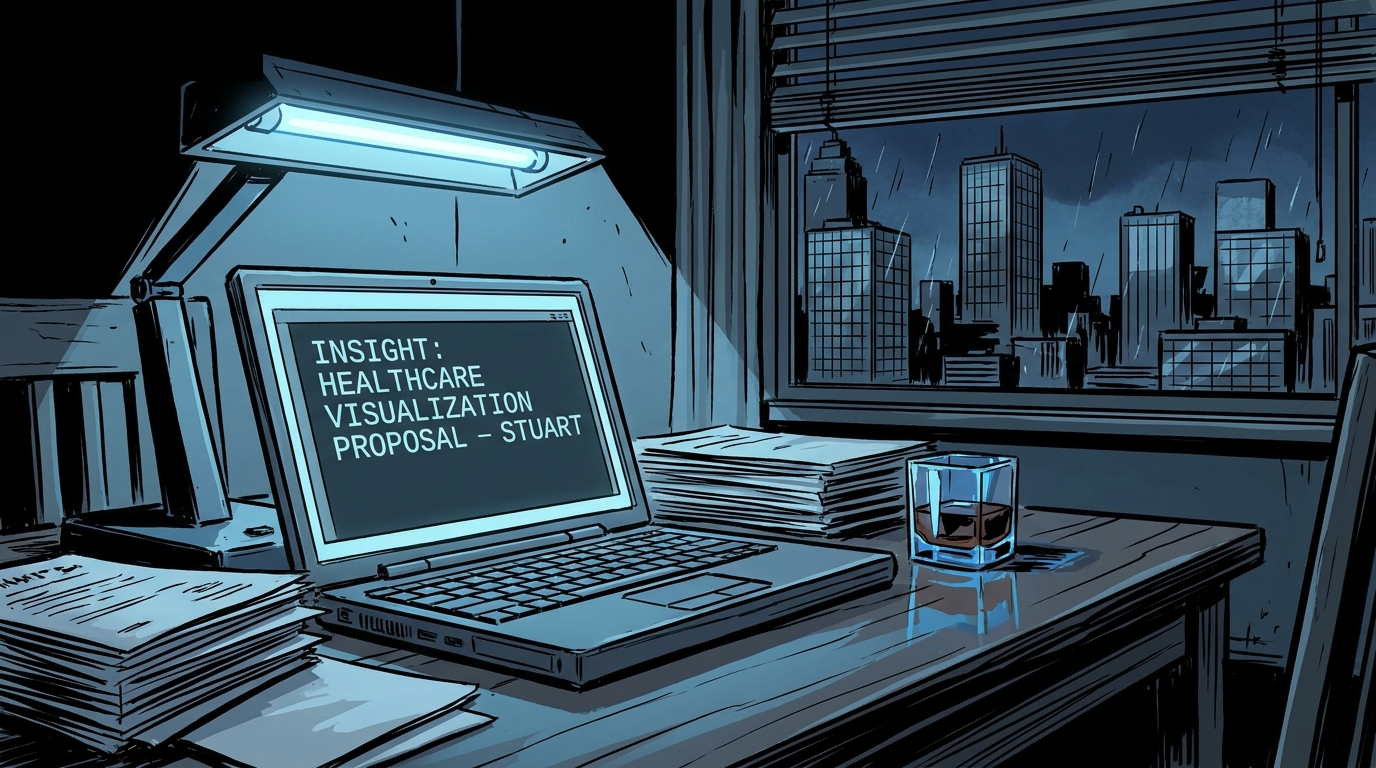
The same scene, two style descriptions. FlowBoard appends the STYLE text last with no negative guard, so if the medium cue is buried it loses to the literal scene and camera terms — and you get a photo.

Two fixes make or break it:
- Front-load the medium. Begin the STYLE with the look and an anti-photo clause: "Bold-ink graphic-novel illustration, hand-drawn, NOT a photograph, no photorealism…"
- Suppress auto-captions. Comic styles invent caption boxes from slug-like scene text — end the STYLE with "no caption boxes, lettering, or text overlays — depict the scene only."
7 · Compose Layouts
Frames drop into page layouts — full bleeds, grids, manga-style panels — to assemble finished graphic-novel pages. Two consecutive pages from the same scene — note the same face, hair, and jacket holding steady from splash to panels:
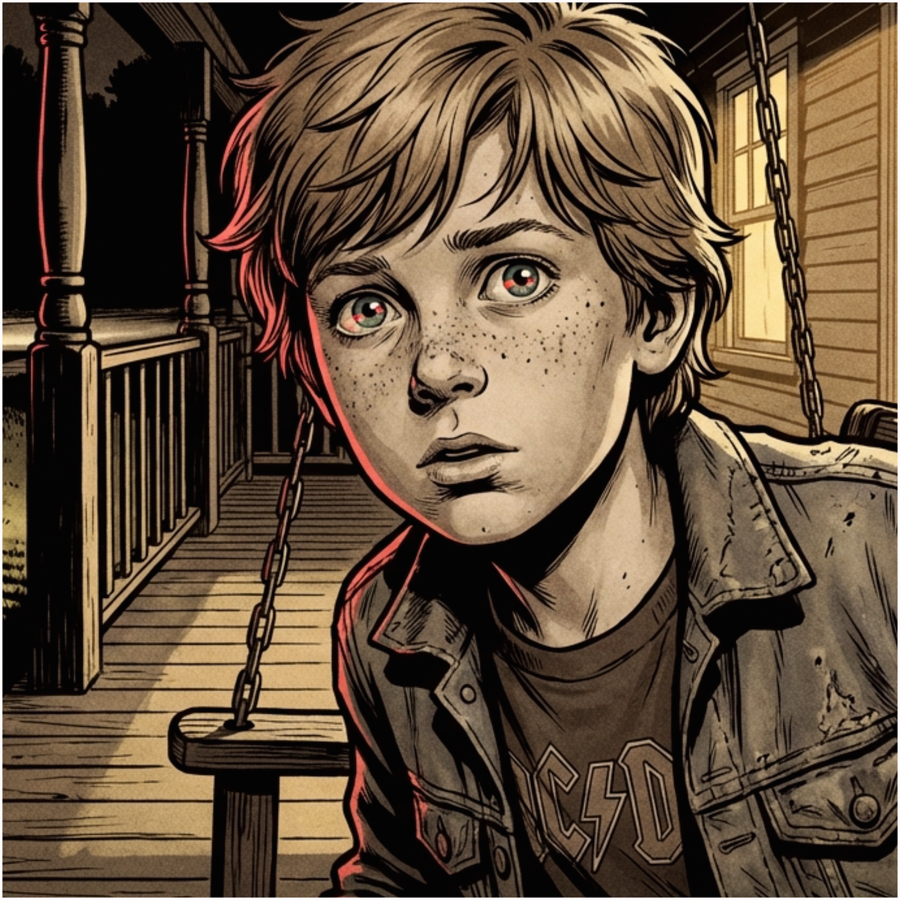
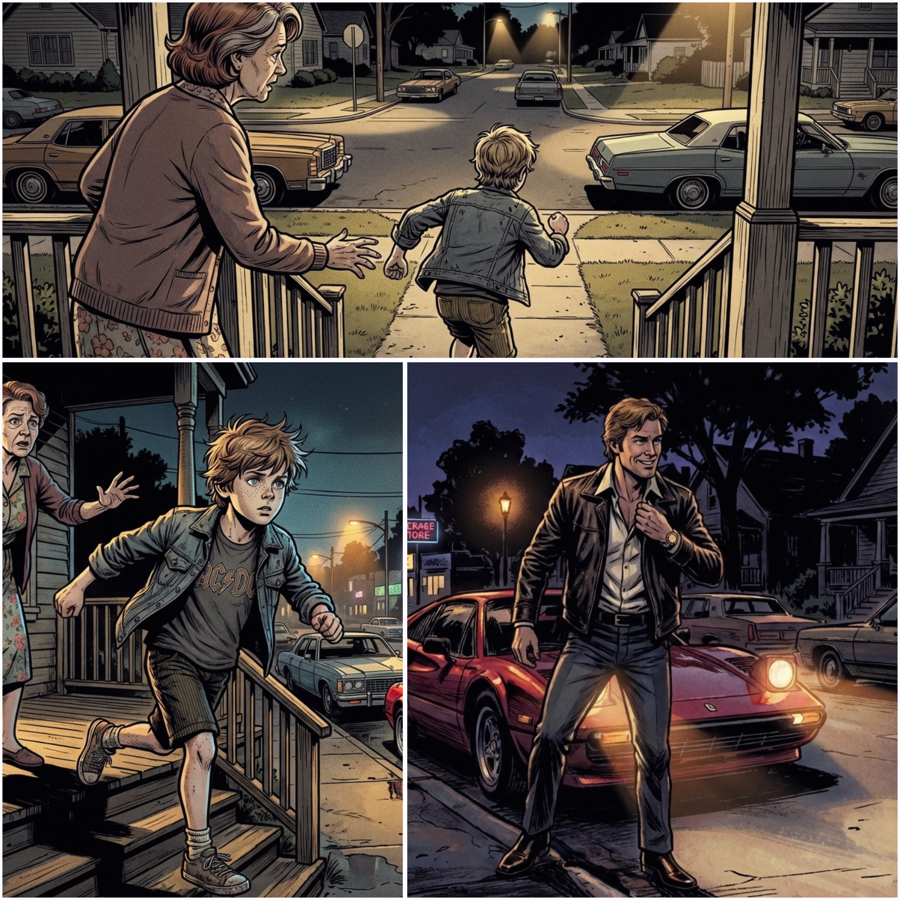
The flowboard-layout skill drafts these pages for you — rhythm, splash placement, and per-panel crops planned from the screenplay's beats. The next step walks through a real run.
8 · flowboard-layout — plan the book from the story
Composing pages by hand is great for a spread or two; for a whole act it's a day of dragging. The flowboard-layout skill plans it instead — and because it reads the screenplay, the rhythm comes from the story, not from a template. A real run, on Act A of You Think You're the Black Cat (37 curated frames):
1 · Map. Point it at your picks and the screenplay. It matches images to
shots (filenames like a1-4.png self-place) and shows the mapping for
confirmation before any layout work.
2 · Direct. Three choices, each with a recommendation: rhythm (steady ·
beat-driven · scene-shaped), reading mode (screen or print with true
page-turn placement), and page size — here, 3000×3000.
3 · Propose. It lists the story's beats first — citing the prose that earned each one — then writes a page plan where every big panel says why it's big:
# actA.pageplan.toml — two of fourteen pages
[[pages]]
name = "Backstage approach"
layout = "4-up"
slots = ["a6-4", "a7-1", "a7-2", "a7-3b"]
note = "densifying — tension packs the grid before the hit"

[[pages]]
name = "THE PROPHECY"
layout = "full"
slots = [{image = "a7-6", scale = 1.82, offset_x = 40}]
beat = "title line"
note = "the splash — crop bisects the Singer's face, balloon full in frame"
4 · Review. It renders the whole plan as an HTML contact sheet — your real
images in real page geometry — and you edit in plain language: "full-bleed
the face on p2", "zoom p3 past the sketch borders", "pan the splash so the
balloon survives." Each note becomes a per-panel crop (scale, offset,
align) in the plan.
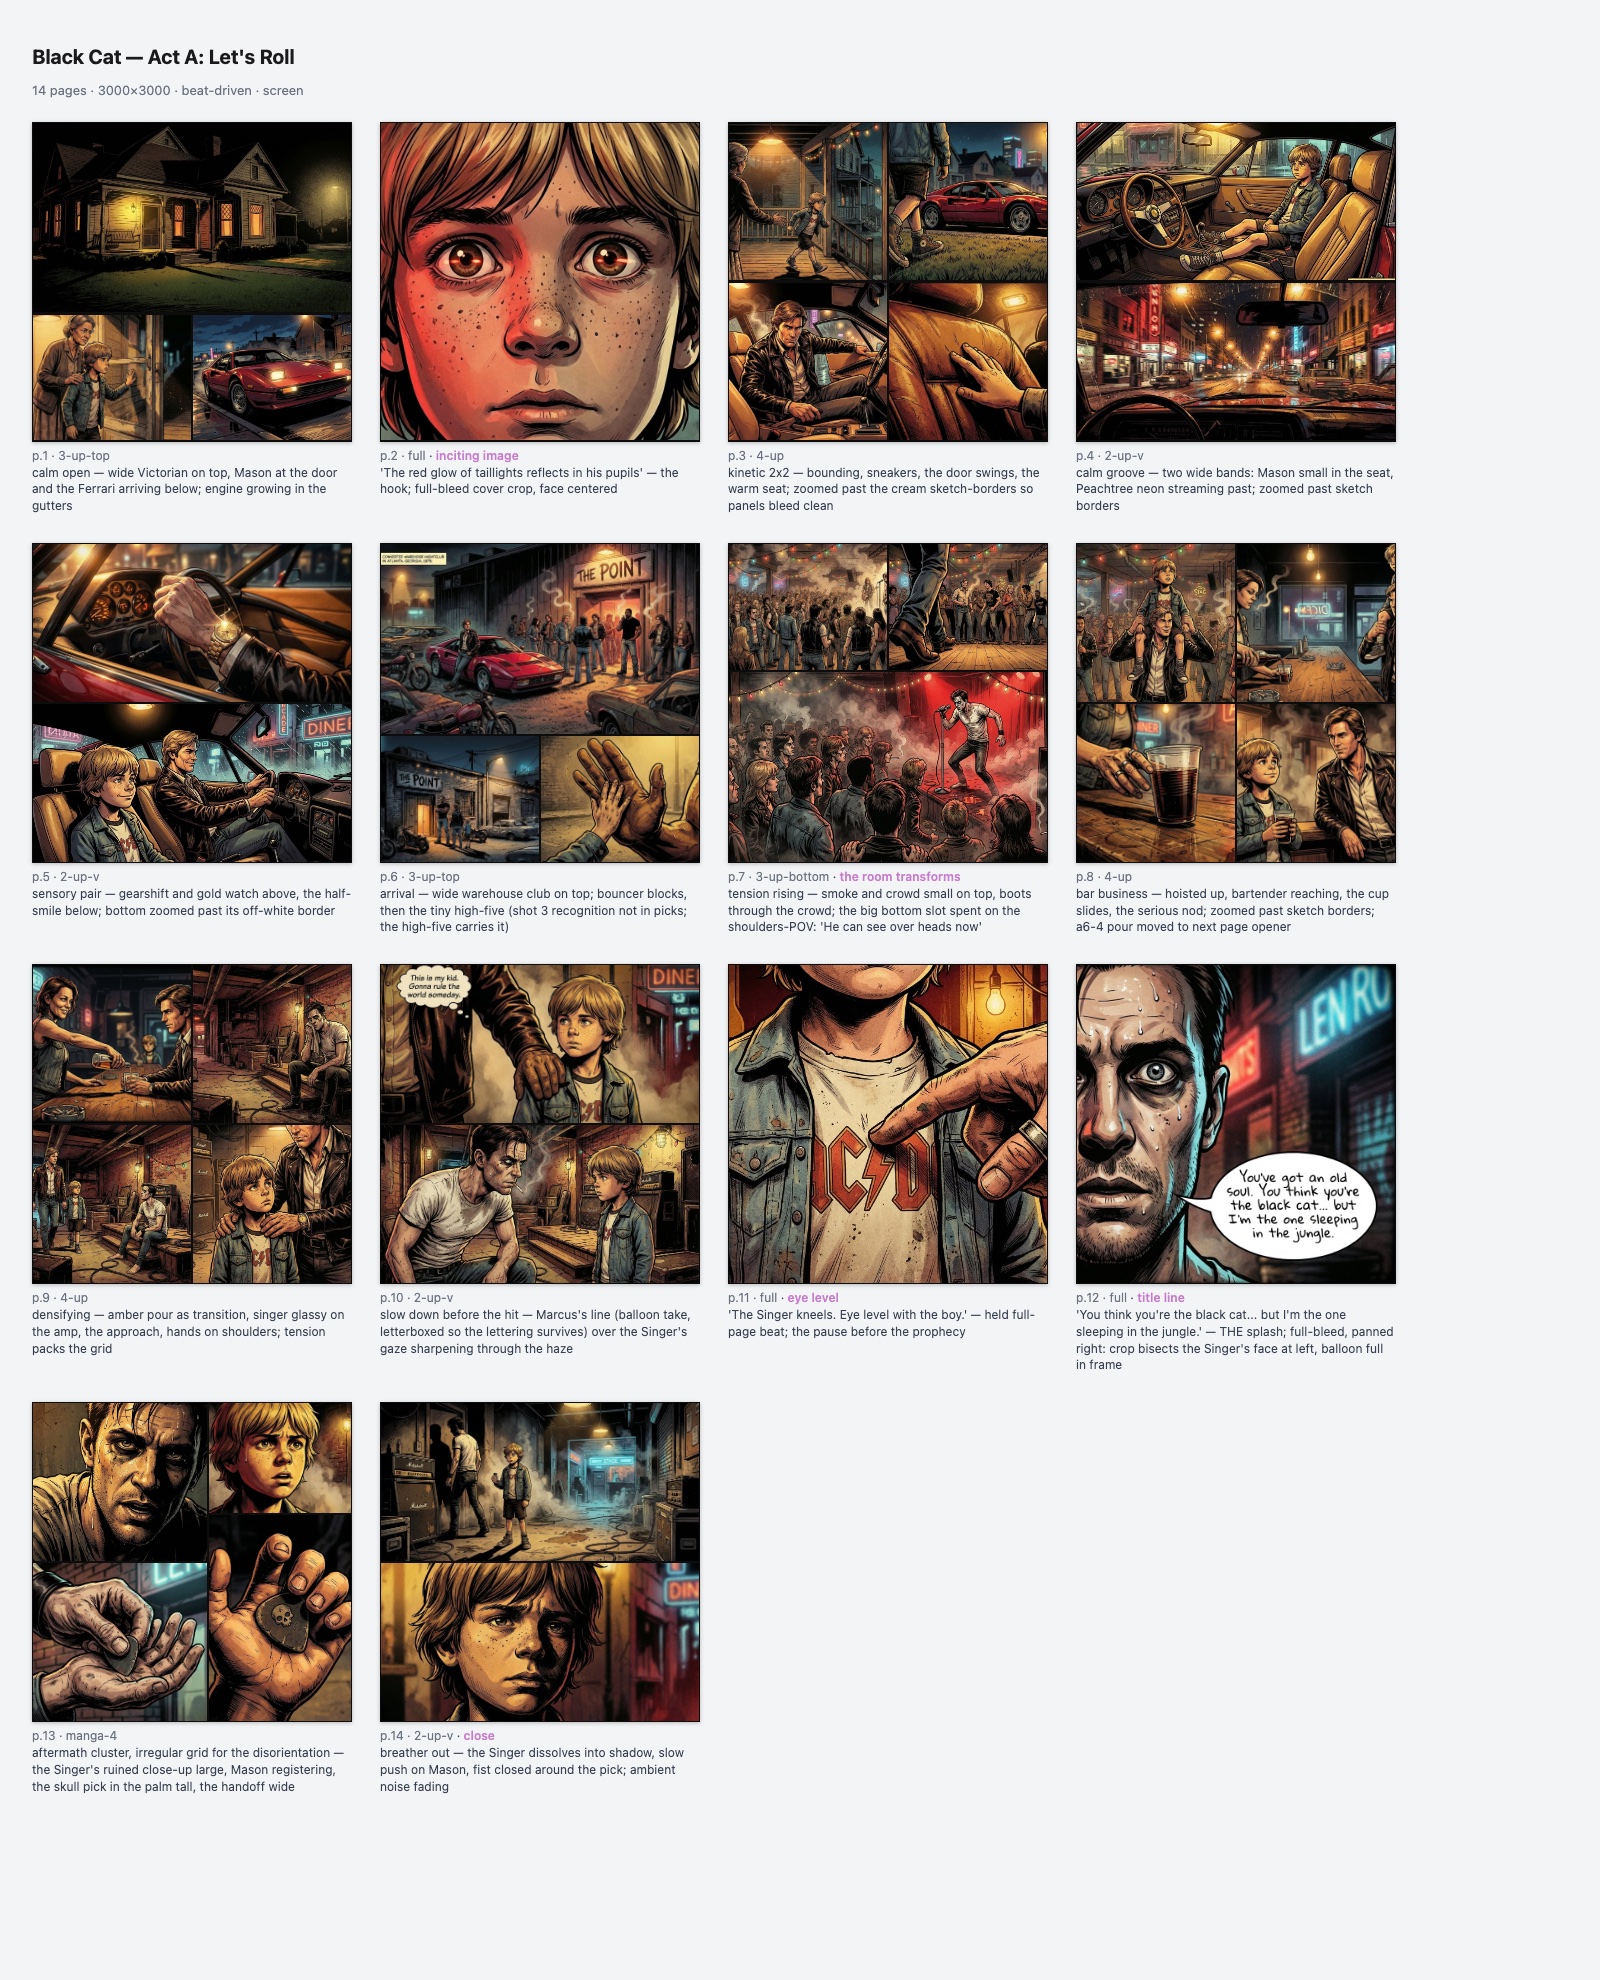
5 · Materialize. One command turns the approved plan into FlowBoard page nodes — images wired in, crops applied, laid out as one readable cluster per page. Import, and keep hand-tweaking in the app from there.
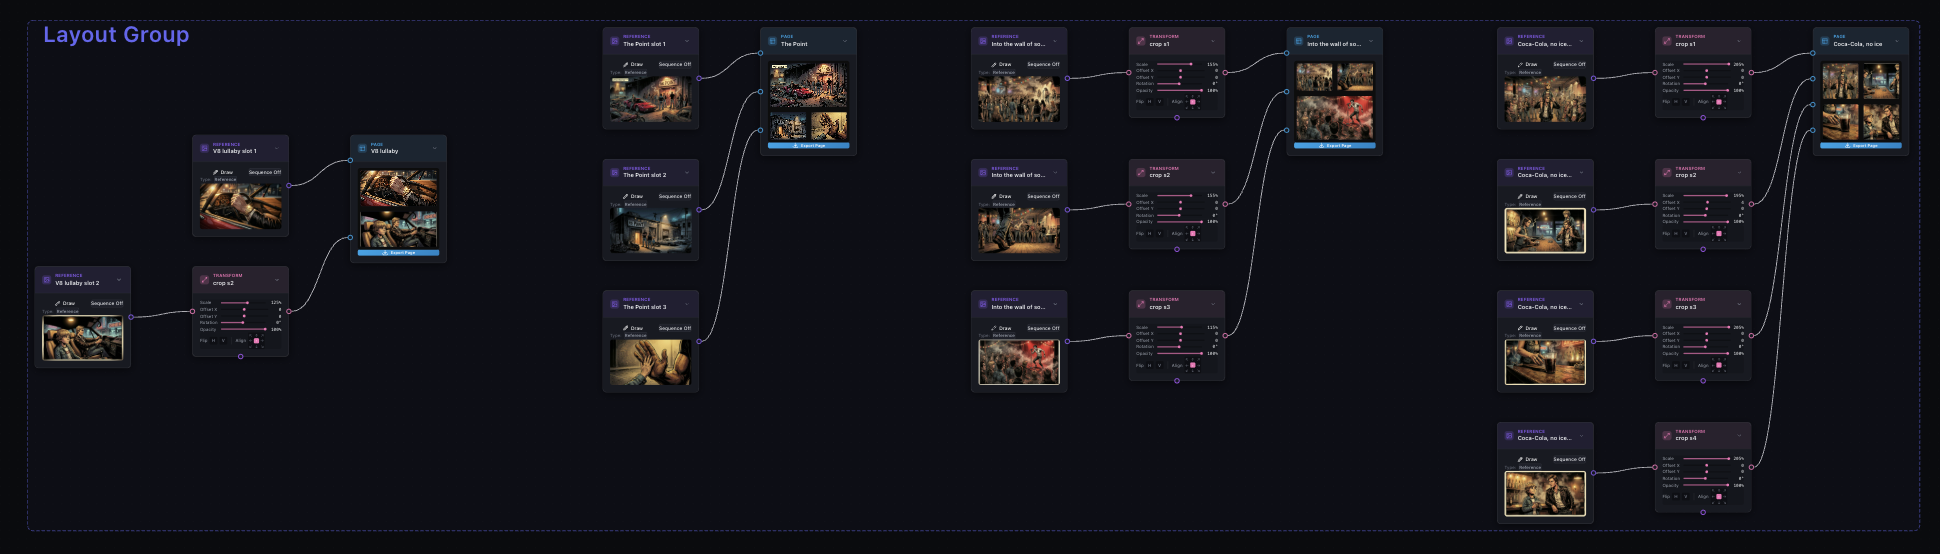
And nothing is baked: every crop arrives as a live Transform node, so fine-tuning a panel after import is just dragging its scale and offset sliders — no round-trip required.
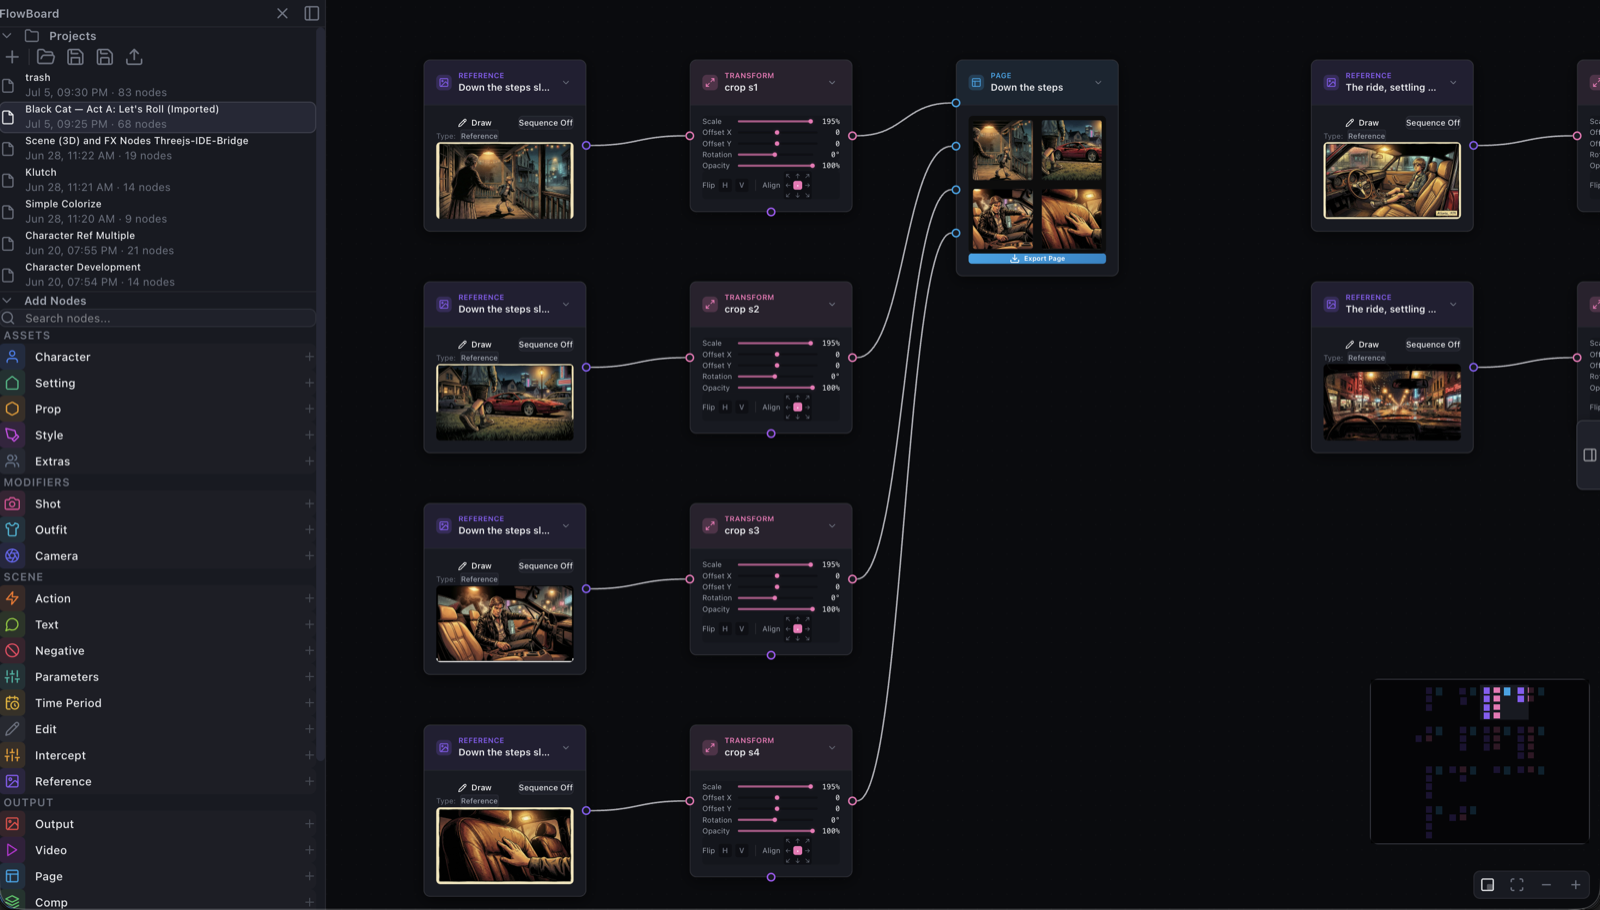
The plan file stays on disk as the source of truth: hand-edit a slot, re-render the preview, re-materialize. Same mapping, different page size? That's a second plan, thirty seconds later.
A finished book
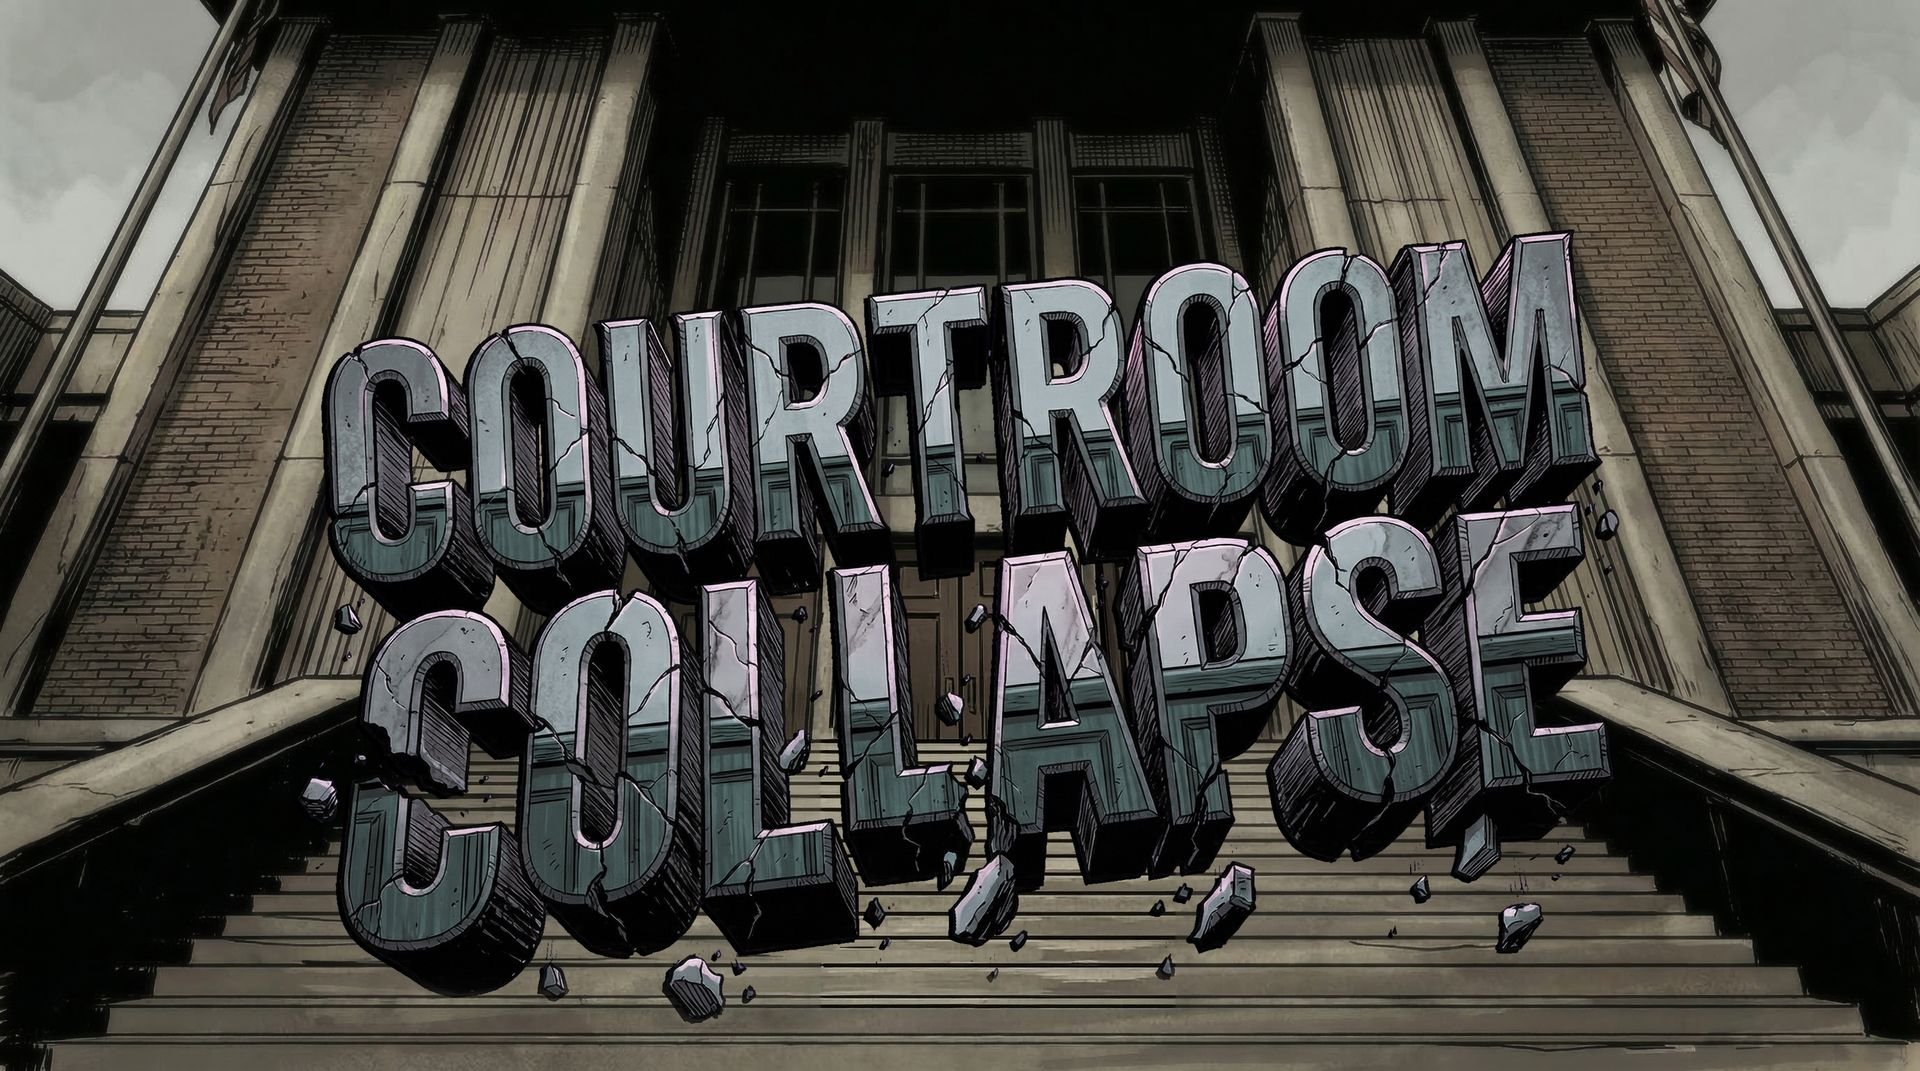
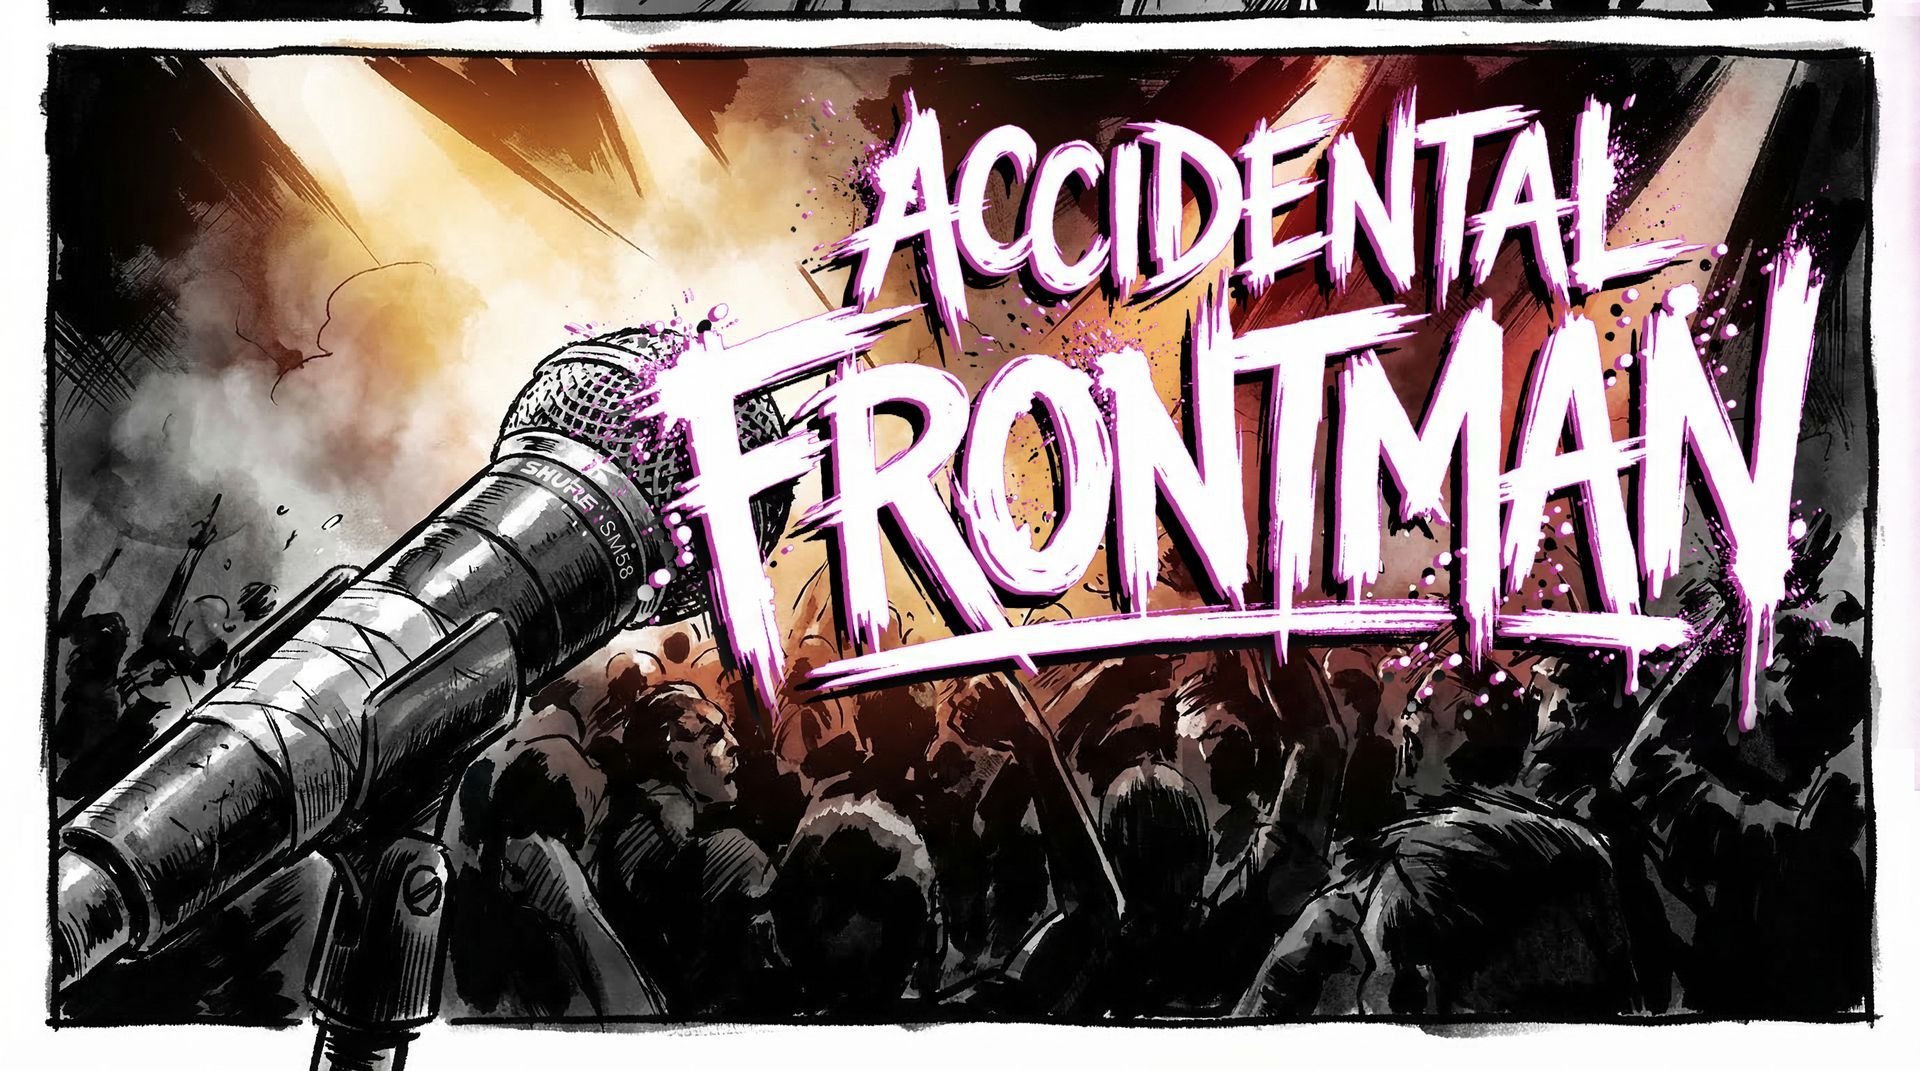
Four chapters, 34 scenes, 200+ frames — produced end to end with this workflow and read as an illustrated cinezine.

Get set up
Three pieces: FlowBoard — the app where you build and generate — plus the automation skills that feed it, run in your coding agent of choice.
1 · FlowBoard, the app
The visual canvas where you load a screenplay, Build Graph, wire references, and generate. It runs in the browser — no install: flow.w33s3.com.
2 · The skills
The skills package is a subscriber download: grab FlowBoard Skills from your dashboard's Subscriber Resources section, then unzip it wherever you keep tools:
unzip flowboard-skills-v1.zip -d flowboard-skills
cd flowboard-skills
For Claude Code, symlink the skills into ~/.claude/skills/:
./install.sh # symlinks skills/* into ~/.claude/skills/
For Hermes Agent, which does not read ~/.claude/skills/, link the skills
into the active Hermes profile instead. For the default profile:
mkdir -p ~/.hermes/skills/flowboard
ln -s "$PWD/skills/narrative-to-flowboard" ~/.hermes/skills/flowboard/narrative-to-flowboard
ln -s "$PWD/skills/flowboard-render"       ~/.hermes/skills/flowboard/flowboard-render
ln -s "$PWD/skills/flowboard-layout"       ~/.hermes/skills/flowboard/flowboard-layout
ln -s "$PWD/skills/flowboard-3d-fx"        ~/.hermes/skills/flowboard/flowboard-3d-fx
For a named Hermes profile, replace ~/.hermes/skills/flowboard with
~/.hermes/profiles/<profile>/skills/flowboard. Restart your agent session
(or reload skills) and all four skills are available.
3 · The pipeline (optional — for CLI generation)
For batch image generation outside the app, install the screen-plays
pipeline, set your key, and run the preflight:
pip install git+https://github.com/jweese001/screen-plays
export GEMINI_API_KEY=your_key_here
python3 skills/flowboard-render/scripts/doctor.py
# OK — 'screenplay2fb' on PATH and GEMINI_API_KEY set
All images in this chapter were generated with FlowBoard using workflows that include the FlowBoard skills — available to subscribers from the dashboard's Resources section.