3D & FX — the IDE bridge
The Scene and FX nodes are a special pair: both connect FlowBoard to an external, web-based three.js IDE, bringing real 3D and GPU shader work into the graph.
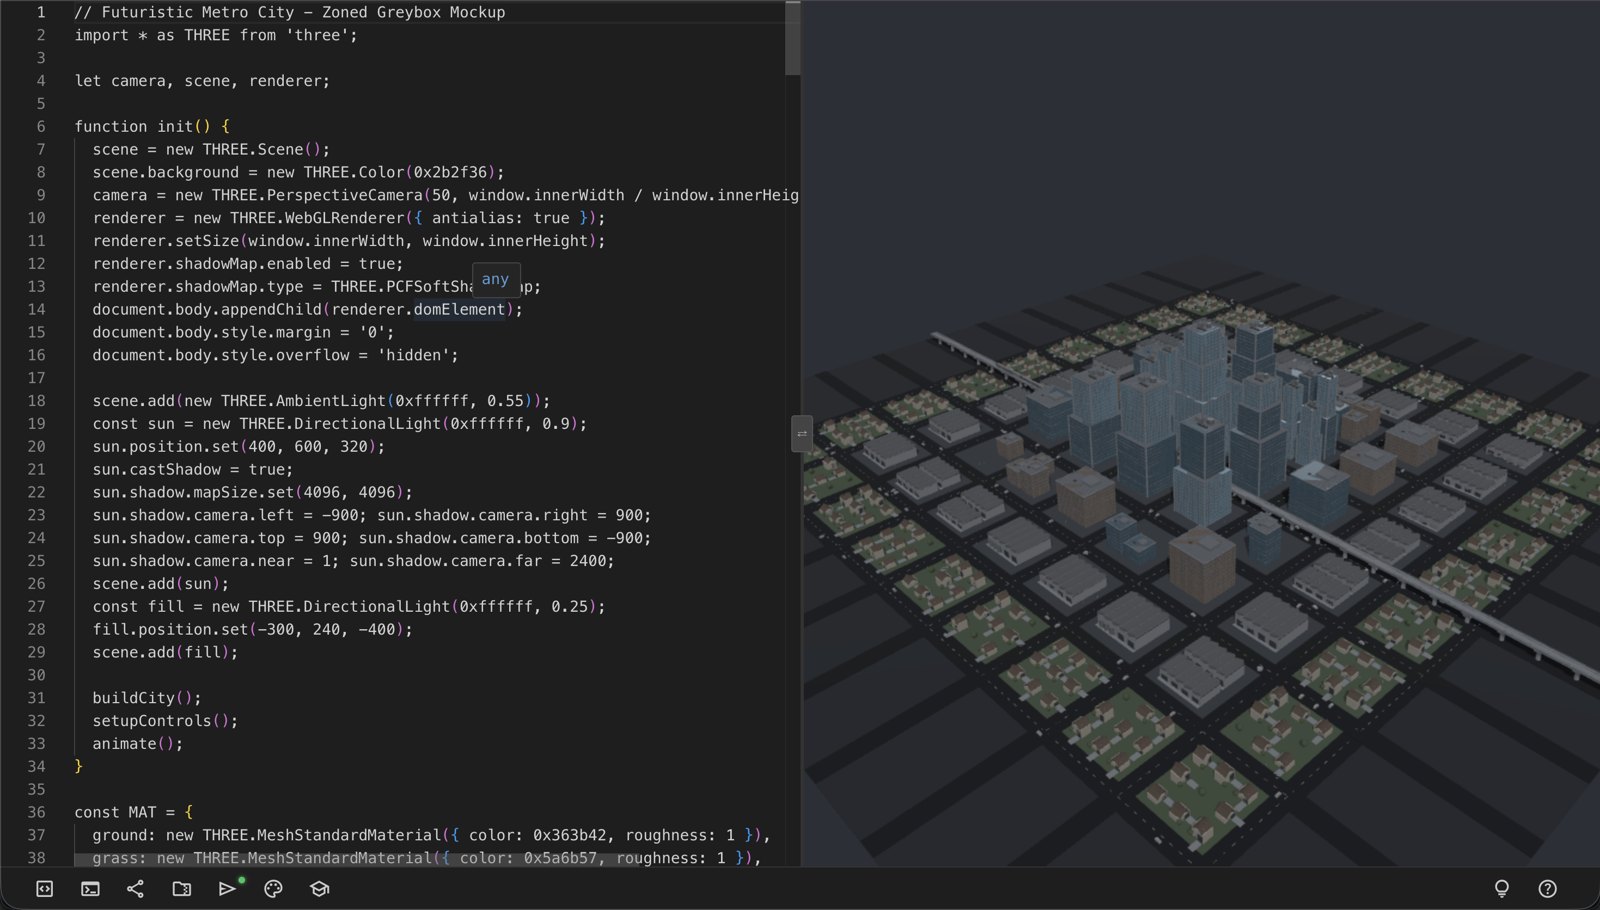
Scene: block in the shot
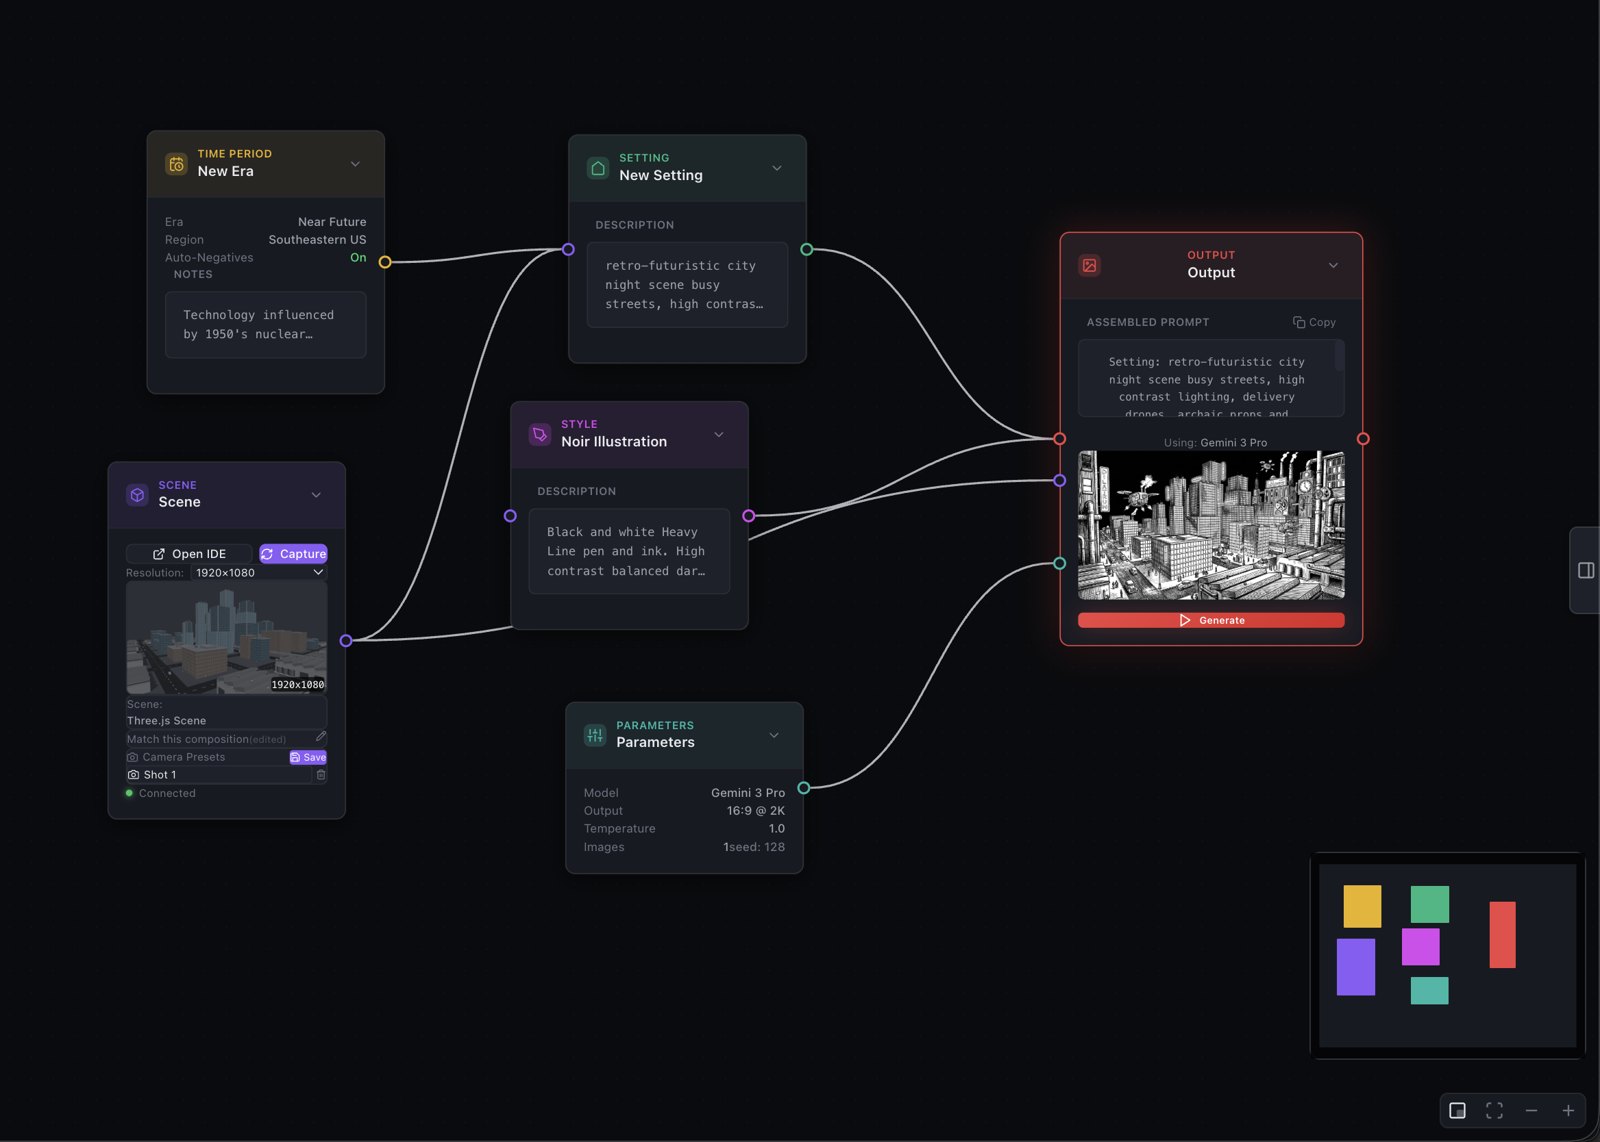
Scene lets you block in a shot with actual geometry — rough 3D stand-ins for props, sets, and staging. Open the IDE, arrange the scene, save named camera angles, then Capture: the render comes back into the graph as an image, ready to wire into an Output's reference handle so the model matches your composition. It's the fastest way to nail spatial layout before spending a single generation — the same "start from a rough 3D block-in" move the setting-reference workflow uses.
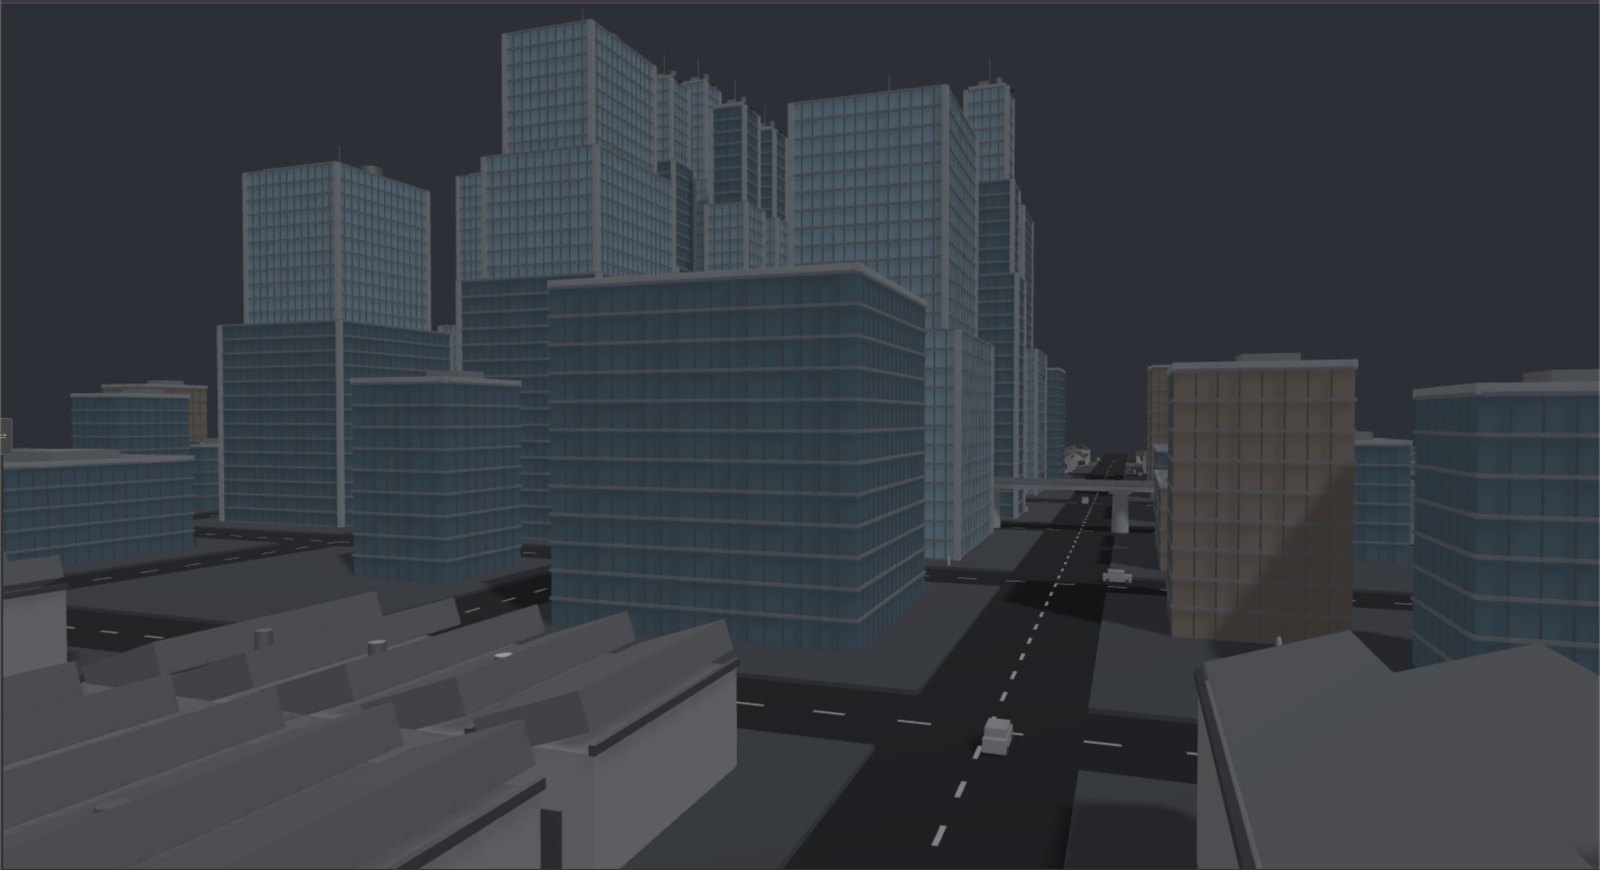
Making capture work — and match
Three rules, learned the hard way:
Open the IDE from the Scene node. FlowBoard can only talk to an IDE window it opened itself — a manually opened IDE tab can't receive capture requests. Use the node's Open IDE button and wait for the green Connected dot. (Your work survives either way: the IDE auto-saves its code locally and restores it in the connected window.)
Your scene code must expose its globals. Capture renders through window.renderer, window.scene, and window.camera — they're what let it render fresh frames, match the requested resolution, and drive camera presets. The IDE's default template sets these up; if you (or an AI assistant) write a scene from scratch, capture will fail with an error asking for them. Add:
window.renderer = renderer;
window.scene = scene;
window.camera = camera;
(Or skip writing scene code entirely: the flowboard-3d-fx skill builds capture-ready block-ins — globals, camera, and staging included — from a shot description or your screenplay.)
For faithful composition, close the loop. Match the Output's aspect ratio to the capture (a 16:9 capture generated at 1:1 forces the model to recompose), edit the Scene node's caption to an instruction — "Match this composition exactly: camera angle, street layout, building massing" — and light the 3D scene brightly enough that its structure reads.
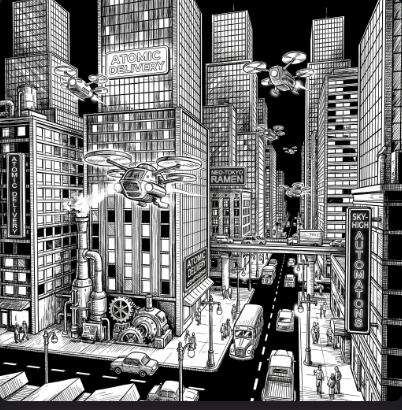
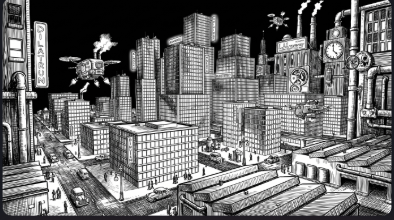
FX: shaders in the graph
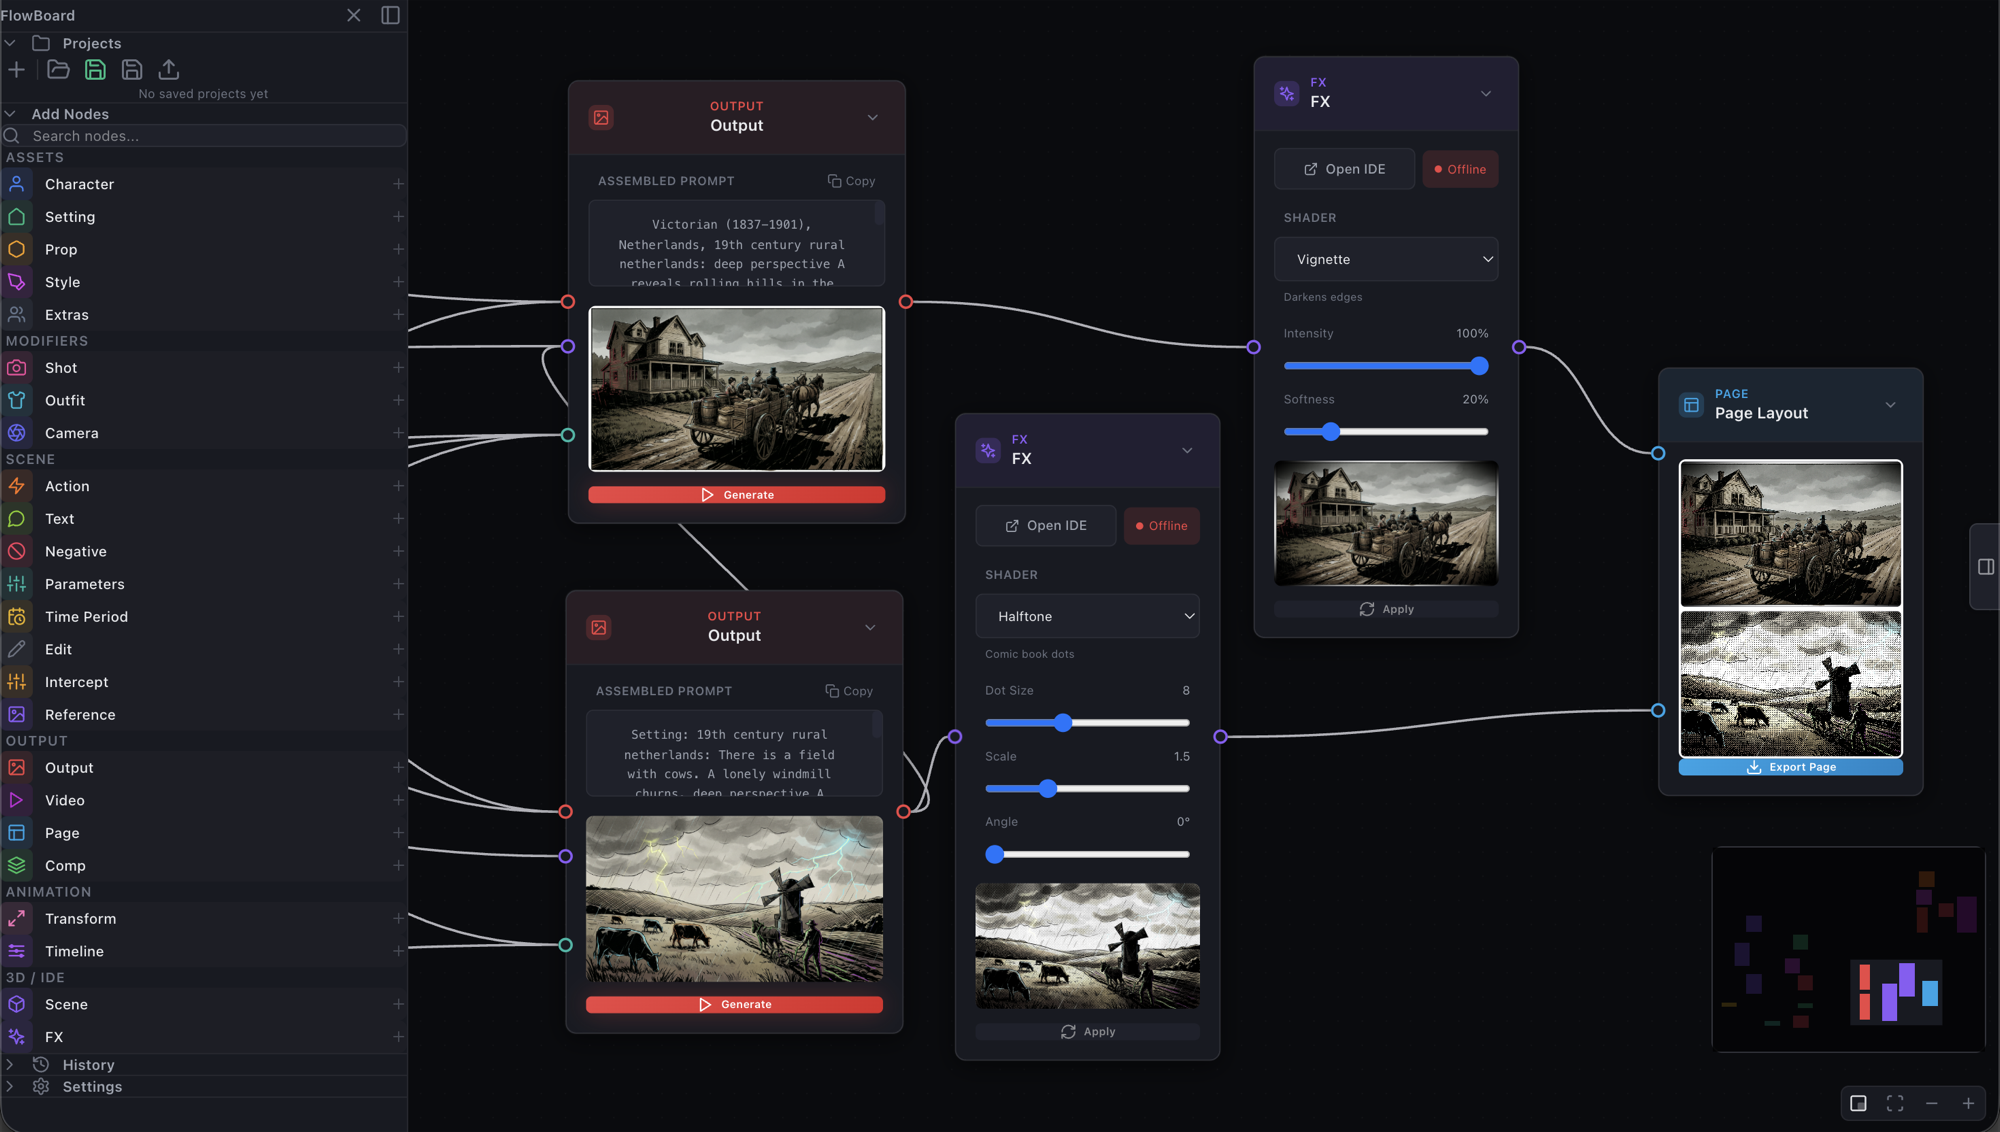
FX runs any image in the graph through GPU shader effects. Feed it from an Output, Reference, or Scene; chain FX into FX; land the result in a Page panel, a Comp layer, or an Output's reference handle.
The FX node uses the same bridge as Scene — the shaders execute on the IDE's GPU, so the node starts Offline with Apply disabled. Click its Open IDE button, wait for the green Connected badge, and Apply lights up.
Pick a shader from the dropdown — Blur, Sharpen, Vignette, Chromatic Aberration, Noise / Grain, Posterize, Color Adjust, Halftone, Chroma Key — and each brings its own controls: Halftone gives you dot size, scale, and screen angle; Color Adjust gives you full grading sliders. Apply processes the incoming image and the result lands in the node's preview, ready to flow onward like any other image.
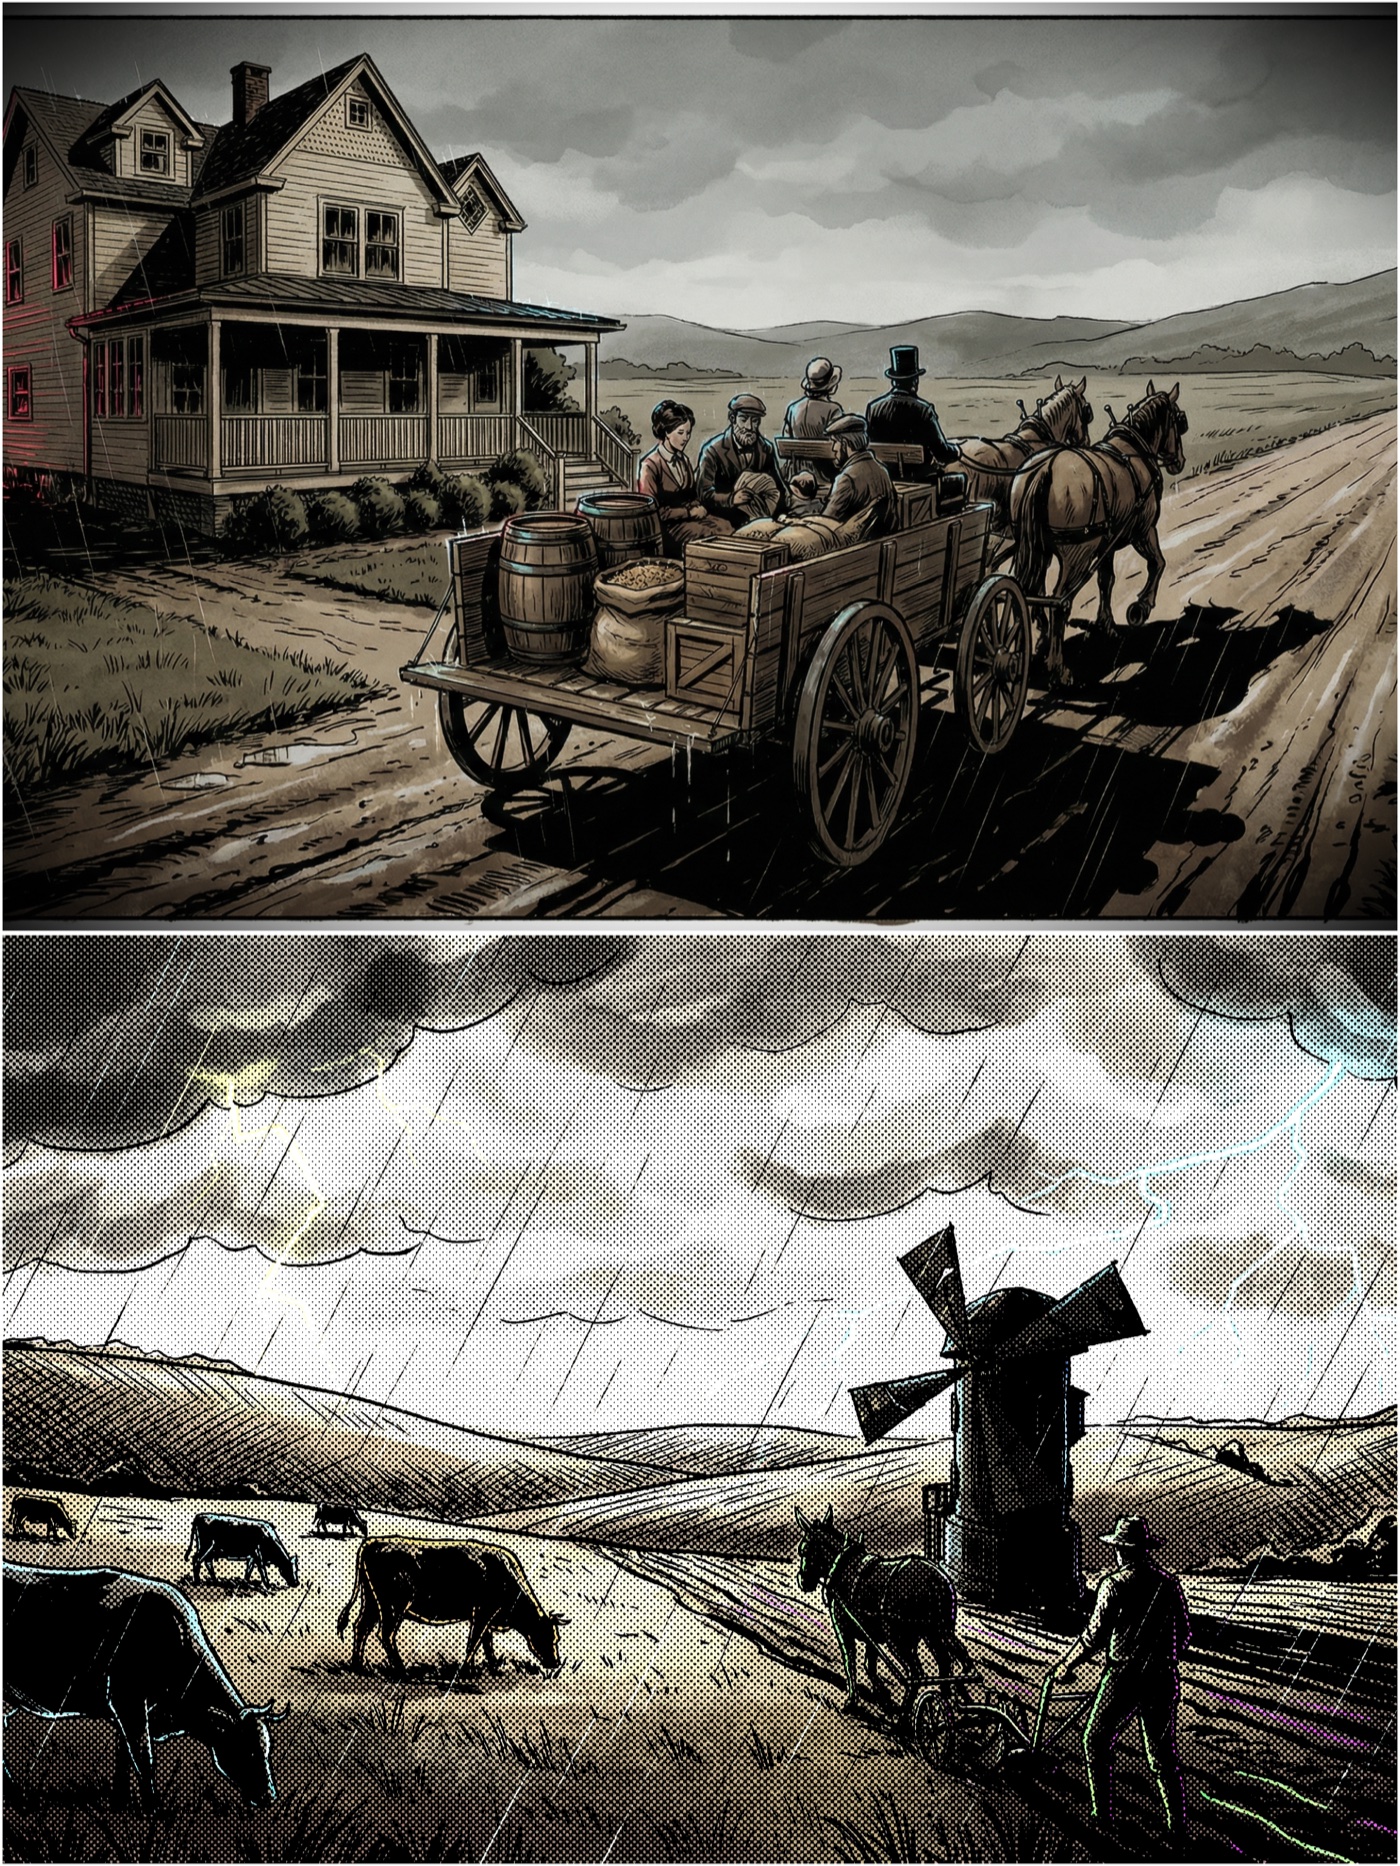
Exported from that Page node, the treatments read at full size — the vignette pulling the farmhouse frame's edges down, the halftone turning the storm into print dots:
There's far more in the IDE than this page covers — it's a full 3D and shader environment in its own right.