Getting started
Get from a blank canvas to your first generated image. This chapter is the bare minimum — a handful of nodes and one Output. Once the basics click, grow more complex trees to take more control of your scenes; the graph scales with you.
Credits and keys
Sign in at flow.w33s3.com. Your subscription includes a monthly allowance of credits, and there are two ways to power generation — use either, or both:
Your credits
Generation draws on your balance by model: fast image models run 1–2 credits per image, the premium ones 3–5; video is billed per second of output. Each Output node shows a generation's cost right on its Generate button before you run it, and your balance lives in the top banner of your dashboard, next to Buy Credits. If you burn through a month's allowance mid-project, top up with a credit pack from there — nothing is lost, your graph just waits.
Bring your own keys
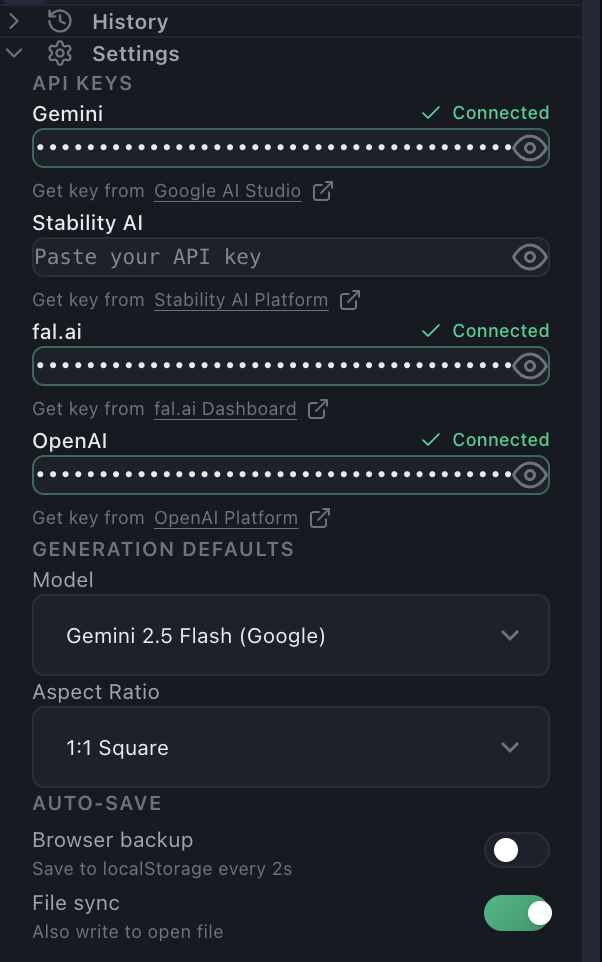
Click Settings in the left sidebar and add API keys for the providers you use:
| Provider | Where to get a key |
|---|---|
| Google Gemini | Google AI Studio |
| fal.ai | fal.ai Dashboard |
| OpenAI | OpenAI Platform |
| Stability AI | Stability AI Platform |
When a model has your own key configured, FlowBoard calls the provider directly and no credits are consumed — you're billed by the provider instead. Models without a key fall back to your credits automatically.
A good starting point for new users: Gemini Flash with a free key from Google AI Studio — fast, capable, and costs nothing while you learn.
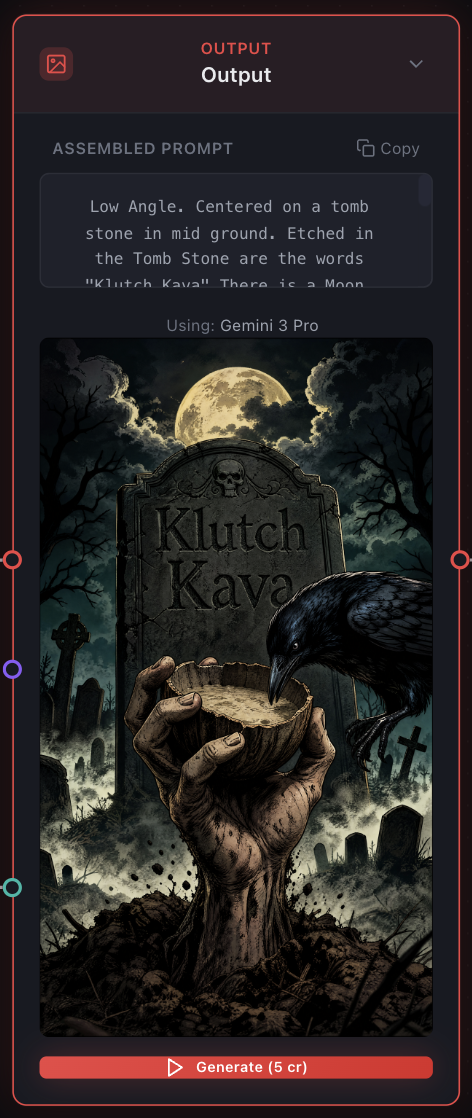
One tip that applies either way: the Mock model costs nothing at all. It returns placeholder images instantly — use it while you're learning the graph, and switch to a real model when the wiring is right.
Your first character
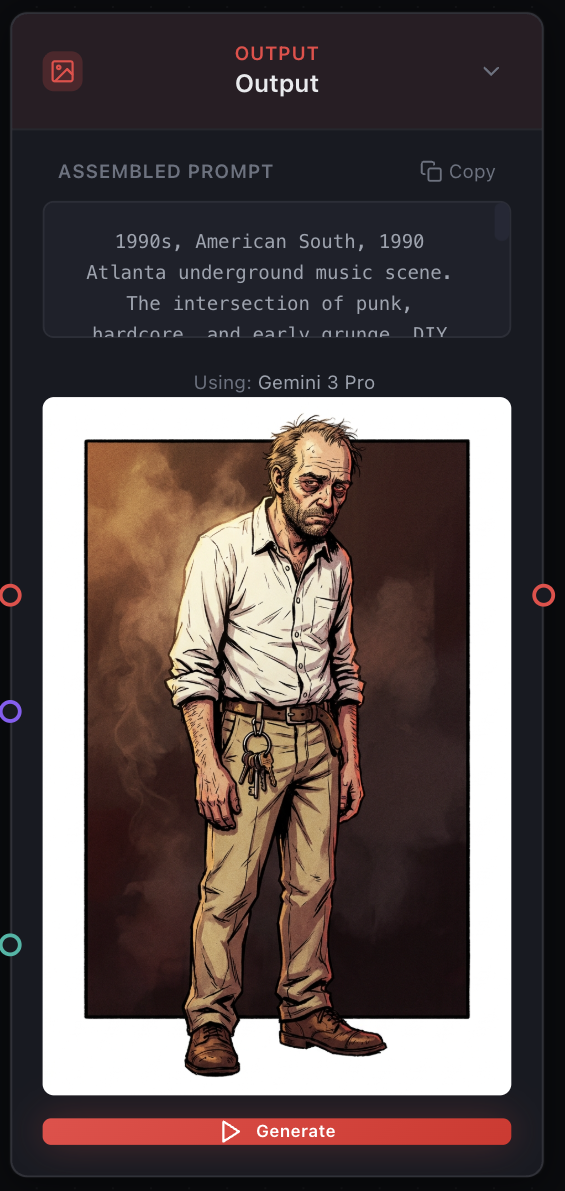
A character portrait is the perfect first project: it teaches the graph, and the result becomes a reference asset you'll reuse in every scene that character appears in. This walkthrough builds Ray — a club manager from a 1990 Atlanta story.
1 · Add a Character
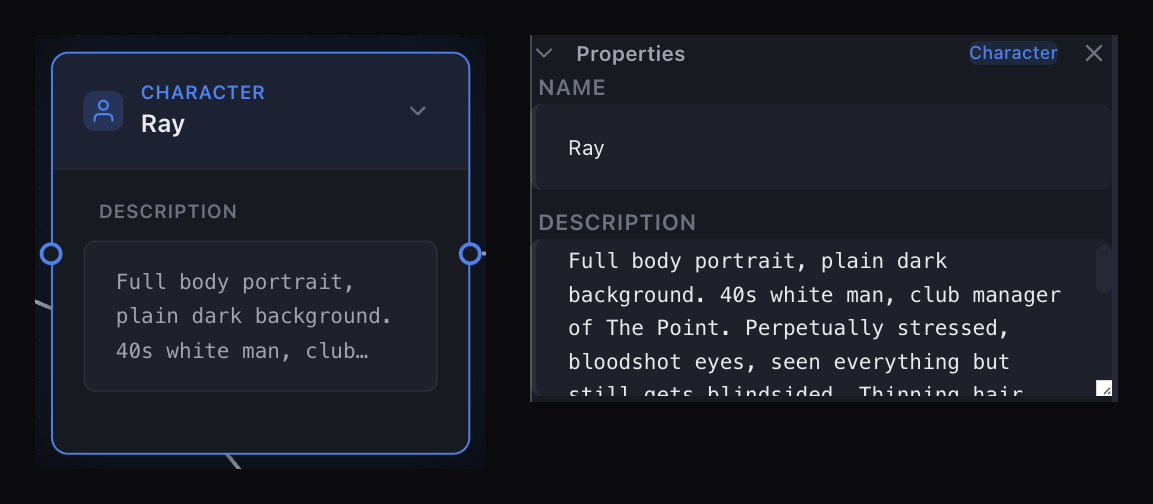
Find Character in the left sidebar under Add Nodes and click +. Select the node and fill in the properties panel — be concrete; wardrobe and posture beat adjectives:
- Name: Ray
- Description: Full body portrait, plain dark background. 40s white man, club manager of The Point. Perpetually stressed, bloodshot eyes, seen everything but still gets blindsided. Thinning hair, slightly overweight, permanent five o'clock shadow. Rumpled white button-down with sleeves rolled, wrinkled khakis, beat-up brown shoes. Ring of keys on belt loop. Cigarette behind ear. Exhausted posture.
2 · Add a Style
- Name: Underground Noir
- Description: Comic Book Illustration: High contrast between warm amber and red lights through haze. Heavy grain, kinetic energy. Reference late 80s/early 90s punk. Raw, physical, confrontational.
3 · Add a Time Period
Set Era to 1990s, Region to American South, and add notes: 1990 Atlanta underground music scene. The intersection of punk, hardcore, and early grunge. DIY venue culture. The era gets woven into every prompt this node touches.
4 · Add a Negative
What to keep out of the frame:
- Avoid: Background characters, text, labels, or anything distracting.
5 · Add an Output, then connect
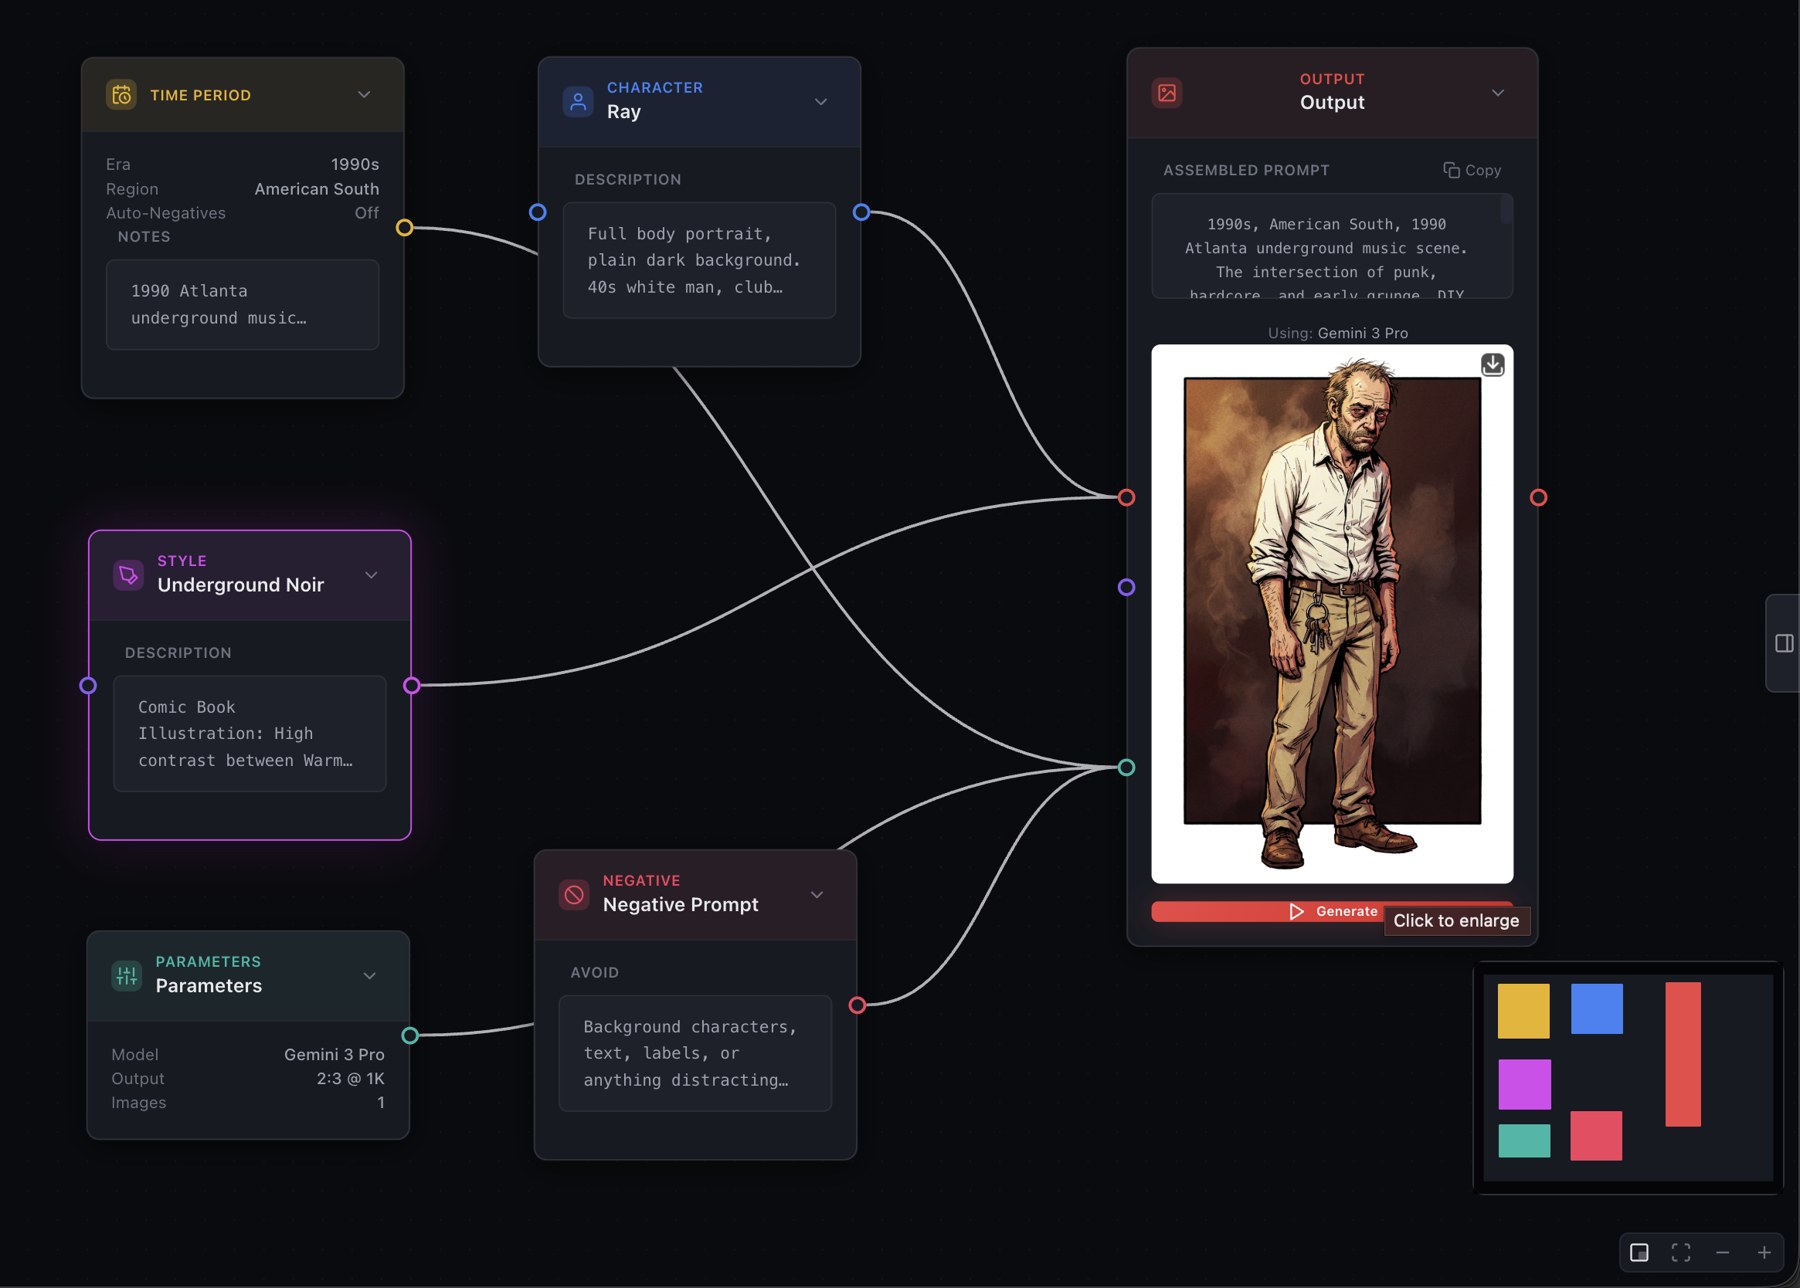
Add an Output node — it uses the model and aspect ratio from your Settings defaults. Optionally, add a Parameters node to override them for this Output (here, 2:3 for a full-body portrait). Overrides are per-Output, so one canvas can generate with different models. Wire it up:
Character ──┐
Style ──────┼──→ Output ←── Negative
            │      ↑
Time Period ┴──────┤ (config)
Parameters ────────┘ (config)
6 · Generate
Check the assembled prompt on the Output node — it shows exactly what the graph built, era first, before you generate. Pick your model (or Mock, free, to test the wiring), then click Generate.
Key concepts
Node types deconstruct the story. The type system is how you take a narrative apart into reusable pieces: who (Characters), where (Settings), what things (Props), how it looks (Style, Camera, Time Period) — those are built once and reused everywhere — while what happens (Actions, Shots) changes scene to scene. Organize a story this way and every new scene is mostly wiring, not rewriting.
Pull-based assembly. Only nodes connected to an Output contribute to its prompt. Everything else on the canvas is just an available asset — build a library and wire pieces in per shot.
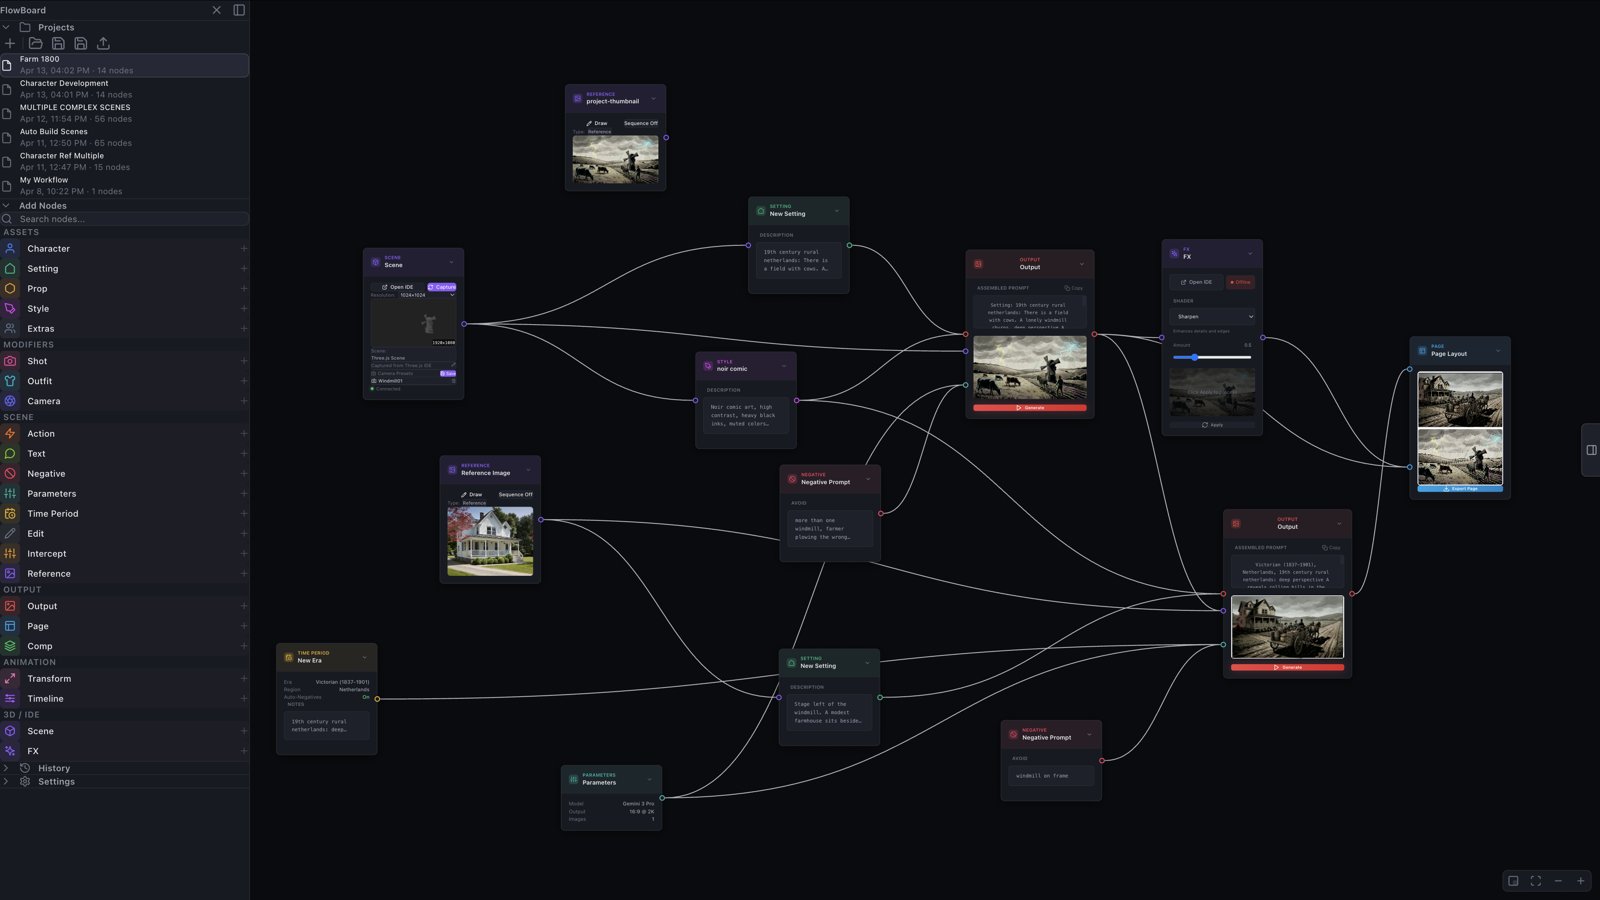
Every node, explained. This manual's node glossary covers all 24 node types — what each does, when to reach for it, and what it pairs with. Keep it open in a second tab while you learn.
Highlight script text into nodes. With a screenplay open in the Script Panel, select any passage, then click a node type in the sidebar: FlowBoard drops that node on the canvas with your selection pasted in — a selection like **Ray** — club manager of The Point even splits into name and description. The script text stays linked to the node, so deconstructing a story is mostly highlighting.
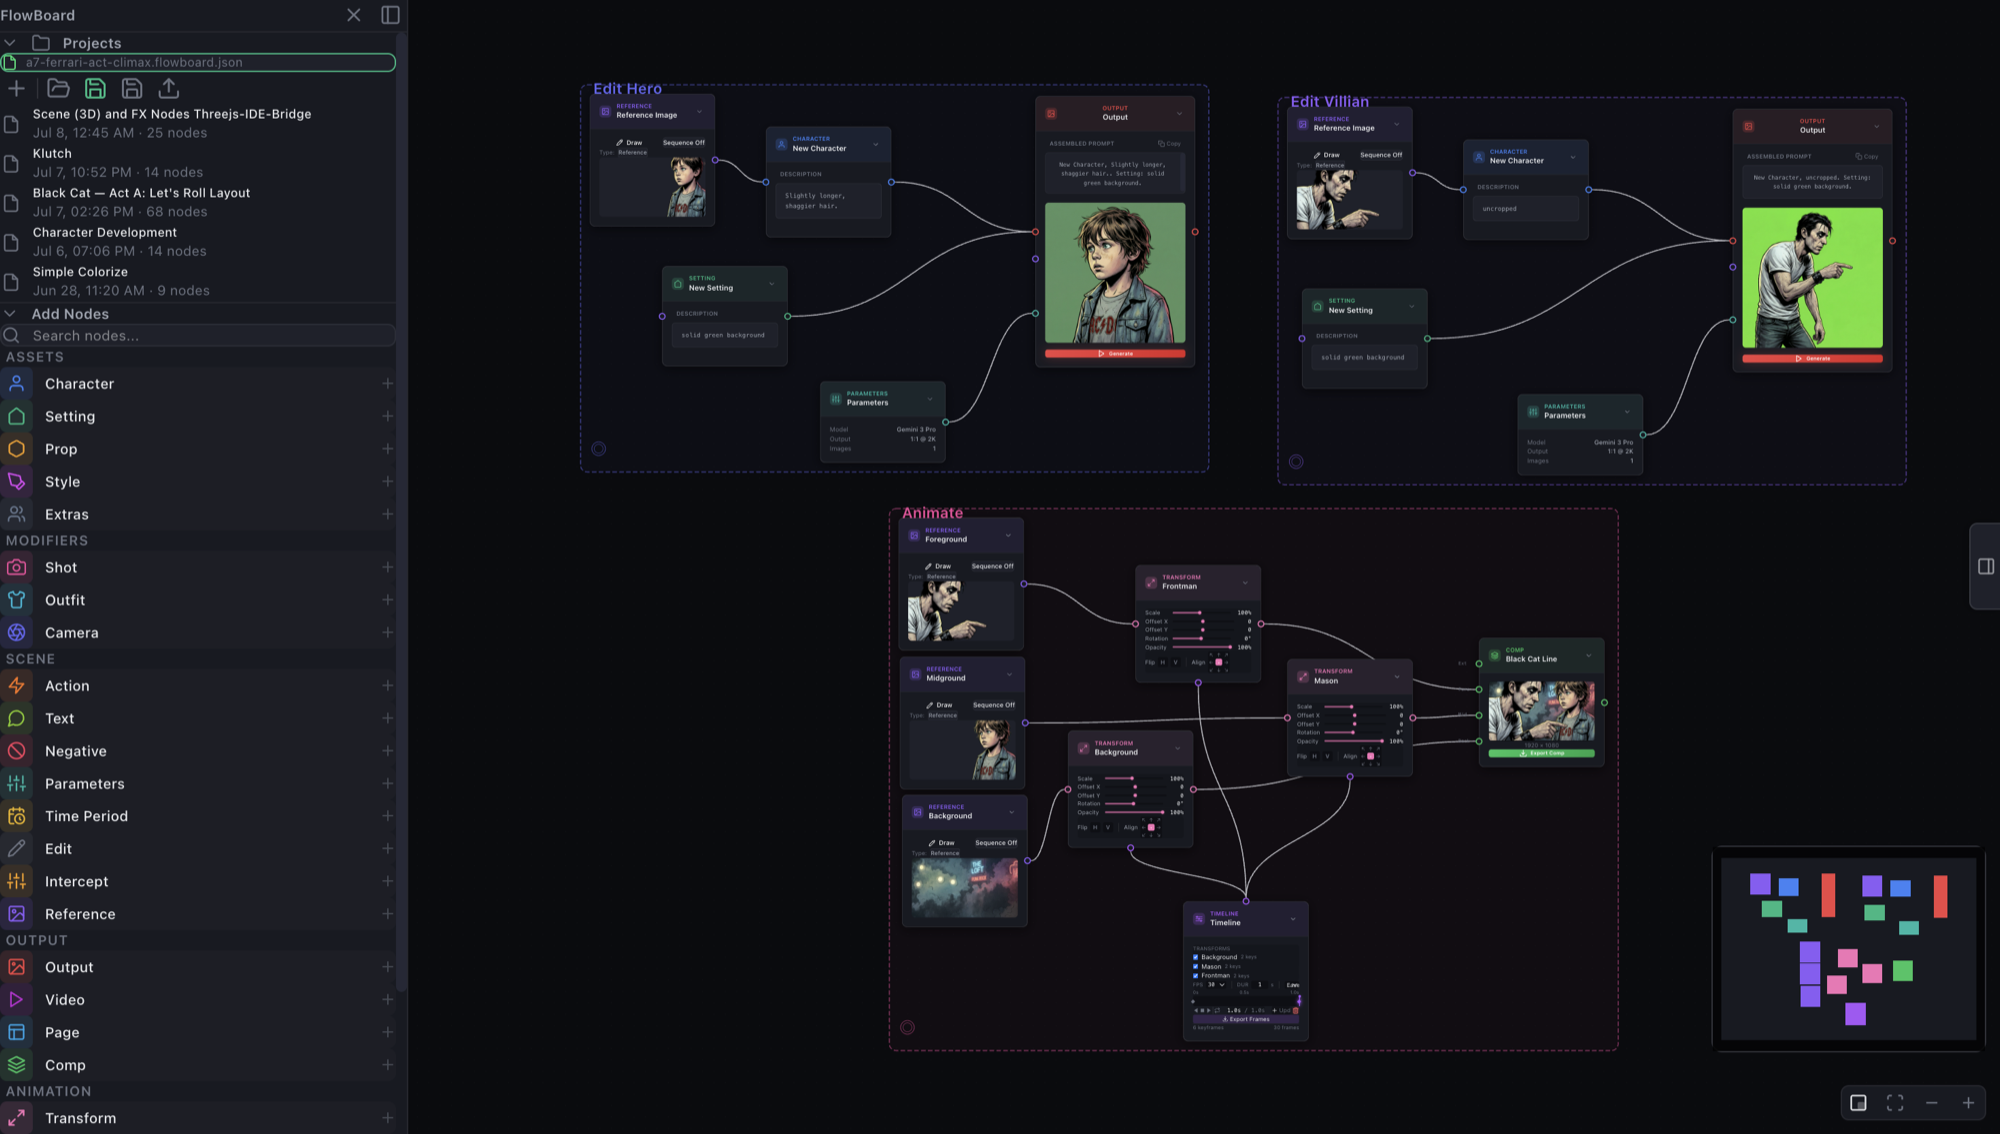
Grouping. Select nodes and press ⌘G to group them (⌘⇧G to ungroup). Groups move together and get a labeled bounding box. Click the ◎ button just inside a group's bottom-left corner to isolate it: everything else fades, and — the real point — the group unlocks, so you can rearrange its members individually. Press Escape (or click ◎ again) to lock it back into moving as one.
Compose a page
Once a few shots are generated:
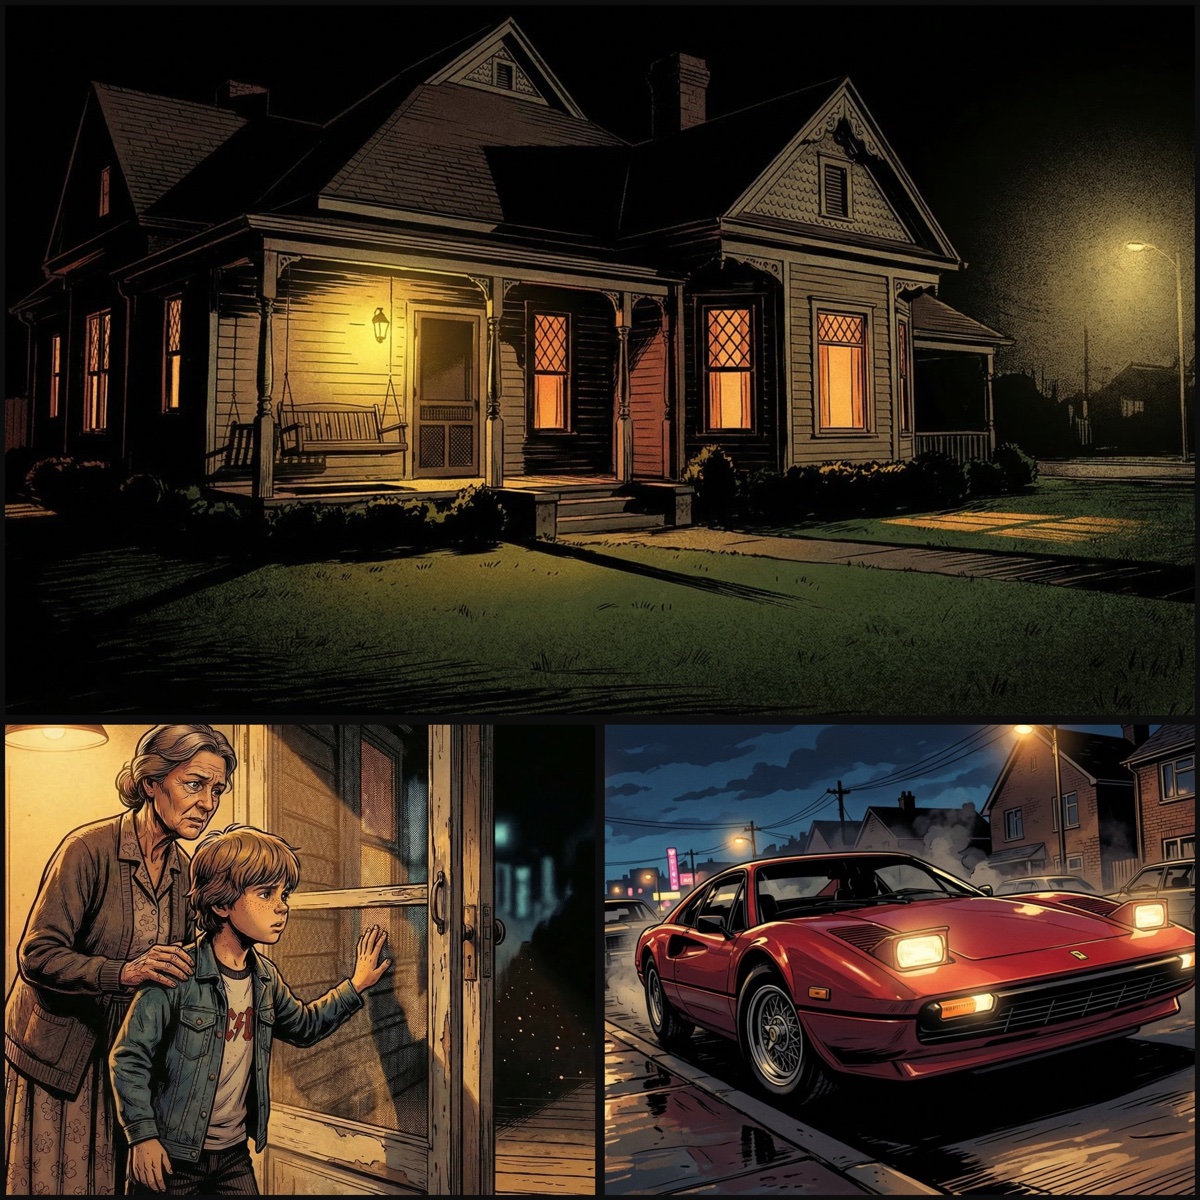
- Add a Page node.
- Wire each Output into a panel slot.
- Pick a preset layout (2-up, 4-up, manga styles) or a dynamic grid; set gutter and export size.
- Click Export Page for a finished PNG.
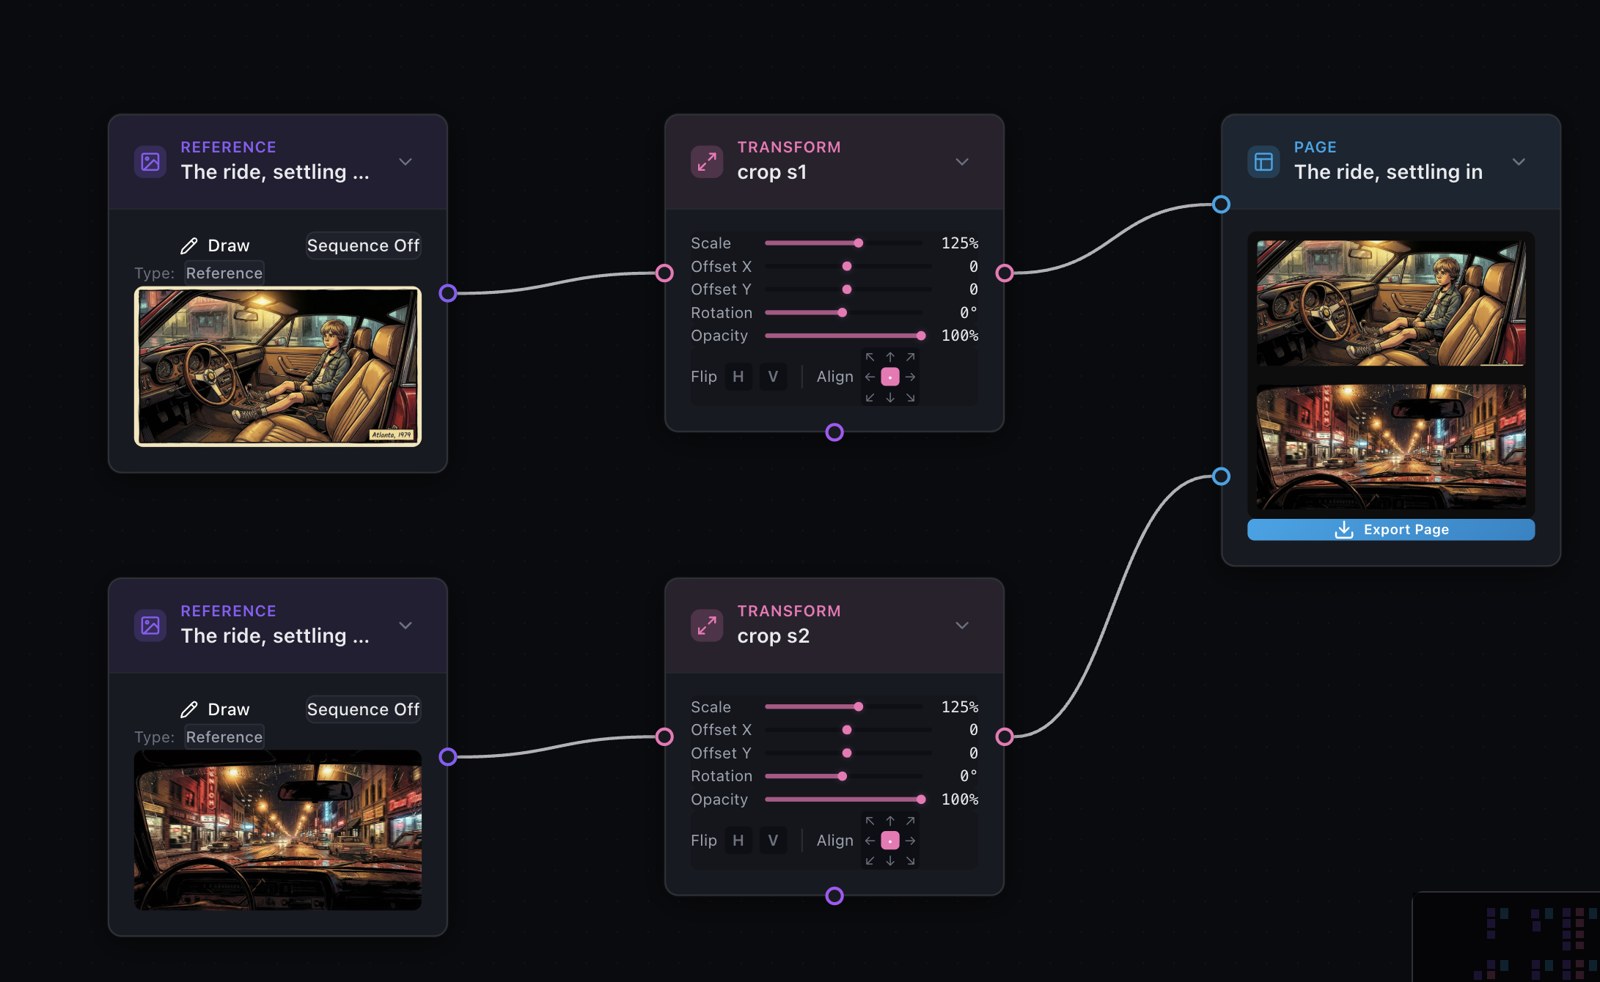
See Page, Transform (for cropping images inside panels), and the Skills chapter for the automated version of this whole flow.
Tips
- Reuse assets — one Character node can feed every scene it appears in.
- Short chunks reuse better — one element per node beats one node that says everything; small pieces recombine across scenes.
- Consistency comes from References — wire a generated portrait into a Reference node feeding the character, and their look holds across every shot.
- Mock first — wire and test at 0 credits, then generate for real.
- Collapse nodes — the chevron in a node header saves canvas space.
- Save often — ⌘S, or the Save button in the top bar. File-based projects (
.flowboard.json) are best for large work and version control.
Keyboard shortcuts
| Shortcut | Action |
|---|---|
| ⌘G | Group selected nodes |
| ⌘⇧G | Ungroup |
| ⌘C / ⌘V | Copy / paste nodes |
| ⌘S | Save project |
| Escape | Exit isolation mode |
| Delete | Delete selected nodes |
Troubleshooting
"Out of credits." Generation pauses until you top up — Buy Credits on your dashboard — or add your own API key for that provider in Settings. Your graph and images are untouched.
Generate button shows a higher cost than expected. Cost scales with model choice and, for video, duration. Check the Parameters node's model and the Video node's duration.
Wire connects to the wrong slot. After changing a Page node's panel count, deselect and reselect the node to refresh its handles.
Image not appearing in a Page panel. The Output feeding that panel needs a generated image first — check its preview.
Next
- The Nodes — the full illustrated glossary.
- The Skills — turn whole chapters of prose into storyboards and pages automatically.